


A to Z Guide on Making Paper Bag: Your Ultimate DIY Guide (with Pro tips)
Do you need A gift bag right now? Or maybe you want to create a fun project for a rainy day? It is very easy to comprehend how a paper bag is made. It is an enjoyable creative way to “fix” the planet. For good things, small things or party gifts you can make a pocket batch.
This is the manual that has it all. We’ve got everything you need here, from the materials list to step-by-step instructions and pro tips. What’s great about the paper bags is they rot down naturally. A paper bag decomposes in two to six weeks. It takes hundreds of years for our plastic bags to decompose and as such, they trash up our planet.
Preliminary Tools and Materials: Before You Start
Supplies First, let’s get the supplies together! The concept for this is that you should have everything before this craft to be easy and fun. You likely already have several of these things just lying around your home.
Must-Have Supplies:
- General-purpose Paper (A standard A4 sheet, wrapping paper, or kraft paper works well)
- Ruler
- Pencil
- Scissors
- Glue stick or craft glue
Customization Options:
- Hole punch
- Ribbon, twine, or string for handles
- Markers, stickers, or stamps for decoration
The Ideal Paper for Your Bag
The paper you use significantly influences the look and strength of your bag. Whatever the variety of potato you might use, the correct type is a guarantee of success on your way to the perfect bag. Before you pick the paper, consider what the bag will hold. It enables you to make a strong and fancy paper bag.
Compare paper types with this chart
By referring to the chart provided below, you can choose the most suitable paper for your project.
| Paper Type | Best For | Strength | Tips |
| Kraft Paper | Heavy items, groceries, rustic gift bags | High | This is classic brown paper bag material. It’s very strong and great for practice. |
| Wrapping Paper | Gift bags, party favors, decorative use | Low | It’s beautiful but tears easily. Be gentle when folding. Use two layers for more strength. |
| Newspaper | Light items, eco-friendly crafts, art projects | Low | Creates a unique, vintage look. Best for items that are not heavy or sharp. |
| Construction Paper | Kids’ crafts, colorful small bags | Medium | Comes in many colors. Easy for kids to handle. Good strength for small toys or treats. |
Steps to Make a Paper Bag: A Very Simple Guide
Let’s start with the basics. We will illustrate how you can make a paper bag. Simply follow the steps here and soon you will have your paper bag finished. We put it in clear steps.
Step 1: Get and Fold Your Paper
First and foremost, you lay the paper on a solid base or the table. If the short sides are up and down, turn it over to the longer ones. Take the bottom side of the paper and fold it up. In doing so, use your finger or a ruler to create a crisp line in the middle. Unfold it back. You have just made what we call a crease. You will use it later to make the bottom for the bag.
Step 2: Make The Bag’s Tube
Unfold the paper and put the left and right sides towards the center. Allow them to overlap half an inch. Apply glue to one overlap side and press the other side on top of it. Congratulations on making a paper tube! Make the glue set for a while.
Step 3: Bottom of The Bag
This is where the rubber hits. Place the tube, glued part facing you. Fold the bottom flap up along the crease that you created in step one.
Open the folded bottom part. Press the corners down to make a diamond shape. You’ll see two triangle flaps, one at the top and one at the bottom. A detailed visual guide from wikiHow can help with this step.
Next, fold the top point down to the center line. Then fold the bottom point up so it covers the top one slightly. Put glue on these flaps to stick them together. This makes the sealed base of your bag.
Step 4: Make The Shape of the Bag
To transform your bag into a box, you’ll need to make side folds. Lay bag flat fold left side in about 1 inch. Press it down hard.
Unfold it, and then gently push that crease to the inside. It should collapse down into the bag like an accordion. Do the same thing on the right. The folds are called gussets. You are going to permit the bag to open up.
Step 5: The Bag’s Final Touch
You are nearly done! Just put your hand inside and open up your bag a bit. Push in at the bottom of the bag to make a flat base for the bag. Your gussets should be popping out at you.
Double check to make sure the glued base is stable. So now, on one sheet of paper you have learned how to make a Paper bag.
Professional Touch: Tips for a Bag That Looks Like It Was Made by a Pro
A couple quick applications can easily glam up your bag. That’s all the advice you’ve learned from making hundreds of bags. Use these tips, and you can bypass troubles and make a perfect object – not just for you, but for anyone.
- Folds Must Be Sharp.Folds are the secret to a straight bag. Press every crease you make with the side of a ruler. And it’s this that gives the bag strength.
- No Overdoing with Glue. Apply a light even coat of glue. Too much adhesive will wrinkle the paper and require it to dry longer. The best thing to use is a glue stick, especially for beginners.
- Add Strength to the Base. If you want to add some weight to the items in your bag, the base needs extra support. Simply cut a piece of sturdy cardboard that can fit exactly in the bottom of your bag. Just drop it inside, and you will see the difference as the bottom will not sag anymore. For techniques on reinforcing the base for extra strength, you can check the guides.
- Measure Twice, Cut Once. This old adage also applies to paper crafts. Before doing any folds, make sure that your paper is in square. Measure twice, cut once. This keeps your bag even.
Elevating Your Creation: Decoration Ideas
Now that you’ve learned how to make a paper bag, the fun can begin. Decorate it your way! A plain bag is convenient, but a fancy one feels personal. Here are a few to get you started.
- Stamping & Painting. A fun way to make simple patterns is by using rubber stamps and ink pads. You can create a pattern stamp by cutting a shape into a potato. Watercolors make for a lovely, soft appearance.
- Draw & Doodle. Go marker-crazy in your imagination, or colour pencils. Sketch flowers, patterns or write a loving note. It makes a gift personalized.
- Add Texture. Add other supplies to give it a unique texture. It can be turned into a piece of art with some fabric scraps, buttons or sequins or pressed flowers.
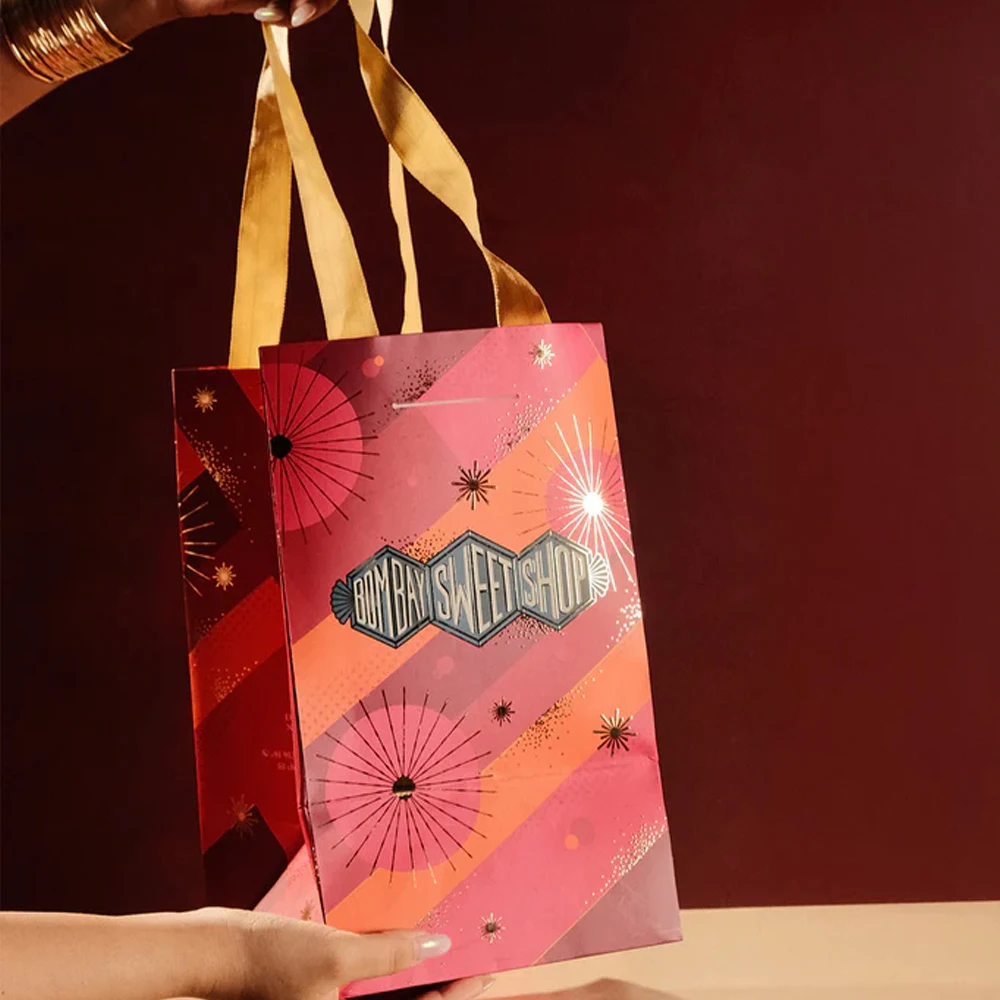
- Make Custom Handles. Instead of a simple ribbon, you can try different handles. You can braid three strands of yarn together. Thick shoelaces or twist paper strips tightly. You can customize your bag for gifts for any occasion beautifully.
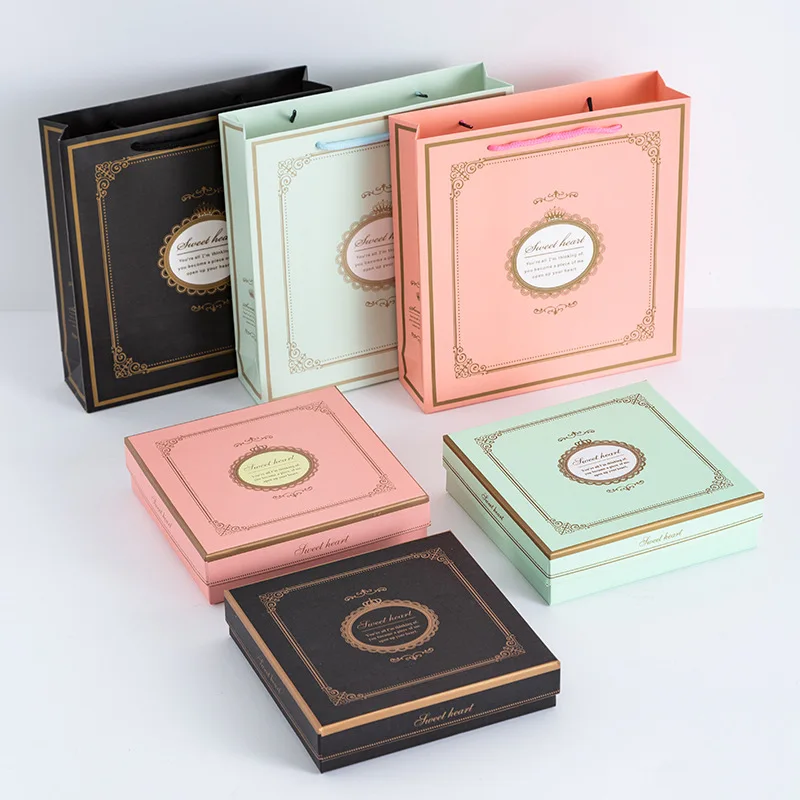
From DIY Craft to Professional Packaging
It’s great for your personal projects and gifts — to make paper bags yourself! It is rewarding and eco-friendly.
However, when a small business needs packaging, uniformity is essential. For businesses asking for hundreds of identical bags with their logo, professional services render the best results. Paper box manufacturers such as Fuliter Paper Box make quality packaging products. They come up with solutions for every business type, available by industry. A unique brand image can be achieved through a custom solution which will guarantee that the packaging represents your business perfectly.
FAQ: Your Paper Bag Questions Answered
Here are some common questions that people ask when they’re learning how to make a paper bag.
Is there any paper that works best for making a sturdy bag?
In terms of strength, Kraft paper is the best. It’s heavy duty and I can’t just rip with no effort. Or, if you’re using thin paper like wrapping paper, you could glue two sheets of paper together — that will make the paper much stronger.
What if I want to make a paper bag without using glue?
With nothing but folds, you can make a bag with orient folding. These are clever tucks and folds. Just search for “no-glue origami bag” if you want instructions. They are possible for very light things, because they aren’t as safe as a glued bag.
Can I use wrapping paper instead of a gift bag?
Absolutely! Wrapping paper is an ideal eye-catching gift decoration for those looking to spread a little bit of merry, starting with the gift bag. Just be careful when you fold it because it tears easier than thicker paper. It is suitable for small lightweight lighters, such as clothes, books and toys.
What is the easiest way to add handles to my paper bag?
You may do the work of haudles the easy way, in having a hole cut for them with a punch. Punch two holes toward the top edge on either side of the bag. Space them out evenly. Then feed your ribbon, twine or twisted paper through the holes. Knot a knot inside the bag to the ribbons so they can’t be pulled out.
Is there a way to make the bag stronger at the bottom?
The best option is a piece of cardboard insertion. You will need to measure the base of your finished bag. Then, cut the cardboard to that size. Just place it inside the bag. This is a great flat platform that can accommodate a lot more.
SEO Title: How Can We Make a Paper Bag: Ultimate DIY Guide 2025
SEO Description: Learn how can we make a paper bag with our complete A-Z guide. Step-by-step instructions, pro tips, and eco-friendly craft ideas included.
Main Keyword: how can we make a paper bag
Post time: Dec-26-2025


