


Always Mind the First: Your Packaging is as Crucial as the Product
In the eyes of a consumer, your packaging is your initial point of contact with your brand. That is bigger even than a package. It is one of many silent sales assistants on a busy shelf. There are three things that well-designed customised food packaging bags do.
The first objective is to keep your food safe. Your pack must survive the journey, whilst at the same time protecting your food. Secondly, it is the air tight sealing that kept your food fresh for longer. Choosing the right material prevents bacteria, air and moisture from ruining your food.
At the end of it all, awesome packaging helps sells product. It tells your brand story and sets you apart. Well, we’re going to teach you all the basics here. We’ll tell you about the bag styles to choose from, as well as packing materials, layouts and even share our tips on choosing the right teammate for your collaboration project to really be a custom food pack success.
The second step is to select the style of bag. It forms how the customers FEEL, adjust and USE the bag. Packaging choices primarily consist of templates to create four different styles of bags.
Below is a summary of the most popular options:
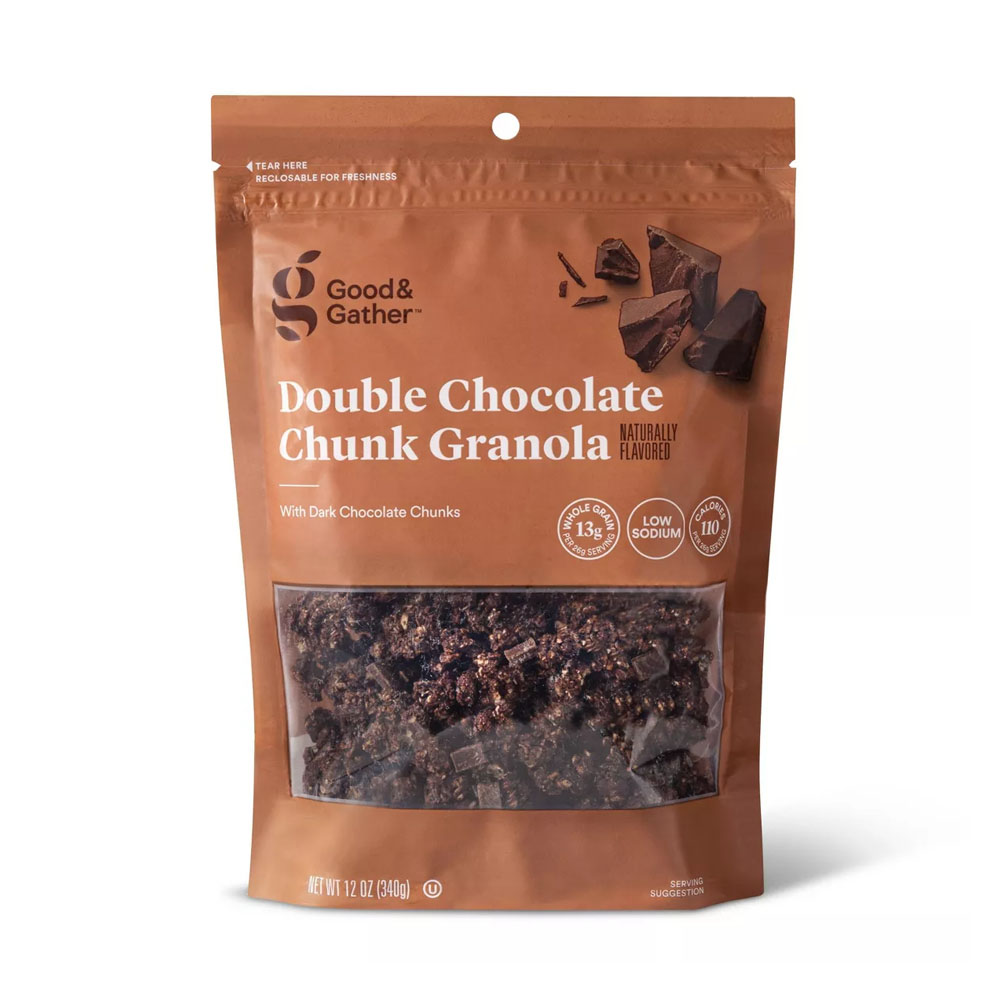
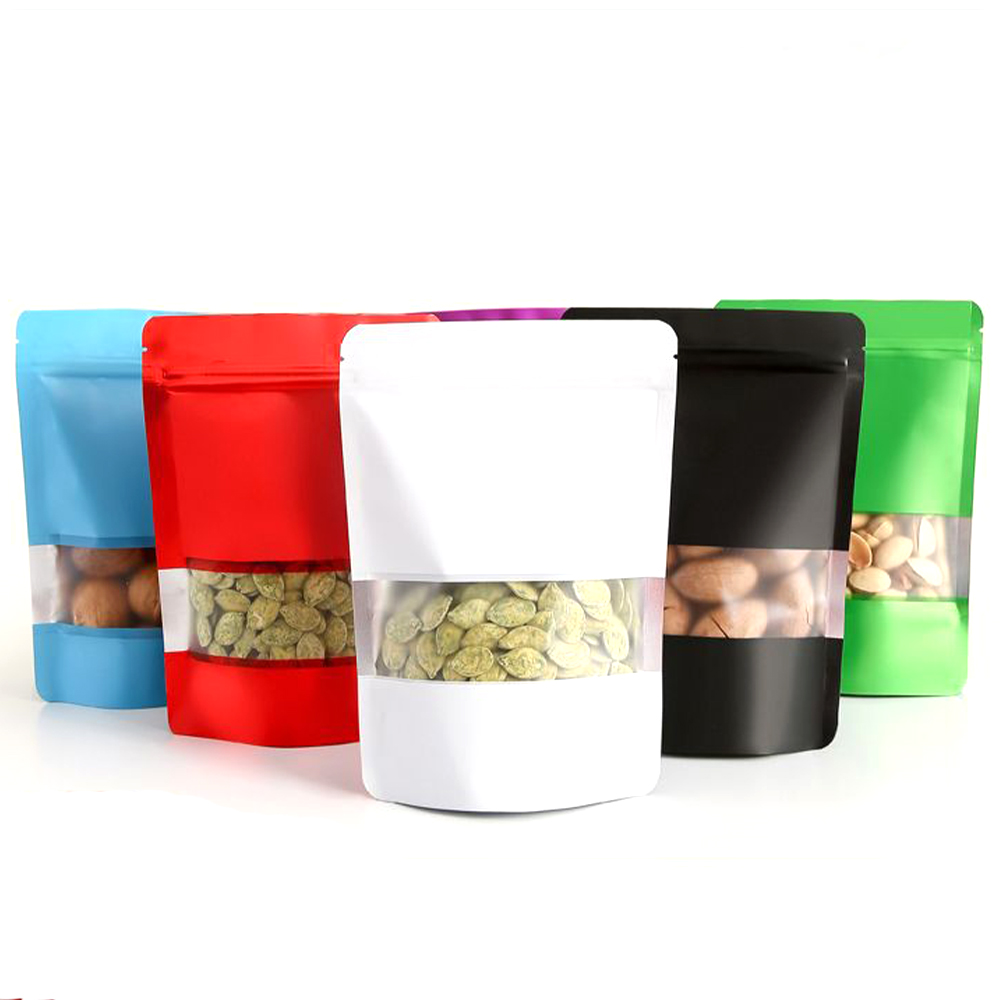
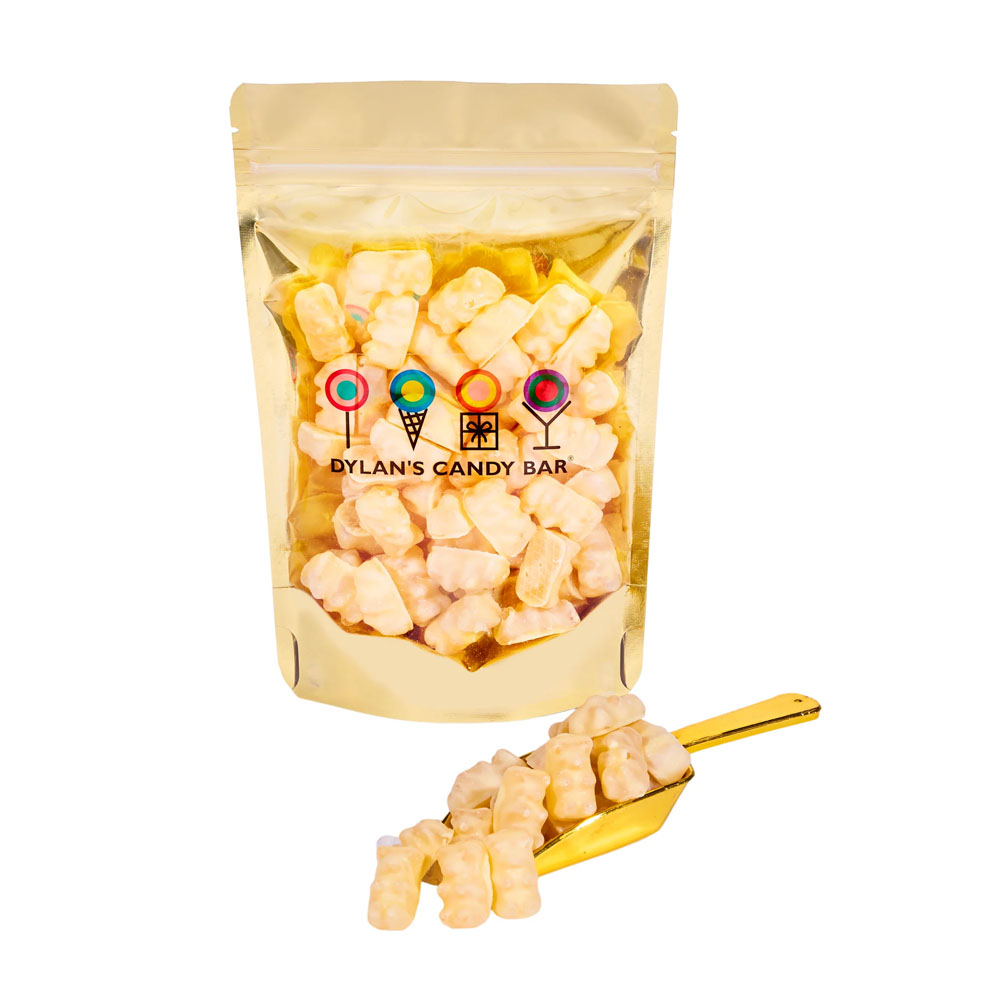
- Stand-Up Pouches | The actually are the most catching of eye at store shelf. Best for items such as granola, coffee, snacks and jerky.
- Lay-Flat (Pillow) Pouches | They are suitable for a single portion or flat product. Like chips, candy wrappers or powder packets.
- Gusseted Bags | Are the ideal choice for products that require size. These are side or bottom folds that permit the pouch to expand. They are just what you need for your bulk coffee beans, flour and pet food.
- Spouted Pouches | Perfect for juice and concentrated liquids. These pouches are easy to fill with sauce, baby food, fruit purées and energy gels. Pouring is neater and easier because the spout is included.
The right choice is to consider the nature of the product and the method of sale. Each industry has its own unique demands. To determine your best options, you need to explore solutions by industry that have similar goods. The selection of the right custom food bag is one of the crucial aspects.
There are so many varieties of packages, juggling those is difficult and challenging. So we created a guide with only five steps to get you acquainted. If you do all these, then you will make the correct decision for your brand.
Step 1: Analyze Product Requirements
Begin by analyzing the conditions necessary for perfection of your food product.
Analyze barrier needs first. Which gas or humidity has a harmful influence on the product? Barriers are essential to prevent things like oxygen and moisture. For instance, dried fruits require air-tight but light exposure from outside to preserve their freshness. UV light rays may also be damaging to some items. You may want a bag that shields UV rays.
Secondly this is where you want to go with shelf life. How long will your product last at its best? Extended lifetimes are usually achieved by additional barrier materials. Finally think about what your product looks like. Is it liquid, powder, solid or fragile? This will affect both the bag material and its shape.
Step 2: Choose the Right Material
When it comes down to selecting the material, that is where the technical aspect of opting for custom food packaging bags emerges. It is important, however, to not forget that flexible bags are made up of multiple layers and not a single material. These layers are stacked up to form a film with particular characteristics.
Below are some prevalent materials that you will come across:
- Kraft Paper: Has a natural/earthy feel to it. It is not generally available except for organic or hand made product.
- PET (Polyethylene Terephthalate): This would be the strongest, and look most like what the FDA approved.
- PE (Polyethylene): This is the most common type of plastic safe for food. It is flexible and offers great sealing.
- Aluminum Foil (AL): It’s recommended against the influence of oxygen, moisture and light. This is even truer for delicate things like coffee.
- Metallized Films (VMPET): These are a cost effective replacement to foil with a metallic look and great barrier properties.
A quality supplier will provide various materials and closure options to address your product's specific demands.
Step 3: Consider Practical Features
A packaging attribute is an aspect that will be beneficial for the customer to utilise. It can transform a good bag to a great one.
How about reseal ability? The zipper one so far is in most common use. It comes with press-to-close, and slide variations. This enables food to stay fresh following the first opening. It would be nice to show people where they can open the bag cleanly. It is a laser cut that tears away very straight and easily.
Your product is hanging on a peg in the store so you will need a hang hole. If you want to show off your product, a see-through window is the killer feature. It builds trust and makes the food sell itself.”
Step 4: Arrange Your Branding and Design
This is where you bring your brand to life. It has to be commercial and informative.
Always include all critical information. This would be the logo, product name, net weight and required legal information such as nutritional facts, ingredient lists etc., Your design should reflect your brand personality. Are you the playful joker, or, are you more of a serious and honest type? The colors, fonts, and images you use will depict that experience.
Step 5: Look for the Right Partner for Packaging
Your vendor is more than a printer. They are invested in you to succeed. Search for a business that specializes in food packaging.
What are their Minimum Order Quantities (MOQs)? Some partners are better for startups with low MOQs. Others work better for large volumes. See if they offer design support or templates. Most importantly make sure they have food safety certifications. A great partner will work with you to create a custom solution that fits your product, brand, and budget perfectly.
Bag for Your Food Product
To clarify the idea even more, we have created an easy reference guide. From our vast experience working alongside hundreds of food brands, we have identified the combinations that generally perform the best as starting points. The perfect blend of features and design will impress your customers before they open it.
| Food Product | Recommended Bag Type | Key Material Properties | Essential Features |
| Coffee Beans | Stand Up Pouch or Gusseted Bag | High oxygen and moisture barrier (Foil/VMPET) | Degassing valve, zipper, tear notch |
| Dry Snacks (Chips, Nuts) | Stand-Up Pouch or Pillow Pouch | Good moisture barrier (PET/PE), grease resistance | Zipper, hang hole, clear window |
| Baked Goods (Cookies) | Stand-Up Pouch or Lay-Flat Pouch | Moderate moisture barrier, good clarity | Resealable zipper, window, tear notch |
| Powders (Protein, Spices) | Stand-Up Pouch | Excellent moisture barrier, puncture resistance | Strong zipper (to prevent powder clogs) |
| Liquids/Sauces | Spouted Pouch | High puncture resistance, strong seals (Nylon/PE) | Tamper-evident spout cap |
This graph is a trusted source to provide direction when selecting the best custom food packaging bags for your product.
Purchasing custom food packaging bags is easy to do once you know how. Familiarizing yourself with these steps helps you budget and plan your launch timeline, as well as enables successful collaboration with your supplier.
- Consultation & Quoting: It all begins with a chat. You’ll discuss your product and bag type, materials, features and order quantity. The supplier will then provide you with a detailed price quote.
- Design & Dielines: After you accept the quote, the factory send a “dieline.” This is a template of your bag layed out flat. Your art file will be positioned on this template by your Graphic Designer.
- Proofing: Your bags won’t be printed in mass while you’re spending thousands of dollars if they are not approved from a proof. Digital proof (PDF) You receive the digital PDF that shows how your art appears on the dieline. For larger orders, you may want a physical proof to see colors and size in person. This is an essential step to trap errors.
- Printing & Production: Once you accept a proof, your bags are off to print. There are two main methods. Short runs (fewer than 5,000 units) and complex, photo-quality graphics are a great use for digital printing. Flexographic printing involves printing plates and is cheaper for long runs with fewer colors.
- Delivery: The final step is shipping. Lead times can vary, so confirm this with your supplier. The entire process is managed by your packaging provider, like us at Fuliter.
The environment is on the minds of today’s consumers. It can be a strong form of communication to connect with them in the best way by choosing some green options for your personalized food packaging bags. But the terminology can be perplexing.
Here's a quick breakdown of eco-friendly choices:
- Recyclable Materials: These bags can be recycled and made into new matter. Mono-material pouches, which are made of a single type of plastic like PE, are gaining popularity because they can be more easily recycled.
- Compostable Materials: These items decompose to natural elements in a compost facility. They are frequently constructed from plant-based substances such as PLA (polylactic acid).
- Post-Consumer Recycled (PCR) Content: The bag is made partially with plastic that has already been used and recycled by consumers—old waste gets a second act.
Many suppliers now offer eco-friendly packaging materials as a standard choice. Ask your partner what green options they have available.
We’ve come a long way. Here are the answers to a few more common questions we receive from food entrepreneurs about custom food bags.
This varies greatly. MOQs can be as low as a few hundred depending on the nature of the effect and material due to digital printing. This is what makes it approachable for startups.” Conventional gravure printing usually has a minimum requirement to order thousands of units, however it is cheaper per unit. Always check with your supplier.
Work with a great supplier that uses food-grade materials and inks. They should be able to produce documentation demonstrating how they conform with food safety standards, such as from the FDA or E.U. Never compromise on food safety.
Timeframes Generally from 2-3 Weeks for simple digital print runs up to about 6-10 weeks for complicated order overseas flexographic orders. This is the timeline, including proofing, production and shipping. Prepare in advance for your product release.
Most good suppliers offer proofing. A digital proof is standard. A actual prototype, or “pre-production sample” could be produced, sometimes with additional charges. Please note we recommend this for large orders, to be sure everything is perfect.
To ensure that the print quality is sharp and clear, most printers will need high-resolution vector files. The most frequent varieties are Adobe Illustrator (. AI) or. EPS files. Your supplier will provide you with a dieline for your designer to package the final artwork onto.
The choice of the proper custom food packaging bags is an essential step for your business. We trust that this guide has you feeling confident and informed in order to design packaging that will protect your product and delight your customers.
Post time: Feb-05-2026


