


A bustling marketplace is crowded with people who eat initially with their eyes. The first customer you have whose letters match your chocolate bars' box. It has to look perfect.
Custom chocolate bar boxes are not merely containers to store the product. There are at least branding tools. They are proof of the quality of what you’re offering. They tell the tale of your brand and they work for sales in food companies of manufacturers.
That’s where this guide is stepping in, to help you make informed material decisions. There is not just about creating lovely designs but also how to think and plan your production. It's a one-of-a-kind packaging your consumers can't help but buy, thanks to your mind and gorgeous designs.
Purchasing custom chocolate bar boxes is the wisest choice you make when it came to devour enormous revenues. By having your product encased in this manner you literally set your bar apart from the multitudes of other bars on sale, plain wrapped. Only a single custom box can turn you into a hero among clients.
Here are some notable benefits:
- Create a Strong Brand Identity: Your box is the mobile billboard. You control the custom design, filling your brand’s colors, logo and story at the core. Here is your time to shine, and build a look that people remember.
- Upgrade Your Product's Perceived Value: Maximizing the exposure of your product's packaging is an amazing way to increase sales. It can raise your prices too. More than 60% of consumers believe that packaging design is the deciding factor when it comes for them making up their mind about a go/no-go purchase.
- Secure Your Product: Not an easy fit, not a problem. Just design additional packaging to be sure the particular variety of mill is secure. That means less breakage and your chocolate will remain fresh!
- Showcase Key Information: You can use the custom box to include nutrition information, lists of ingredients and even your brand’s story. This is something that can be elegantly designed and look good.
- Craft the Packaging a Consumer Will Remember: A box that is well designed and with cool details is for sure a buying moment that needs to be shared! It is perfect for marketing on social media platforms. For instance, it is especially suitable for Custom Chocolate Business Gifts where we aim to create a strong and long-lasting impact.
Educating yourself about the basic elements of box design will give you a concept how to make a better choice. Your decision on the material, design and inserts will largely shape your final product. How you answer will affect how it looks, feels and its cost.
Choose the Right Material
The material you choose will determine how your custom boxes look, feel, hold up, and cost. Different options meet specific requirements. Some are for the regular retail market and some are high-end presents. 1- The Perfect Material Selection The selection of the right kind of material for your custom chocolate bar boxes is step number one.
| Material | Best For | Pros | Cons |
| C1S/C2S Paperboard | Retail bars | Best print quality, high detail | Flexible, but not sturdy as others |
| Kraft Paper | Eco-friendly brands | Natural looks, recyclable | Not everyone's shiny rustic look |
| Rigid Board | Luxury gift sets | Premium, heavy feel, very strong | Expensive, larger size |
| Corrugated Cardboard | Shipping/online sales | Extremely tough, great protection | Bulky, not premium appearance |
A number of strong Chocolate Bar Boxes made of paperboard are available from different printers. It is a widely used option as it offers excellent value for money with both quality and price.
Common Box Types and Structures
The box adds even more, not just in the function but in the user experience.
- Straight/Reverse Tuck End Box: This is the classic and the cheapest option for single chocolate bars. So easy to assemble and store!
- Sleeve and Tray Box (Matchbox Style): This is the style that gives more to the unboxing experience. The sliding sense feels more premium and builds up curiosity.
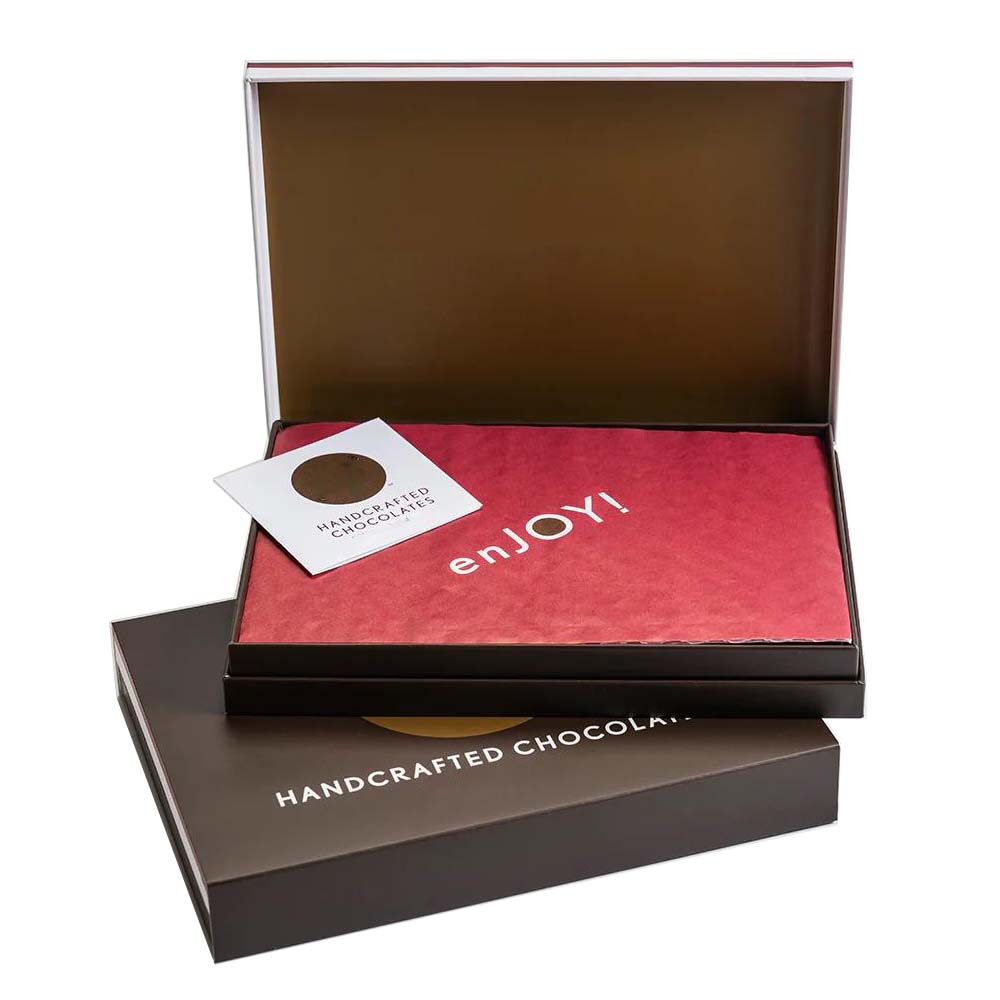
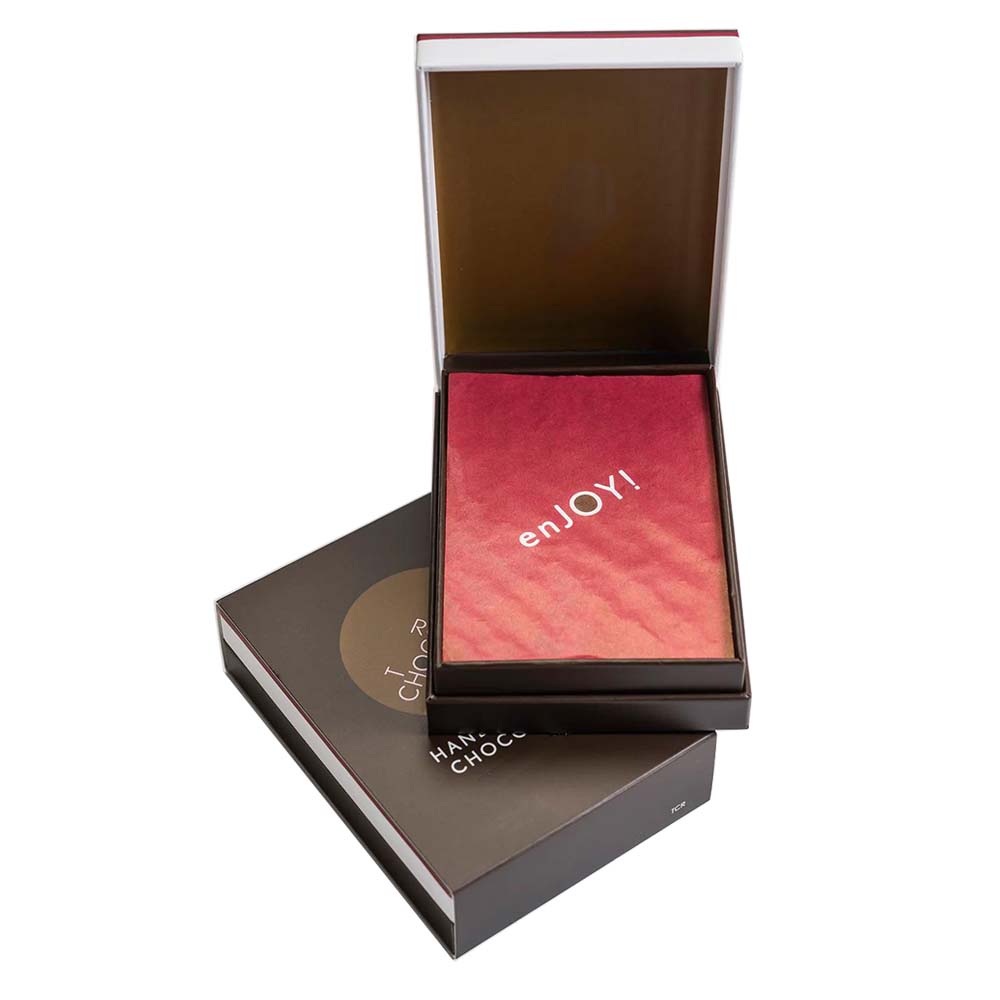
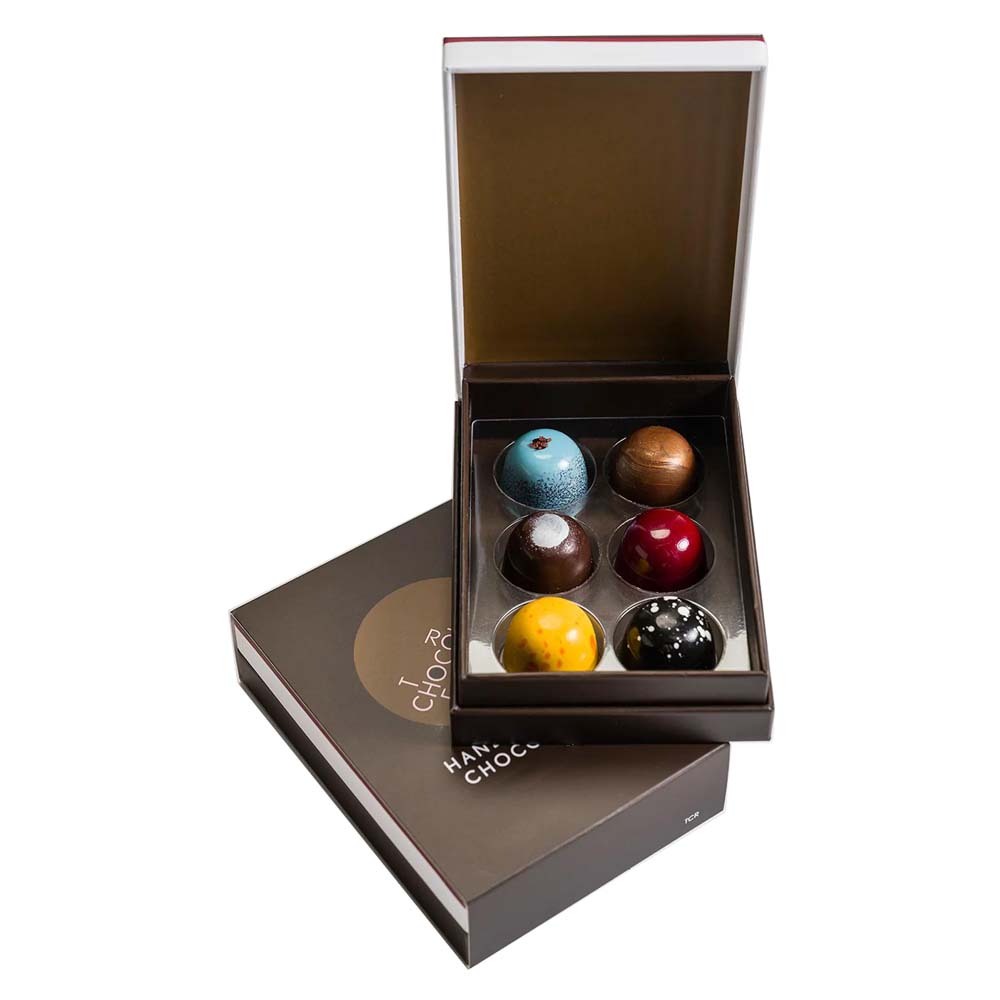
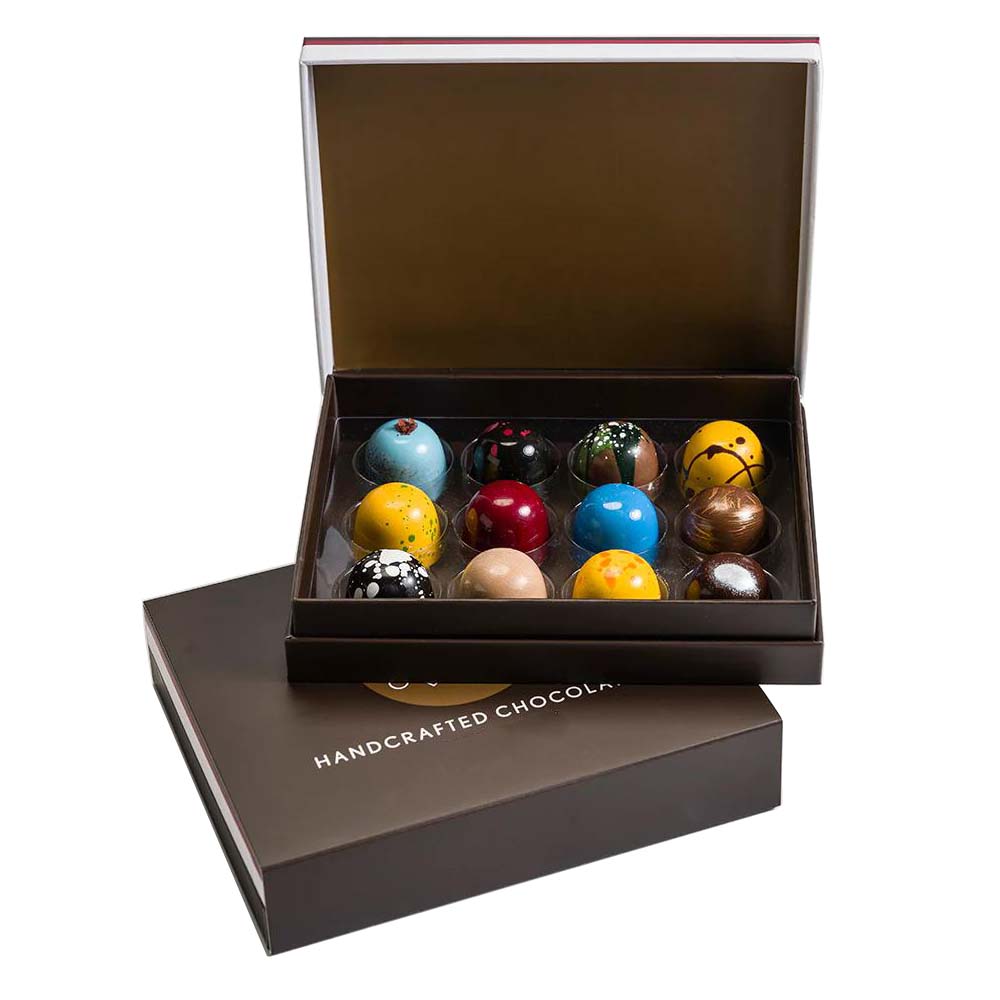
- Two-Piece Rigid Box: The ultimate choice for class. It has a separate lid and base and it is frequently used for prestigious collections or unique gift sets.
Food-Safe Inserts and Linings
It’s what’s inside the box that counts, just like a good cover. Safe: product safety means the use of food grade material.
Glassine paper provides a simple barrier. Use custom-molded trays for multi-packs. An elegant foil wrapping is also a must. This can be used to maintain product quality and to keep the customer safe. For innovative ideas, look at a range of chocolate packaging to see how different inserts finish the look.
Creating your own custom designs for chocolate bar boxes can seem as tough as a hard nut to crack. This simple how-to guide will take you through the process with easy actionable steps.
Step 1: Formulate Your Vision and Budget
What do you want to achieve? Who would you like to be your customers? 3) What is going to be your brand? You can select for the set tone (ex rustic, modern, playful or luxury). Finally, establish your desired cost-per-unit goal as a model for material and design selections.
Step 2: Create a Design Brief
Step one: Get what you need. Include your great logo, the brand colour codes (like Pantone numbers) and fonts that you need. Be sure to receive the full text, including ingredients, your story and contact information. Even if you are not an artist, sketching a layout will allow you to better convey your ideas to a designer.
Step 3: Collaborate with a Packaging Expert
Search for a supplier with a solid background in food packaging. Look at their past works to see the standard of their work. Get information about their minimum order amounts (MOQs) and lead times. It's really important to request for a sample kit to enable small businesses see and feel their materials and print finishes.
Step 4: The Digital & Physical Proofing Stage
This step is a keystone. First, you will get a digital proof sent to your email. This appears to be a 2D flat design (a dieline) which shows where your design will sit on your box. Be sure to take a good close look for any errant spelling errors, wrong color codes and where everything goes.
After the all clear from the digital proof, be sure to ask for a sample physical copy. It's worth noting the screen color (RGB) versus printed color (CMYK). A sample will allow you to verify the actual colors, feel the fabric and test the fit for your particular chocolate. It’s a nice way to sidestep harmful mistakes.
Step 5: Grant Your Permission for Production
You know the sample is perfect; now to place your order. You will now verify the lead time and shipping estimates to your supplier. And then you’ll be getting ready to start accepting your custom chocolate bar boxes.
It’s not enough for a design to simply be pretty. It is supposed to create demand for the product itself. Here are a few tips to keep packaging easy with custom chocolate bar boxes and the mistakes that should be avoided.
Pro-Level Design Tips
- Use Color Psychology Accordingly: Learn how to use it. Gold and black are often combined to represent luxury and quality.touches. Loud colours can set things in nice, lighthearted mood. Plants and plant elements are often referred to by earthy colored names such a green finger, or browntree.
- Readable before all else: The customer should see the brand and flavor in a few seconds. Keep fonts clean and group graphics together. Don’t make them search for the key point.
- Design for Unboxing: Look at the experience as a whole. What will be the unboxing process like? What kind of message will be printed inside? This point mentions the branded container alone. It is different than the services that allow you to Create Your Perfect Box with the selection of chocolates.
- 1. Using Low-Quality Graphics: This is the common fault that results in blurry and unprofessional printing. Use vector files (.ai, .eps) for logos and high-quality (300 DPI) images for photos.
- 2. Forgetting the Bleed: Designs that stop exactly at the cut line can leave ugly white edges if the cutting is slightly off. Your artwork should extend approximately 1/8 inch (3mm) beyond the main box outline, or dieline.
- 3. Choosing the Wrong Finish: A matte and shiny finish can be very unreasonable if they are together in a design. A matte finish sometimes diminishes bright colors. You should always request a sample kit to see how different finishes will look with the material you have selected.
3 Major Mistakes to Watch Out For
“Finishes are those delightful embellishments that add texture and visual delight,” she said. They can help to make your custom chocolate bar boxes as premium and exquisite as they need be.
These choices can elevate your brand and make a lasting impression for your customer To.
- Foil Stamping: This process adds a metallic shine, often in gold, silver, or copper. It is perfect for highlighting a logo or adding a touch of luxury.
- Embossing/Debossing: Embossing creates a raised 3D effect on your logo or a pattern. Debossing creates a pressed-in effect. Both add a classy, touchable texture.
- Spot UV: This applies a high-gloss coating to specific areas of the box. It creates a striking contrast between matte and shiny surfaces.
- Soft-Touch Lamination: This gives the entire box a smooth, velvety, and matte feel. It is a popular choice for luxury products because it feels unique and high-end.
Your boxes are much more than a box. An OTHER: – A custom chocolate bar box that is well designed is the perfect choice. It creates your brand, secures your product and pleases your customers.
Oh, think of it as the tangible pledge of the quality and attention you gave to the candy enclosed. It is the first thing that customer sees and the last thing they touch.”
As you are planning to turn your vision into reality, teaming up with an expert in packaging will be your one and only trick to success. Look at the options available to you and make packaging that is just as delightful as your chocolate is. For the one-stop solution, you will do well by checking Fuliter Paper Box.
Supplier MOQ can vary from one another. Lower quantities even for some digital presses; as low as 50-100 units. Some large offset printing shops, which can be more cost-effective in bulk, could request a minimum of 1,000 or more. Simply don't forget to see them in mind while scouting for your potential supplier For their MOQ.
Normally, it is 2-4 weeks after final design approval. This period includes production and shipping. Special finishes like foil stamping or embossing might increase the time for complex designs.
Absolutely. A lot of suppliers are now carrying green products. You have the option of selecting from boxes that are made with recycled materials, FSC-certified paper and printed with soy-based inks. Kraft paper is a favorite environmentally-friendly material due to it being both recyclable and biodegradable.
Yes, and you should. Professional suppliers will offer you a physical sample of your box. That way, you can verify its size, material quality and print colors before you go all in on an expensive production run.
The boxes go for different prices, dependant on several factors. These can include material, size, minimum run length, print complexity and special finishes. And the majority of situations where unit price goes down with order level. Custom quotes from a supplier for your individual needs are still the best way to find out what you can get.
Post time: Mar-04-2026


