


First Impressions, Lasting Taste: Why Your Chocolate Needs Custom Packaging
In a tough market, your chocolate has to truly stand out. The first thing a customer sees is the package, not what is inside (the chocolate). Great custom chocolate bar packaging will not just protect your product, it will tell the story of your brand. It pops on shelf, and makes the first delicious bite seem special.
This manual takes you step by step through the entire process. We discuss everything from selecting materials to colors that help sell the product. Think of this as your roadmap. It takes you from a great idea to a finished product that customers love. Perfect packaging is the first step in creating a wonderful experience with corporate chocolate gifts.
More Than a Wrapper: The Role of Packaging in Brand Success
Your personalized chocolate packaging is your quite salesperson. The first meeting of the buyer handshake.
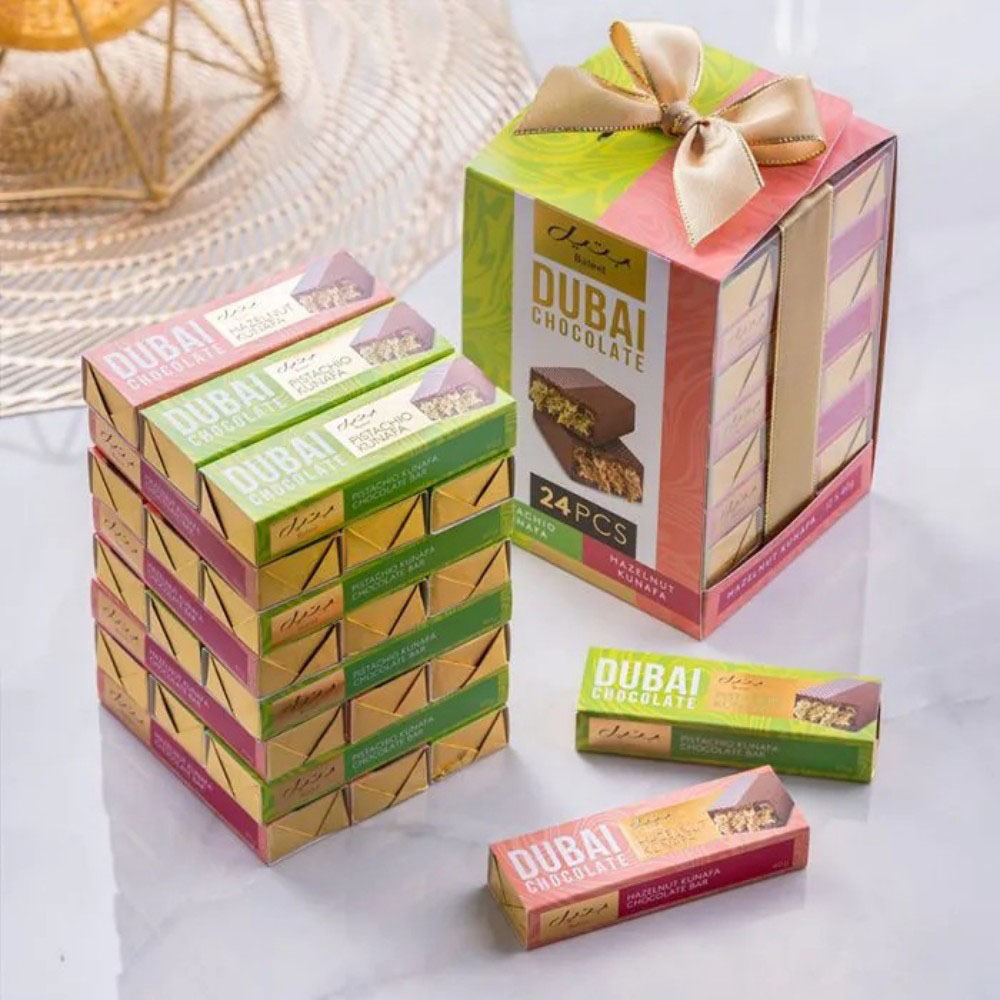
It makes you stand out from other brands. It can make your chocolate look pricier. More value indicates customers frequently pay more. It’s also a great unboxing experience that people want to show everyone.
The building blocks of your package are what you offer and how that’s presented. These are choices that impact how your product appears and is experienced. They also influence how protected it is. The right decision here is pivotal.
And really it depends on your brand and budget, and the type of chocolate you like. Below we detail the most popular custom chocolate bar packaging options.
A Guide to Packaging Materials
- Paperboard (SBS): This is popular for good reasons. It's strong and smooth. It's perfect for high-quality color printing. Many brands use durable paperboard options for their boxes.
- Kraft Paper: This gives a natural, earthy look. Kraft paper is great if you want that style. It shows that your brand is handmade and eco-friendly.
- Rigid Board: This is the top choice for luxury chocolate or gift sets. It's thick and heavy. It offers the best protection and feels very premium.
- Foil and Metal Paper: This is often the inner wrapper that touches the chocolate. It keeps the bar fresh. It gives that classic crinkle sound when opened.
- Sleeves: A sleeve is a simple printed band. It slides over a foiled bar. It's a cheap way to add branding without a full box.
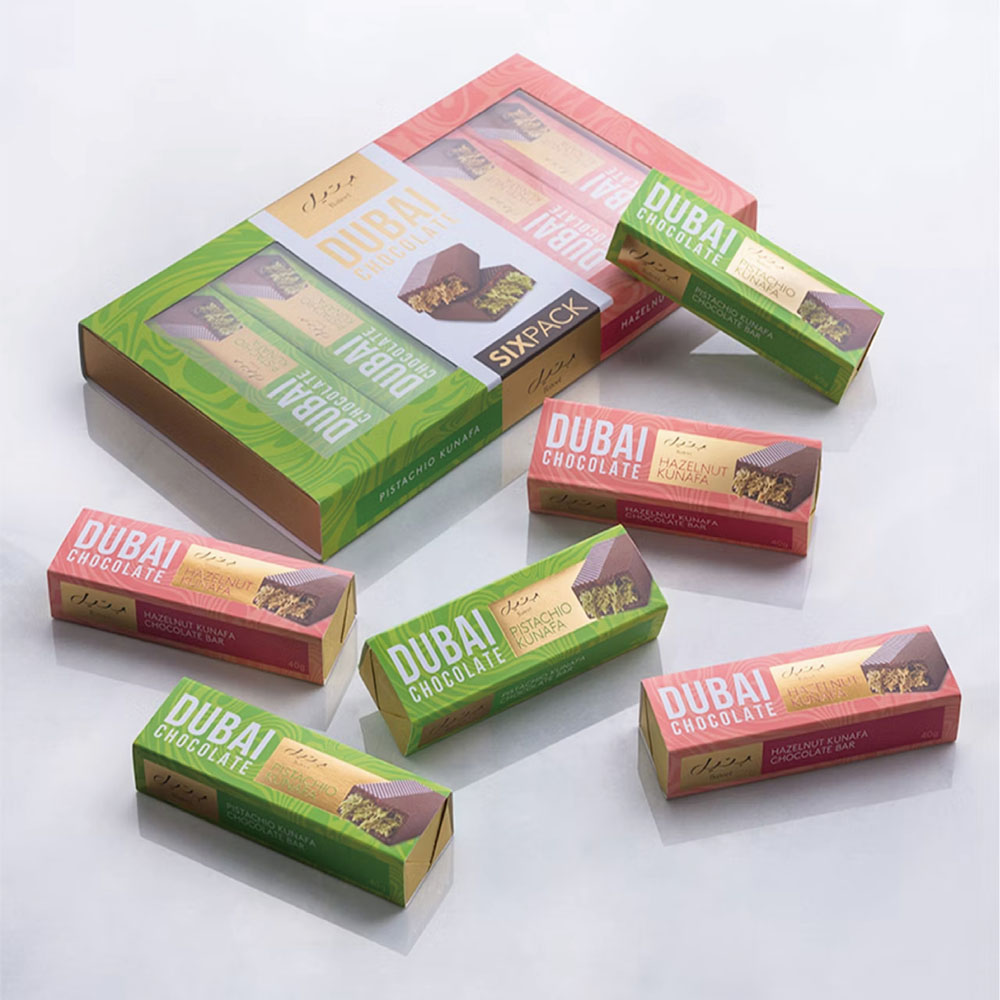
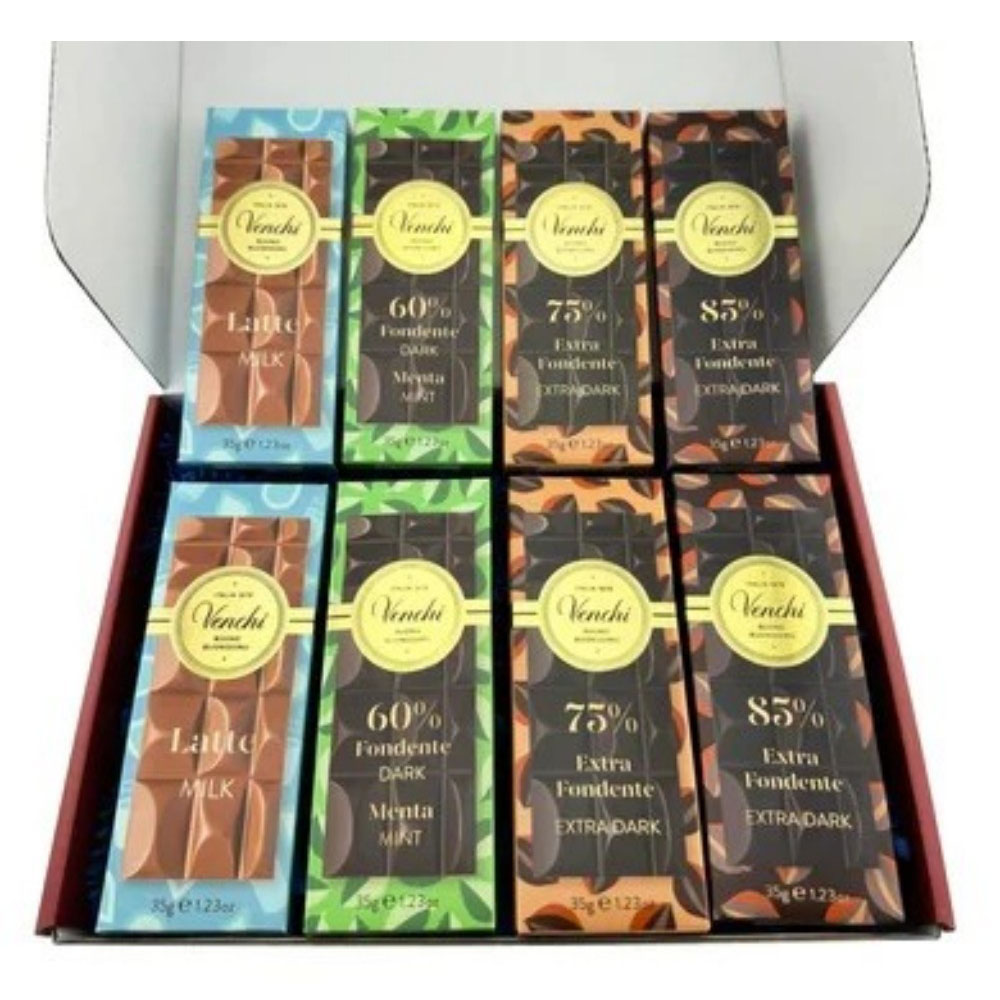
- Tuck-End Boxes: This is the classic chocolate bar box. It covers the whole product. It gives great protection and lots of space for your design.
- Two-Piece Rigid Boxes: These have a separate bottom and top. They show luxury right away. They're perfect for high-end collections or gifts.
- Wrappers: This is the most direct form of packaging. Paper or foil is folded right around the chocolate bar.
Common Box Styles for Chocolate Bars
Material Comparison
| Material | Best For | Feel & Finish | Eco-Friendliness | Cost |
| Paperboard | Many uses, high-quality printing | Smooth, professional | Often recyclable | $$ |
| Kraft Paper | Handmade, eco-friendly brands | Natural, textured | High (recyclable, breaks down) | $ |
| Rigid Board | Luxury gifts, premium collections | Strong, high-end, heavy | Varies, can be recyclable | $$$$ |
| Foil/Film | Product protection, freshness | Classic, flexible, premium touch | Varies, look for recyclable types | $ |
Good design is about more than looking good. It talks to customers and makes them want to buy. Your personalized chocolate bar packaging design must represent your brand's character and premium quality.
Every part matters. They enhance your story — colors and fonts.
Your Brand's Story: Logo, Colors, and Fonts
Your logo, colors, and fonts should be consistent with your broader brand. This helps customers recognize you immediately.”
Colors create feelings. They might feel rich and fancy in deep browns and golds. Colors that are bright and lively feel fun to people. Purple often suggests treats.
Fonts also have personality. A fancy script font could be fine for a luxury brand. A neat, bold type can exude the aura of modernity and straight talk.
Showing the Product and Sharing Details
Just showing the chocolate itself can be very effective. The box can be a nice photo or a work of art.
You must also include important info. This includes ingredients, nutrition facts, and allergy warnings. Use this space to share a short version of your brand story too. To see how other brands do this well, get inspired by these amazing examples of chocolate packaging designs.
Great custom chocolate bar packaging uses more than just sight. It creates an experience that involves many senses. This makes your product unforgettable.
This is how you turn a simple purchase into a lasting memory.
The Power of Touch: Finishes and Textures
How the box feels in a customer's hands is a huge part of the experience. Special finishes can turn a simple box into a luxury item.
- Matte vs. Gloss Coating: A gloss finish is shiny and reflects light, which will make colors pop. The matte finish is flat, no light reflects off of it. It provides a contemporary, understated finish.
- Soft-Touch Finish: This is a game-changer. It feels like velvet. It’s a luxurious reveal before you even open the box.
- Raised & Pressed Patterns: Raised or pressed patterns can be produced. Your finger sliding over a raised logo feels inviting.
- Foil Stamping: A shiny metal foil in gold, silver or copper will bring pure elegance to your products. It glints and grabs the eye.
The Sights and Sounds of Quality
Consider the other senses at play when your product is being opened.
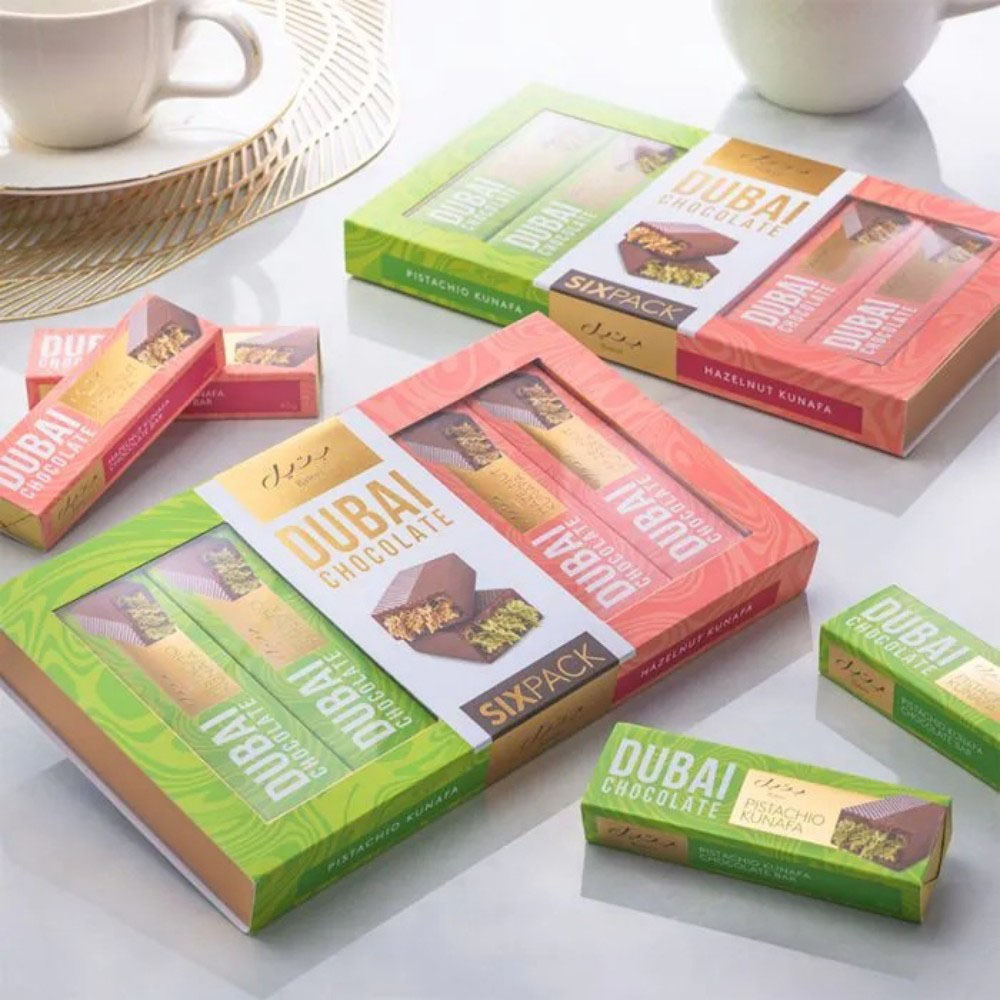
A small clear window on the box allows customers a sneak peek of what’s inside on the chocolate. It builds excitement. It shows that you are comfortable with how your product appears.
And there is the pleasing crinkle of a gold foil inner-wrapper to consider as well. It’s a signature sound associated with high-quality chocolate. That’s a lot of little things that add up to a big impression.
Initiating a custom packaging project can seem daunting. This plain-and-simple guide breaks it into easy tasks.
Use this blueprint to navigate the process of moving your custom chocolate bar packaging recipe from idea to reality.
Your Step-by-Step Plan
- Step 1: Define Your Vision: First, know your customer and your brand. What feeling do you want your packaging to create? Is it playful, fancy, or natural?
- Step 2: Set Your Budget & Quantity: Decide your target cost for each package. Figure out how many you need to order. This will guide your choices on materials and special finishes.
- Step 3: Pick Materials & Structure: Use the info in this guide to choose the right paper and box style. Think about protection, branding, and cost.
- Step 4: Create Your Artwork: Work with a designer to create the visual parts. Make sure your design files follow the templates and rules from your packaging supplier.
- Step 5: Find the Right Packaging Partner: Choose a supplier with experience in your field. A good partner will offer many options for chocolate packaging and understand food safety needs.
- Step 6: Approve the Sample: Never skip this step. Carefully review a digital or physical sample of your packaging. Check every color, word, and detail before you approve the full production run.
Here are answers to some typical questions about custom packaging for chocolate.
Minimums can vary a lot. Some digital printing suppliers may print as few as 50-100 boxes. That's fantastic for small tests or little breadboard circuits. More traditional printing methods will often start at 500-1,000 units. But they cost less per box.
Costs vary depending on a whole slew of things: the quantity you want produced, the material and size and special finish (like foil). A basic printed sleeve may only run cents for large quantities. It’s not unusual for a fancy rigid box to run $4 or even up to $7 a box. Always get a detailed quote.
Look for materials with green certifications, like FSC-certified paper. Recycled Kraft paper and soy-based inks are also great choices. Some new foils and films are designed to be recycled or composted. Talking about these options with your supplier, like Fuliter, can help you find green solutions.
A usual project runs 2 to 8 weeks from start to finish. This entails design (1-2 weeks), ordering and approving a sample (few days), and then actual production and shipping (1-5 weeks). You’ll never regret planning ahead, particularly when it comes to the holidays.
A wrapper is the first layer that touches the chocolate. It's usually foil or thin paper. A sleeve is a printed band of paperboard that slides over the wrapped bar. A box completely covers the product. It offers the most protection and branding space. Many premium products use all three. Companies with experience across various industries can advise on the best mix for your needs.
Post time: Mar-04-2026


