


You really do put your efforts into making a chocolate perfect. The flavor, consistency and quality is all great. But what do you have to do to win business? The solution comes in the form of well-designed personalized chocolate packaging.
The box is the initial thing that customers see. This implies it has a key place when it comes to the brand experience. You will find all the information you require in this manual. We’re going to cover the benefits, the key pieces of a box, a walk-through of building one and some takeaways from common missteps.
Custom Boxes – More Than A Box For Product Its a smart move that lets your business grow.
- Tell A Story About Your Brand:Your Custom box packaging design is the first chapter of your brand. It sends a message to the customers who you are. You could be luxurious and classy or endearing and contemporary. A picture-perfect packaging gives even before the first sip.
- Get Noticed on the Shelf: A chocolate shop is an options-rich environment. In most cases, the individual makes a final decision at the store. Your packaging is your no 1 sales man. Single customization features make your product stand out.
- Delight Your Customers: When someone opens the box it#38;s amazing - they will never get tired of feeling how smooth, and precise this External SSD Drive for MacBook is. Then there is the beautiful, high quality packaging that gives one anticipation excitement as you go through the formality of opening the chocolate. That’s a nice thing to remind your customers about.
- Protect Your Product: Chocolate is delicate. It could melt, or it might change in flavor. Perfectly designed custom chocolate boxes are the guarantee of keeping your sweets as it is.
Knowing the box elements allows you to make better choices. Category and Main contents of fabulous packaging Let’s look at the top-level components of wonderful packaging together.
Materials Matter: The Base You Choose
You are the material that defines the brand. It is the factor that determines how your custom chocolate boxes will look, feel and cost.
- Paperboard (Folding Carton): This is the most popular choice. It’s a cheaper option and good for bright graphics. The first occurs when the SBS (Solid Bleached Sulfate) is, well, solid:What you get there is a white box with a nice clean look! CUK (Coated Unbleached Kraft) is not bad if you're going for a more natural feel.
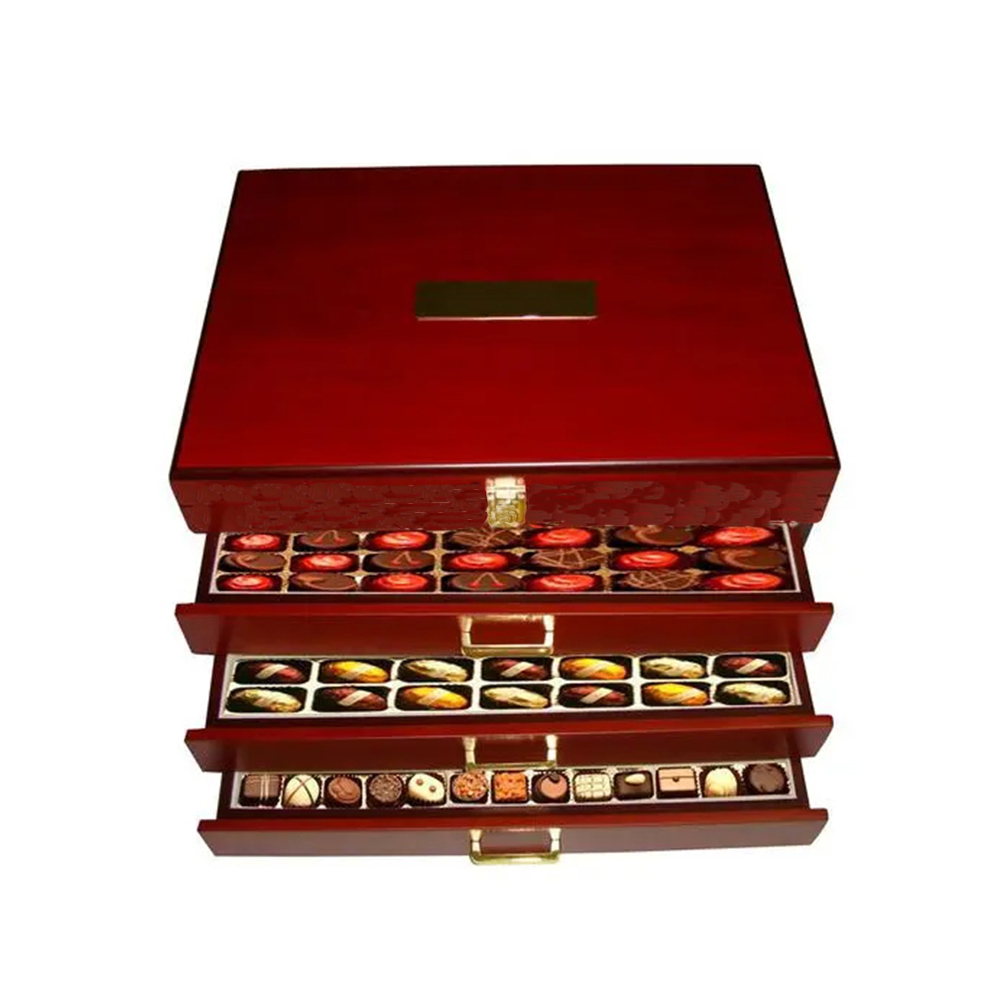
- Rigid Board (Set-up Boxes): Is a thick, heavy weight paperboard. It’s widely used to create one of a kind gift boxes. The box is ultra weighed with a premium feel to it. However, it does not fold.
- Corrugated Cardboard: This is what packing boxes are constructed of. It's very strong and protective. You can also print on it (for a distressed feel).
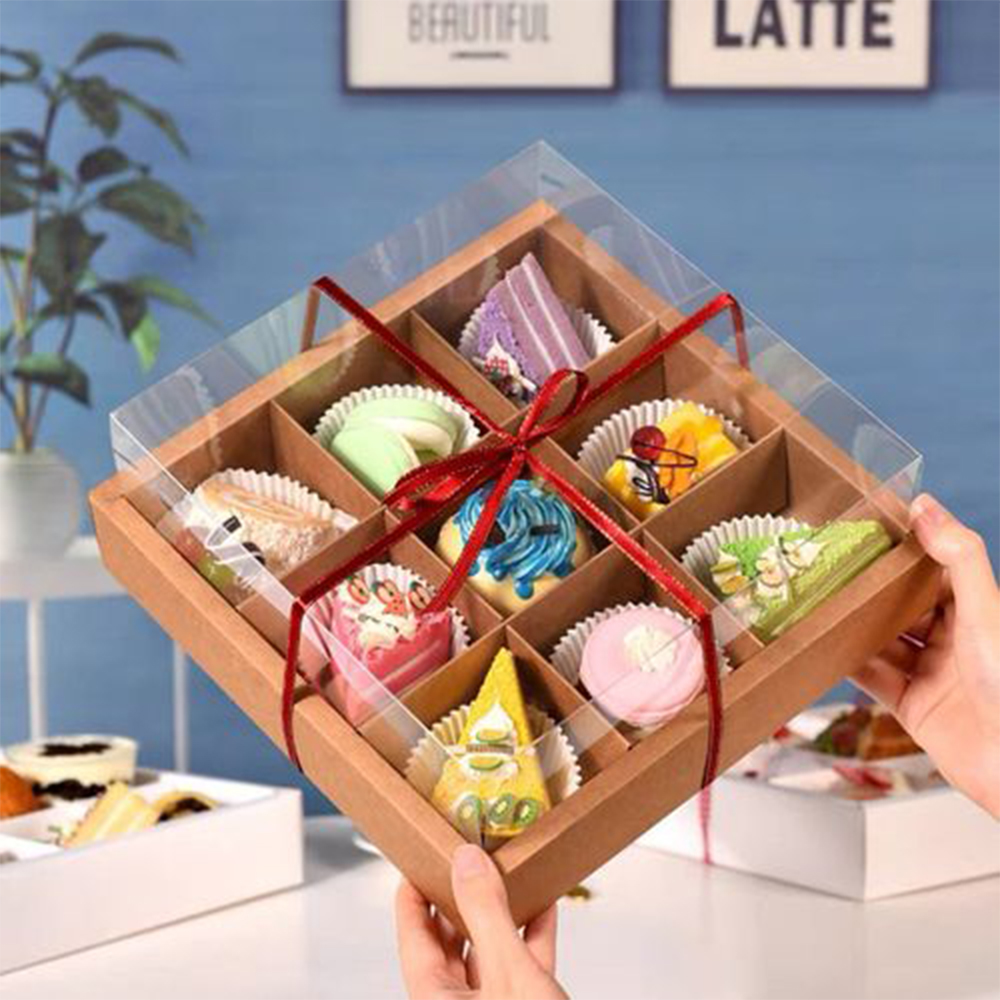
- Kraft Paper: This brown paper has a natural and earthy feel. It is a great choice for brands that want to demonstrate their environmental responsibility.
- Special Papers: These are papers with textures, colors, or shiny finishes that make your packaging unique and unforgettable.
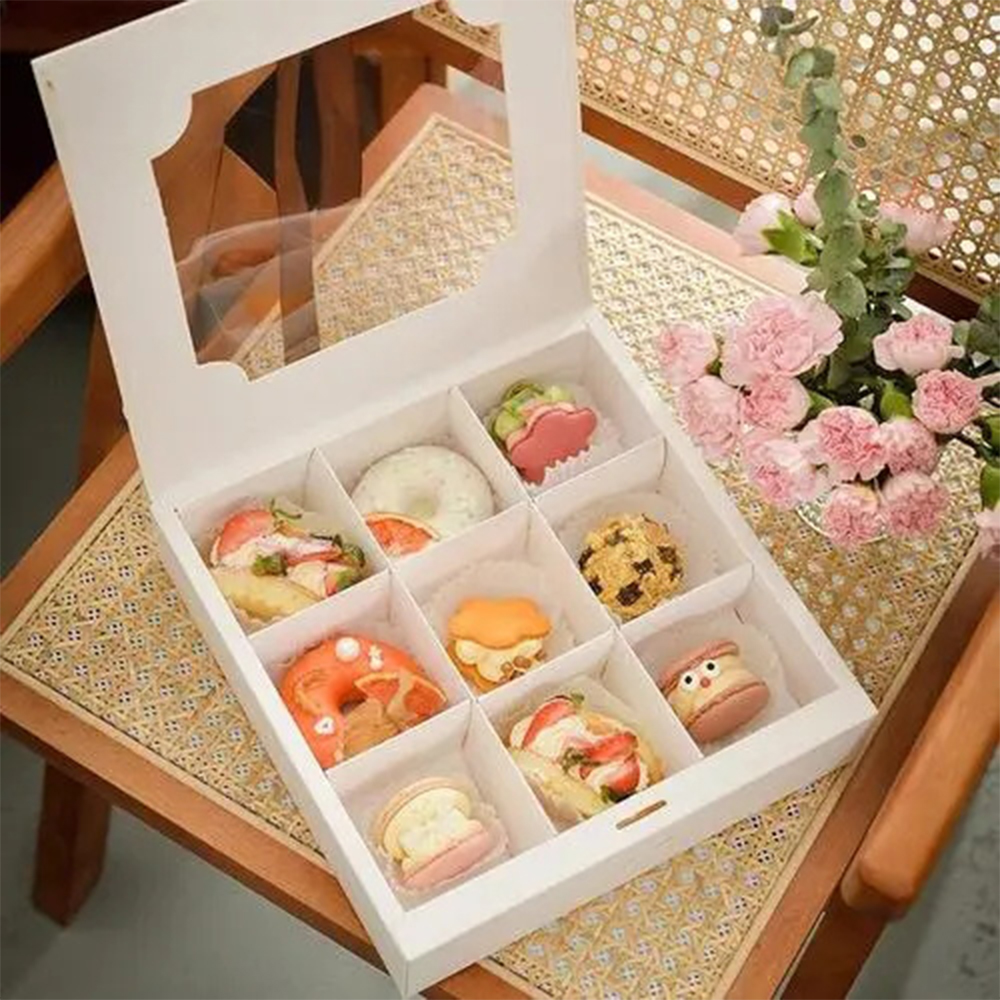
- Inserts and Trays: They will hold each chocolate in place. They can be made from clear plastic, colored plastic, or folded paperboard for a greener choice.
Box Styles: Choosing the Perfect One
Material is not the only thing that matters when it comes to your box’s shape and style. A proper design can not only enhance convenience but also allow for a better product description.
- Tuck-End Boxes: This is the classic box for most chocolate bars. The flaps on the top and bottom tuck in to close the box.
- Sleeve and Tray Boxes: This is a matchbox style box that has an outer sleeve that slides over an inner tray. It's most commonly used for fancy chocolate sets.
- Two-Piece Rigid Boxes: This is the type of box that has a separate lid and base. It's commonly used for luxury gift boxes and provides a classic opening experience. You can explore different lid structures and printable surface areas to customize this popular style.
- Magnetic Closure Boxes: These boxes have hidden magnets in the lid and base. They snap shut with a nice click. This adds a modern and high-end feel.
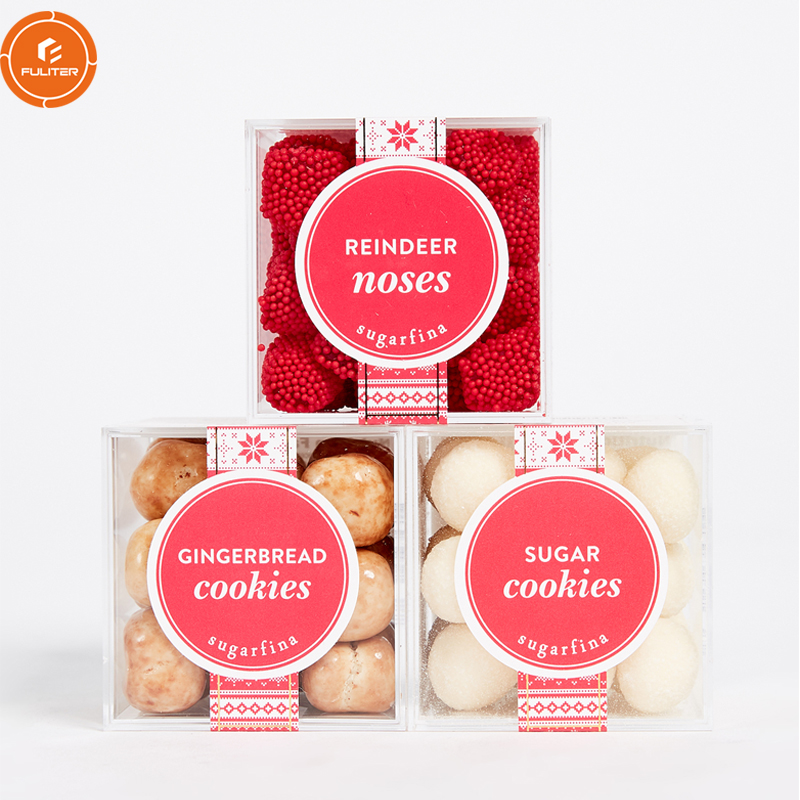
- Windowed Boxes: A box with a clear plastic window lets customers peek at the yummy product inside. This builds trust and encourages buying.
Beauty First: Printing and Finishing Touches
Printing and finishes create the brand's character. These details can make your personalized chocolate packaging stand out.
To begin with, choose a printing method. If you order in bulk, offset printing is the highest quality choice. Digital printing works best for smaller orders and enables you to make changes to designs easily.
After that, consider these finishing options to make your box special:
- Lamination (Matte/Gloss): Lamination applies a thin plastic film to the box. Gloss lamination makes colors bright and shiny. Matte lamination gives a soft, classy look. Both make the box stronger.
- Foil Stamping (Hot/Cold): This adds a metallic foil layer to the paper. For logos or text, it can create shiny, fancy accents.
- Embossing/Debossing: This creates a 3D effect. Embossing raises the design while Debossing presses it down.
- Spot UV: A high-gloss coating goes on specific parts of the design. This creates a nice contrast between shiny and matte surfaces.
- Die-Cutting: This uses a custom-shaped blade to cut unique shapes or windows in the box. Many suppliers show off these special finishes like die-cutting and foil stamping to help brands stand out.
Designing your packaging can seem overwhelming. We’ve simplified that with 7 simple steps to follow.
- Step 1: Plan Your Vision and Budget: Before you launch, consider who you are as a brand. Who is your chocolate for? What tone would you like your box to set? Also decide on how much you would like to spend. This could serves as guideline for your next decision making.
- Step 2: Get Your Files Ready: It is our advice that clients should get their files ready beforehand. This includes your high-resolution logo, brand colors (with Pantone codes, if you have them), and all necessary text. Usually, this text comprises ingredients, weight, and company information.
- Step 3: Write a Design Brief: The design brief is a concise document that explains everything about your project. It should include an explanation of the mood you’re seeking, who the box is for, and any design ideas you might have. Let your designer or a packaging manufacturer know the idea that you have in mind regarding the personalized candy box, and it should be able to work accordingly.
- Step 4: Choose Your Packaging Partner: You have the option to work with a packaging broker, local maker, or overseas maker. Find a partner who has experience with food products. This is particularly important when it comes to understanding the specific functionalities of the food and beverage industry.
- Step 5: Check the Dieline and Send Your Artwork: The dieline is a flat, 2D blueprint of your box that shows all cut lines and folds and that your partner will send you. Your designer will put your artwork on this template. Ensure that everything is in its right place before you send it to them.
- Step 6: The Proofing Process: This is a crucial process. You’ll receive a proof, or a test run of your box. It could be a digital 3D model or an actual sample. Read it carefully, looking for color, text and size issues. Only consent when it is done just right!
- Step 7: Manufacturing and Shipping: Once you have approved the proof, the box will be manufactured. Inquire from your partner the time frame for this process. In addition, organize the shipping to ensure that the raw material arrives at the right moment.
The best custom packaging for chocolate is stunning is design. It's smart too. Your selections should fit within your brand guidelines and objectives. Consider carefully which of the following brand types is nearest to you now.
| Feature | The Luxury Artisan | The Eco-Friendly Brand | The Mass-Market Brand |
| Main Goal | The Grand Unveiling, Luxurious Touch | Sustainability, Earth Natural Look | Shelf Appeal, Cost-effective |
| Materials to Go For | Rigid Board, Special Papers | FSC-Certified Kraft, Recycled Paperboard | Coated Paperboard (SBS) |
| Main Finishes | Foil Stamping, Embossing, Magnetic Closure | Just Print, Plant Inks, Uncoated | Bright Colors, Gloss Coating, and Window |
| Cost Range | High | Medium to High | Low to Medium |
Choosing the right manufacturer is the key to a good project outcome. A good partner will help you and guide you to avoid errors.
Seek a vendor that is verifiably experienced in your sector. A nice portfolio of previous work, especially in the area of chocolate packaging, is a really good sign.
If you run a small brand, be sure to inquire about minimum order amounts (MOQs). Some suppliers work with lower volumes. Also, inquire about their design assistance and sample process.
A reliable partner like Fuliter can help you every step of the way. We can help you choose materials, design structure, and printing, to bring your vision to life.
We discover the reasons why customizing your package is essential. The alternatives you have. Also, how to compose a competitively victorious box. Choosing the right supplier to manifest your thoughts earns not just the traveler but also takes you to a perfect packaging path. The roadmap to ideal packing begins with a simple plan.
Purchasing premium custom printed candy boxes is a move to your brand's future. Easy way to exposure, protection of products, and happy customers who return. With limitless packaging customization options available, taking time to plan is the most crucial step. Start with the enumeration of your needs. You will then efficiently convey your image through packaging.
Minimum order quantities (MOQs) can vary widely. For straightforward digital printed jobs, that could be 500 to 1,000 boxes. The minimum standard might be several thousand for more complex jobs with offset printing. Always ask your supplier, some of them may be able to working with smaller orders.
After you have approved the final design, your boxes will be ready to ship in 4 and 8 weeks. This time frame will depend on how complicated the design is, the quantity and proofs exchanged and shipping. Plan ahead, scope every rack for it
It's not recommended to use materials that aren't food-safe. Most paperboards, including SBS, are in this category. Make sure that any ink, glue or insides are food safe as well. These would prevent the chocolate from resting right on the box and oils leaking into it.
You can choose recycled or FSC-certified materials. Use vegetarian inks NOT petrochemical inks. Make a box that splits easily and is recyclable. Eliminating mixed materials, such as a plastic window on a paper box, can simplify recycling.
The price of personalized chocolate packaging With all these options size, material, print runs or finishes could affect the cost. A plain tuck box printed for a chocolate bar costs them far less than the big, foil-stamped rigid box with magnetic closure. The only way to receive an exact price is to submit a formal quote with your specific design specs.
Post time: Mar-06-2026


