


You baked a yummy cake. The base is perfectly even. The topping is velvety smooth. The decorations are absolutely to die for. You then decide to put it into a regular box. Instantly, it doesn't feel right. The pack doesn’t go on the cake.
A custom cake box is more than just a box! It is a part of your brand. It protects your creation, and it creates an occasion for buyers. The right box can not only help elevate your branding, but add to the feeling of goodness a customer experiences.
This guide will walk you through it all, step by step. We’ll provide a summary of your options, demonstrate how to order, share budget tips and offer design ideas. You will learn to make packaging that is as good as your cake.
Quality packaging is what makes your money work. It is a big help to your business. A man must graduate from a normal box to a custom job.
In short, your cake will enjoy more value with high-end packaging. It says to the customer that you mind the details. So, you can charge more for your cakes! For the customers, it begins before their taste buds kick in. A well-designed box straddles and makes something out of the first few moments. We call this phenomenon "the unboxing experience."
Not only do the personalised cake boxes grant protection as well. The box which is made by the store exclusively ensure the cake being squished and slide around. The function also enables you to carry the cake with the icing pattern. Also, your box serves as a quiet salesperson. It exists at dinner parties and in offices, at home foods. This in so doing, introduces your brand to the new consumers.
It’s the kind of smart wrapping that pays second dividends in social media. People love sharing items with gorgeous looking products. An Instagram-perfect box would give people a reason to snap pictures and share them online. This ad will be yours for free to help you succeed with your bakery. American shoppers favor packaging that looks good: 72% of them report that the design of the package affects what they buy, according to a study by Ipsos.
To make the best customized pastry boxes you have to know what are your options.With key words as a reference, even foreign trade communications become much less difficult.
Choosing the Right Material
The material you choose for your custom printed box as well as the finishing guidelines greatly affects desirable overall specifications of your packaging.
| Material Type | Strength | Print Quality | Eco-Friendly | Best For |
| Cardboard (SBS) | Good | Excellent | Good (Recyclable) | High-end look, sharp printing |
| Kraft Paper | Good | Fair | Excellent | Natural and eco-friendly brands |
| Corrugated | Excellent | Good | Excellent | Heavy cakes, tiered cakes, shipping |
SBS, also called paperboard or cardboard will be the industry standard. It features a bright white surface for high color contrast.
Kraft paper is a type of paper that's made out of unbleached pulp and gets its brown color from it. It’s a fantastic product for brands that are seeking an organic or rustic look. It is also highly recyclabe.
The corrugated style is the most robust option. The fluted structure made of paper is between two flat pieces of paper. This construction function is good for heavy or fragile cakes. Also, it is perfect for tiered wedding cakes or if shipping is needed. There are various types of cardboard that you can choose from. They vary from the thin micro-flute, which can be used in small boxes, to thick flute for maximum protection.
Finding the Right Style and Size
Your box's look also reflects how your customers want to use it. The common styles include:
- One-Piece Tuck Top: An inexpensive, flat box design that secures its own shape.
- Two-Piece Box:These were a two piece lidded box for more premium touch.
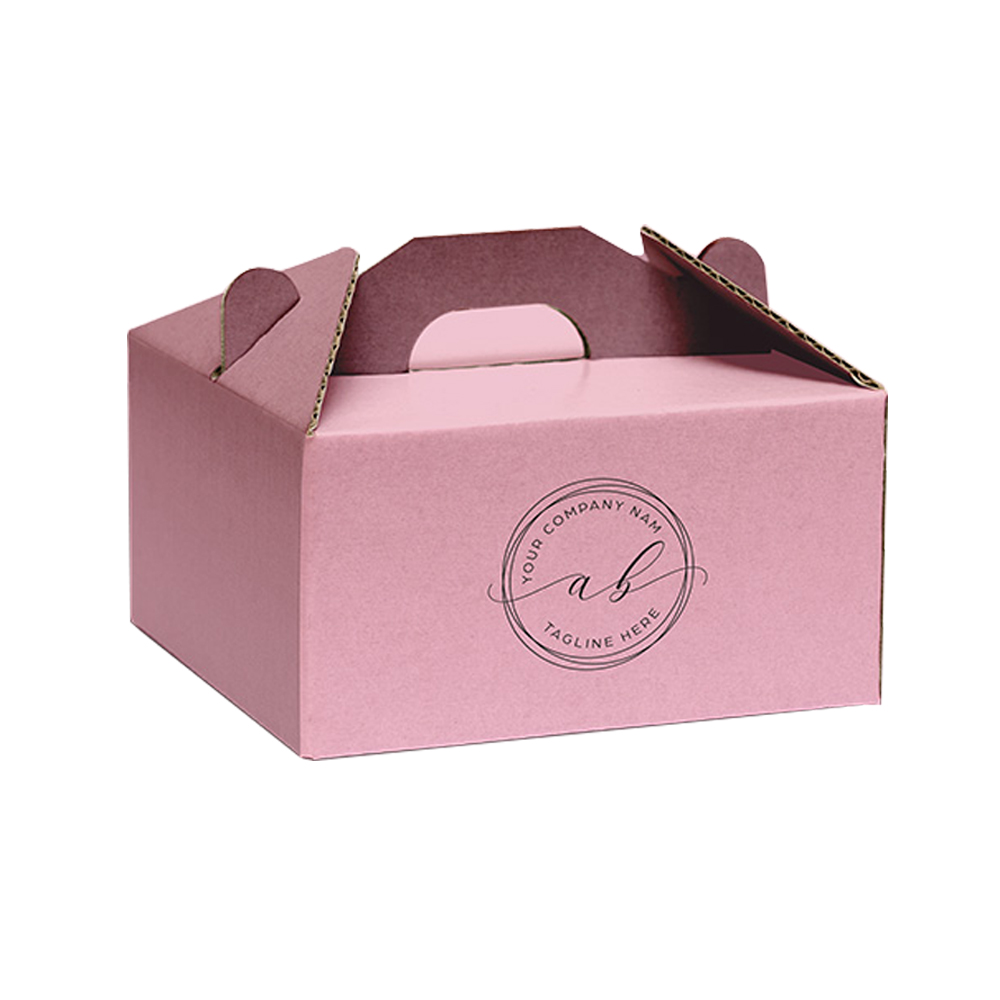
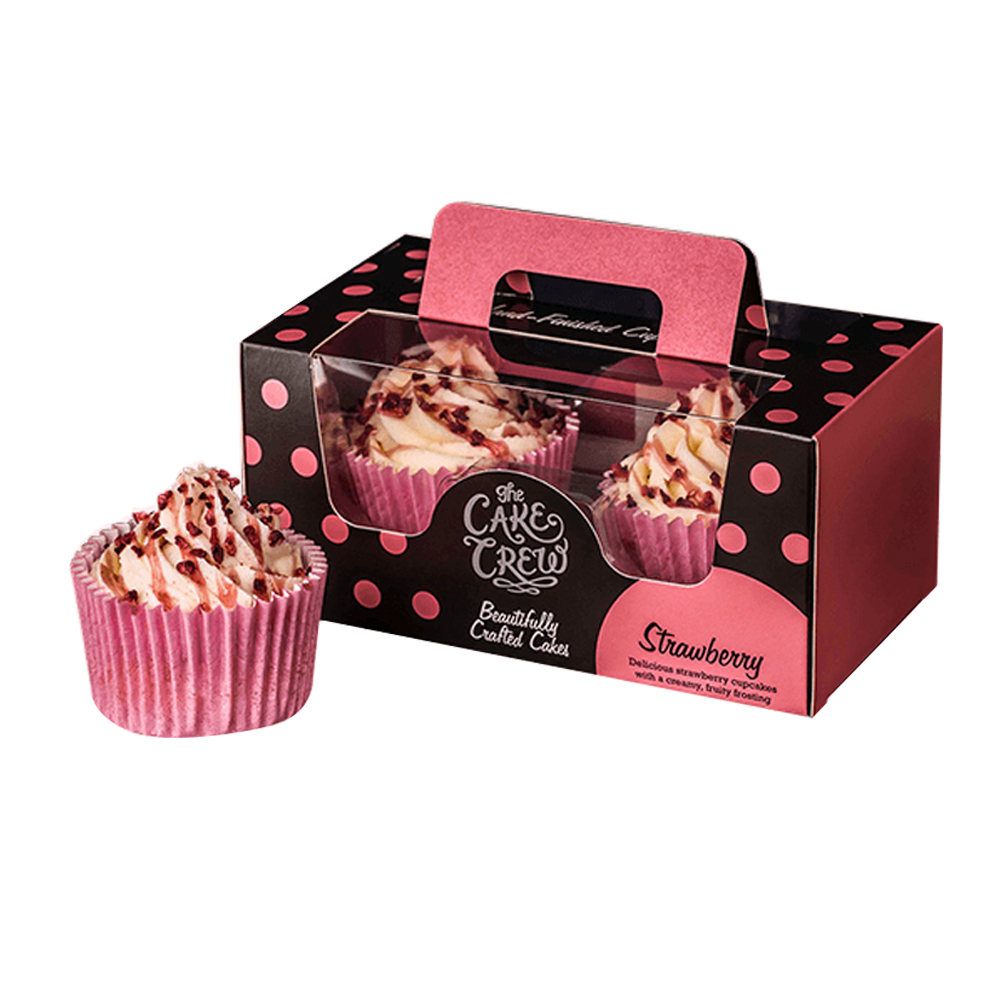
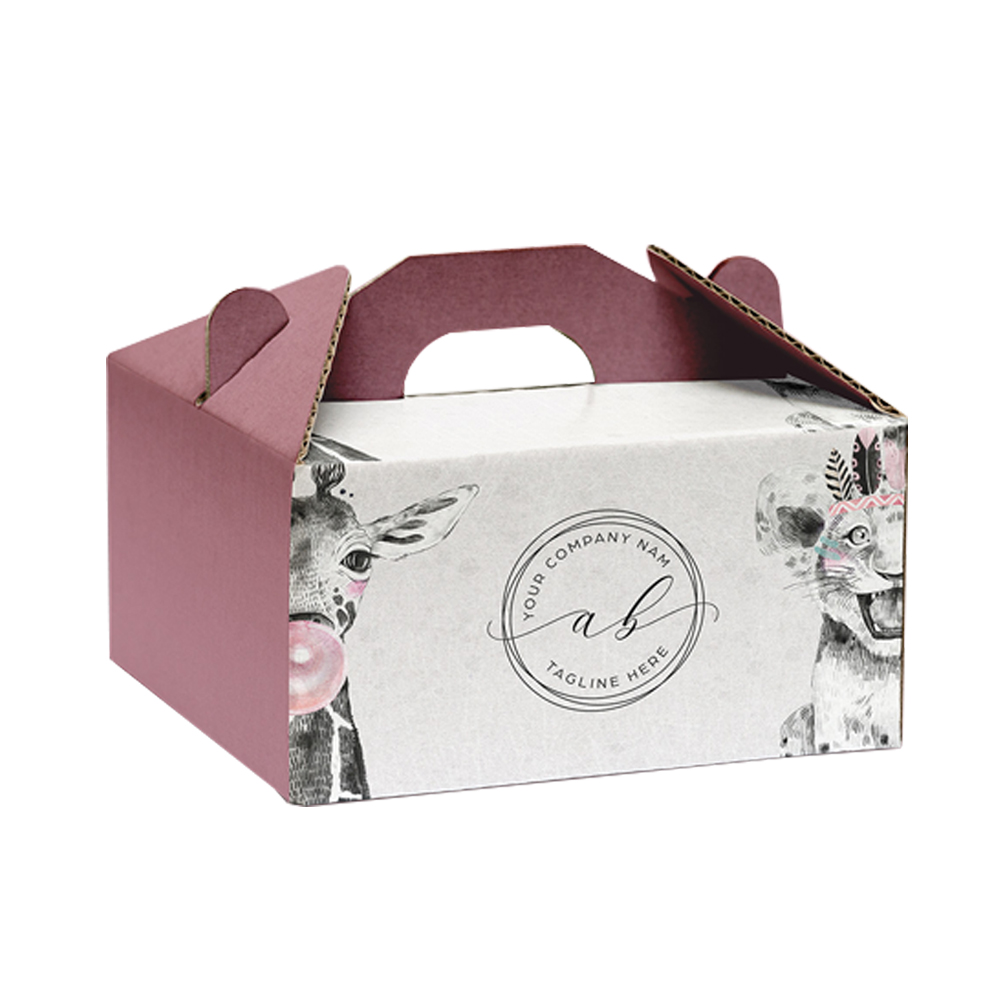
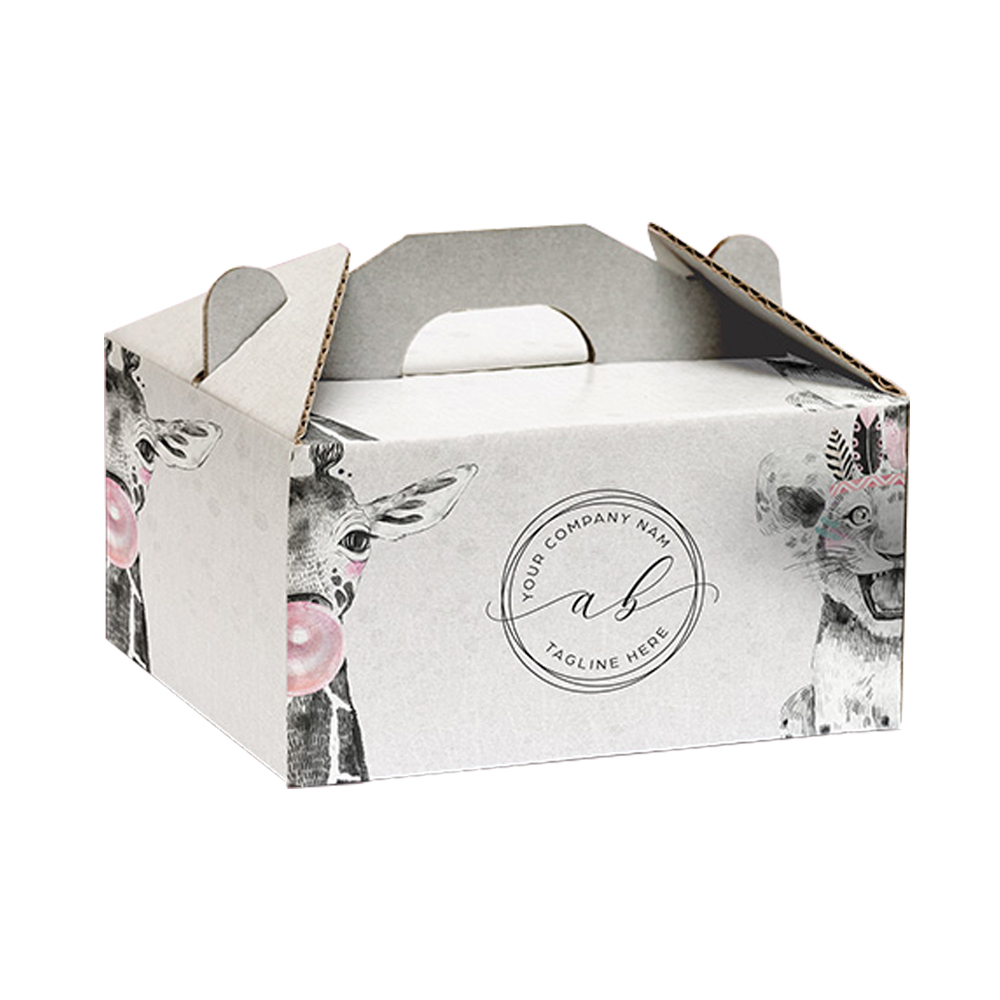
- Gable Box: A box with a handle you can use to easily carry it.
Tight fit is a must. Be precise when you size up your cakes. This is the cake board and added to any tall decorations. Just add a half-inch to the length, width and height. That will give you a generous border to slide the cake in and out without ruining your frosting.
The possibilities of what you can create are unlimited and only limited by your imagination. A window patch (a clear plastic window) allows your gorgeous cake to be seen. Insert trays can put on the cupcakes safe. The handle feature is going to give your customers even more convenience when it comes around transporting.
Printing & special finishes to make your cake box unique in design. You can print many colors and pictures with CMYK printing. Alternatively, you could print using Pantone (spot color) to achieve the perfect match for your brand’s colors.
Custom finishing will elevate your box as nothing fancy can make a difference.
- Matte vs. Gloss Coating: Matte gives a smooth finish and doesn't gleam. Gloss gives a shiny look and is bright.
- Spot UV: A glossy coating applied to certain areas, such as your logo, so that it pops against a matte background.
- Embossing/Debossing: Templates by which certain elements are embossed (3D) or debossed (planar).
- Foil Stamping: Application of metallic foil such as gold, silver, or rose gold to make it eye-catching and classy.
The first time placing an order for custom packaging can pose a challenge. But this straightforward instruction will take you through the whole process.
Step 1: Define Your Needs and Budget
First off, know what you truly want. What should the sizes of those boxes be? Will they be for various cake sizes or for every type of cake? If not, which style suits your brand? Is it a fun and happy theme, or is I more elegant and simple?
Then, you should consider quantity. How many cartons do you think you will use in that time? The majority of the suppliers have a Minimum Order Quantity (MOQ). This is the typical amount of boxes customers are in the habit of ordering.It goes from 100 up to 1,000 or more. Understanding what you need makes it easier to find an appropriate supplier.
Step 2: Check and Choose a Supplier
A quality supplier is the cornerstone of your business success. Look for established companies with good reviews and a strong background in food packaging. Request for a few samples of their works to assess the quality of the material and printing. Make sure they have experience in food grade materials.
For major or small businesses, seek the suppliers offering low minimums. This gives you the possibility to test a custom packaging solution, without risking a big up-front investment. An excellent supplier should act like a partner. They would support you through the whole process from start to finish.
Step 3: The Design and Proof Process
So this is where you go to have the most fun of all, design. If you’re a graphic designer, you can design your own using something like Canva. It should list your logo, website and social media addresses.
Not being so good at this? You may be able to work with the supplier’s design team. Provide them a clear and precise brief with your logo files, brand colors and examples of designs that you like.
You will first receive a proof before confirming your order. A proof can be performed in different formats as:
- 2D Digital Proof: A flat image showing your design on the box layout.
- 3D Digital Proof: A computer model of the finished box.
- Physical Sample: A single, fully-printed box made to your exact specs.
And from my own experience, I always have the physical sample; even if there is a little extra charge. An image in a monitor cannot be judged of exact color, surface texture or inherent strength. You can be absolutely sure of only one thing: How it feels in your hands.
Step 4: Placing the Order and Waiting for Delivery
Once you sign off the physical sample, then you can place your full order. Be sure to verify the lead time with your vendor, as it includes both production and shipping. Remember that delivery may take more time than you’d like. So think ahead.
On receiving your personalized cake boxes, first of all perform a quality inspection. Open several of the boxes from various parts of your shipment. Make sure the color, size and make are exactly like your approved sample.
Branded packaging can be a very heavy investment. But it does not necessarily need to be so high. The good thing in ZA Central Registry is that you have the choice to choose an approach which aligns with your stage of business and budget.
| Tier | Approach | Pros | Cons |
| Good | Stock boxes + custom stickers or stamps | Low cost, low MOQ, very flexible | Less professional, more work for you |
| Better | 1-2 color printing on stock-size box | Professional look, great value | Limited design options, standard sizes only |
| Best | Fully custom size, full-color print, special finishes | Maximum brand impact, perfect fit | Higher cost, higher MOQ |
Scale up as your business grows up the tiers. And remember, the price is tied to the number of orders. Volume or quantity orders and rate boxes all result in lower prices for the individual units of custom cake boxes. For example, a six-month supply might be cheaper per box than a one-month supply.
One of the biggest keys is to choose the right supplier. Find a partner that truly speaks your language with all the right bakery toy’s for you. “They should be in there with you all the way.
Getting in touch with a full-service packaging provider could lessen your burden. They will take care of all aspects starting from design assistance to the delivery service. Many manufacturers also provide industry-based packaging solutions. Such solutions are informed by their understanding of which materials and designs work best with baked goods.
If you are also into custom cake making for special events, some companies focus on event cake boxes. They are likely to have creative shapes along with different elegant finishes which are suitable for weddings, birthdays, and company events.
The MOQs are become larger or smaller of different products from different suppliers. Some online printers set MOQs as low as 50 or 100 pieces at dirt cheap prices. But bigger companies usually require an order of 500 to 1,000 units. In general, the rule is that the smaller quantity you order, The higher price per box will be.
Yes, but I would confirm this with your supplier. A reputable company will print with food-grade paperboard and safe inks, such as soy-based or water-based. Always ask for the food contact certification of these materials. This will help protect both your products as well as the customers.
Allow 3 to 6 weeks total lead time. Typically, this is 1-2 weeks for design and proofing, 2-3 weeks for production and about a week in shipping. Some vendors offer rush services for an extra fee, in the event you’re running short on time.
Yes, you definitely should. I think most suppliers will also send you a free sample, so you can check the material. Even better, request a full-printed prototype of your custom design. This may be for a small cost but it is the best means to complete your colors, size and packaging before committing to a bigger order.
Measure your 3 most ordered cake sizes. Include the board on which cake sits also. Take the length, width, and depth. Double that and add at least half an inch (more like 1-2 cm) to each measurement. The added space will mean the cake doesn’t have to be squeezed in and out, risking a crumbled mound of frosting. For stacked cakes, for example, measure the diameter of the base board and then measure the height of cake in its entirety.
Post time: Mar-09-2026


