


DIY Gift Bags: A Complete Guide on How to Make a Bag from Wrapping Paper
You have a perfect gift that’s wrapped, except there’s a strange shape and no more bags will fit. It’s the kind of situation that everyone has at some time. Instead of buying a pricy bag, you can craft your own using things you already have on hand. This is the manual for you.
This is a craft project you will follow to create a bag out of wrapping paper. You’re going to get more than the necessary steps. We will cover material selection. Next, we’ll add some nice touches to your bag. Next, it’s time to address common issues. In two shakes, you’ll have your own one-of-a-kind crafted gift bag.
Preparing Your Tools: Required Items for the Project
Before we begin, let’s gather our tools. And it will be so much more relaxed, and fun, if you can make everything at once. So, prepare your gift bag with the items below.
Required Items
- Wrapping Paper: This is the magic. It should be a thicker paper for stability. Kraft paper or good gift wrap is great. Thin paper can tear.
- Scissors or a Craft Knife: You need to be able to cut straight. A craft knife and cutting mat are good for straight edges.
- Ruler or Measuring Tape: You cannot do without this. It helps you to make a bag which matches your gift.
- Strong Glue: We can’t get enough of double-sided tape to create clean, hidden seams. Glue stick or tape runner that adheres well works too. Regular transparent tape, at least, is too weak to handle key seams.
- Cardboard Scrap: It would be much stronger if you had a small flat piece of cardboard at the bottom. You don’t have to, but we definitely suggest it.
- Ribbon, Twine, or Rope: You can use these items to make handles for your bag.
- Hole Punch: To punch clean holes through which the handles are fitted.
- Decorative Items: You can use stickers, stamps, or gift tags. These are great for adding a personal touch.
For Handles and Decoration (Optional)
The Main Event: How to Make a Bag from Wrapping Paper in 9 Simple Steps
Now onto the fun part. Just adhere to these nine easy steps and you’ll observe how simple it really is to convert flat paper into a lovely gift bag. Here is a how-to guide to crafting a bag out of wrapping paper.
- Measure and Cut Your Paper First thing is determining the right size of paper for the gift. Here is a simple rule to bear in mind here. The height of the paper is the height of the gift plus approximately three-quarters of its depth. The paper is twice the width of the present, and two times its depth. Just be sure to add some additional paper for an overlap.
- Make the Body Tube Flip over your paper. Fold long sides to meet in center. They will end up overlapping about an inch. Glue or embrace the joint overlapping from top going to bottom and use your strong glue like double-sided tape for that. You should have a long paper tube.
- Fold the Bottom You have to decide what flap of the paper will be the bottom of your bag. Fold this bottom edge up. The width of this fold will be the depth of your bag’s base. Which is to say: The larger the fold, the further down into the base.
- Open and Flatten the Base This may sound quite complicated. Once you get to see it, however, it becomes super simple. Open up the fold you have just made at the bottom. Push it down flat to achieve a diamond or hexagon shape. You will notice two triangular-shaped flaps, one at the top and one at the bottom. If you want extra guidance, you can check out a clear visual guide to folding the base.
- Fold and Secure the Base Flaps Now, take the top point of the diamond shape. Fold it down toward the center line. After that, get the bottom point and fold it up to the center line. It should overlap the first flap. With your tape or glue, fasten these flaps well. This creates a sturdy bottom for your bag.
- Insert the Reinforcement This tiny step can be a big one. Cut a piece of stiff cardboard just large enough to sit down at the bottom of the bag. Insert it to act as a flat, secure base. This step is important because it will stop the heavy items popping through the paper bottom.
- Create the Side Creases Stand the bag upright. You will notice the natural fold lines showing on the sides created by your base. Now, fold the sides in gently to make creases, as you would a store-bought gift bag. It gives the bag its unique shape. It also permits it to be folded flat for storage.
- Punch Holes for Handles Press 1 inch from top of bag inward. This will reinforce the top and make it less likely to tear. Then punch two holes in each side of the bag for your handles.
- Attach the Handles Cut your twine or ribbon to your desired length. Pass one of the ends through a hole from outside to inside. Then, tie a FAT knot back there to keep it from pulling through. Do this for all 4 holes and there you have your handles.
Pro Tips for a Professional-Looking DIY Gift Bag
You know how to construct a bag using wrapping paper. Well, here’s a little secret to how you can get that bag to look store-bought (or boutique!).
Getting Strength and Durability
- The Double-Sided Tape Trick: This is our number one tip for a neat appearance. It gives very strong seams that are not visible from the outside.
- Reinforce the Top Edge: Fold the top inch or two of the bag inward before you punch holes. This double layer of paper gives the handles much more strength.
- Choice of Paper is Important: For heavier gifts, opt for thicker wrapping paper. A strong paper is your best defense against a bag that tears.
- Use a Bone Folder or Ruler: To get those professional, sharp folds, don’t just use your fingers. Run the edge of a ruler or a special tool called a bone folder along each crease. This one simple act makes all the difference. You can see this action for yourself in another great tutorial with crisp folding techniques.
Getting Those Crisp, Clean Folds
When Perfection is the Goal
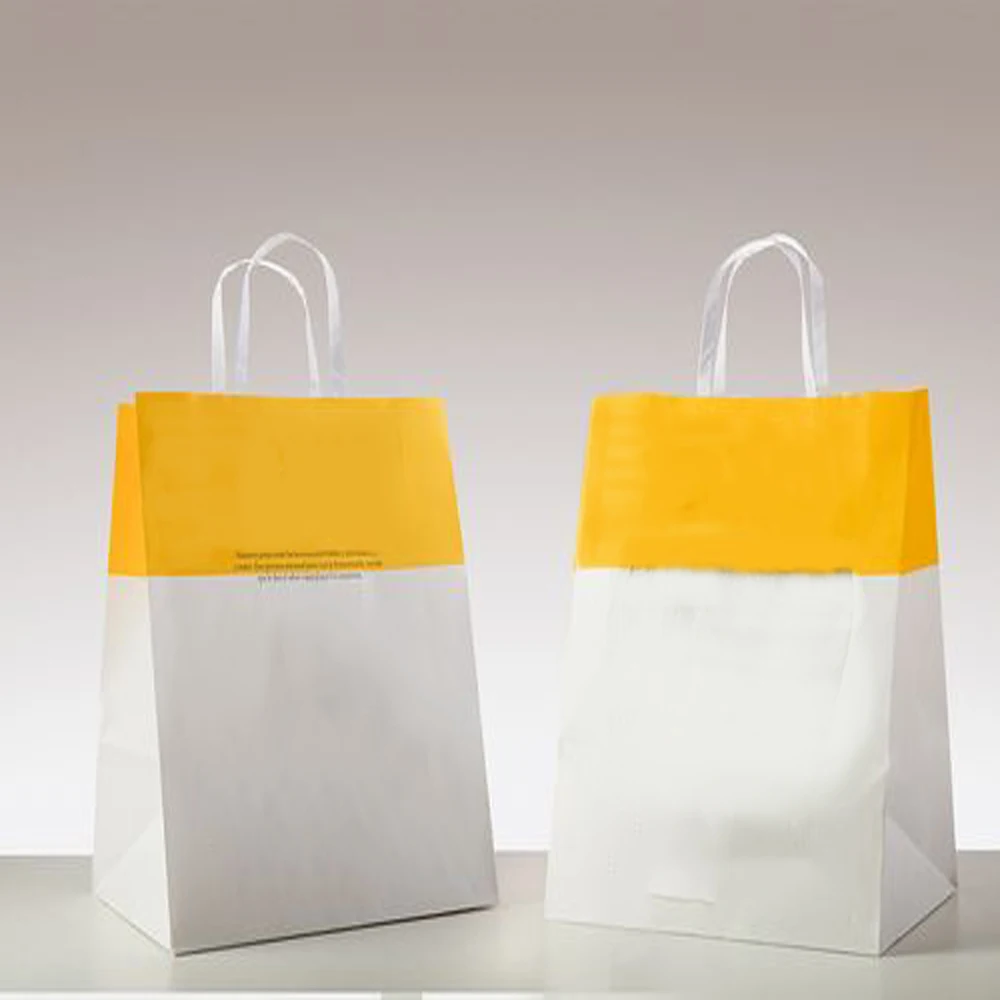
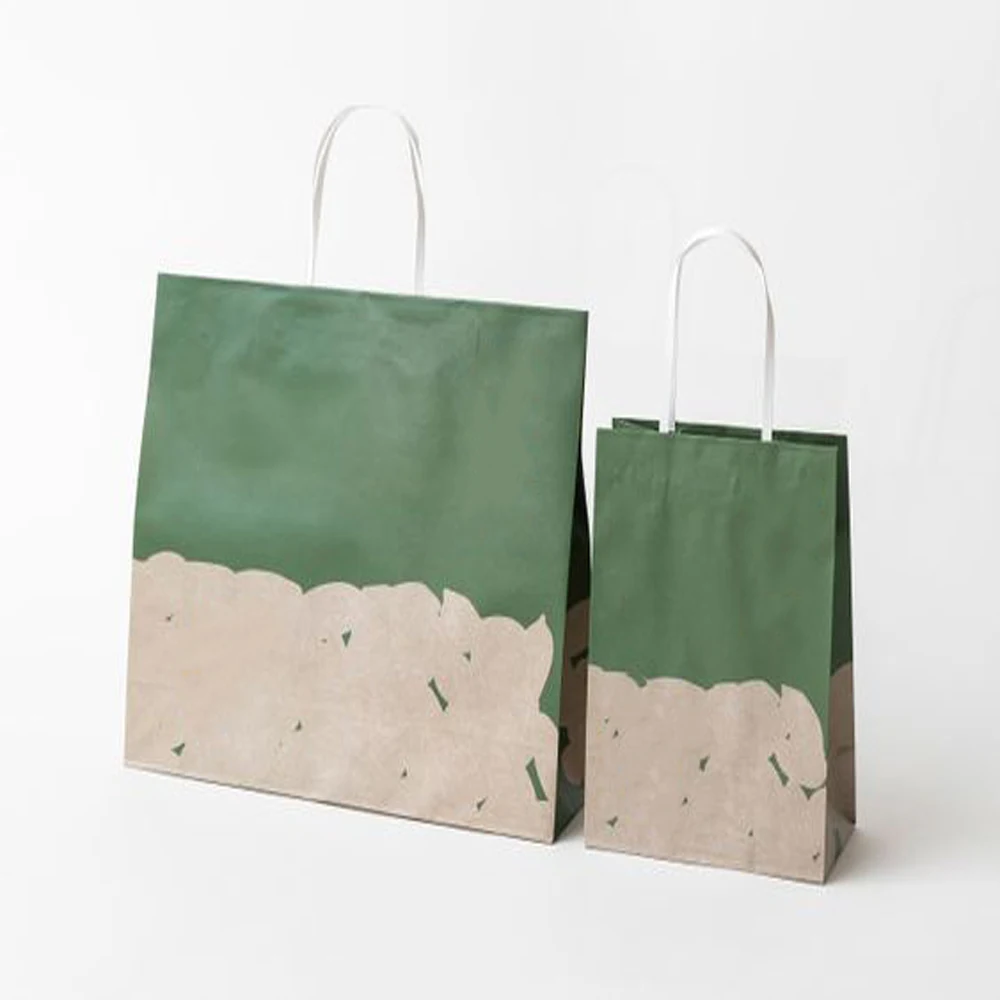
For special events or business needs, making multiple bags by hand can take a lot of time. If you need a perfect, uniform look for many items, a custom solution can provide bags with brand consistency and durability that are hard to match by hand.
Creative Customization: Making Your Bag One-of-a-Kind
The best part of this Do-It-Yourself project is making it your own. Here are some great ideas to customize your gift bag.
Handle Variations
- Twisted Paper Handles: Use a leftover strip of paper. Fold it several times to make it strong. Then twist it to create a matching handle.
- Fabric Scraps: Strips of soft fabric or wide ribbon can give your bag a rustic or elegant feel.
- No-Hole Handles: If you don’t have a hole punch, you can still add handles. Simply create a loop with your ribbon and glue it securely to the inside of the bag on each side.
- Add a Custom Tag: Use a thicker paper in a different color to create a gift tag.
- Stamping and Drawing: Use rubber stamps or markers to add custom patterns, designs, or a heartfelt message directly onto the bag.
- Layering Papers: Before you start folding, you can glue a strip of a different but matching paper along what will be the top edge. When you fold it over, it creates a beautiful cuff. You can find a plethora of inspiration for making gift bags that are truly unique on the internet.
Decorative Flourishes
Thematic Inspiration
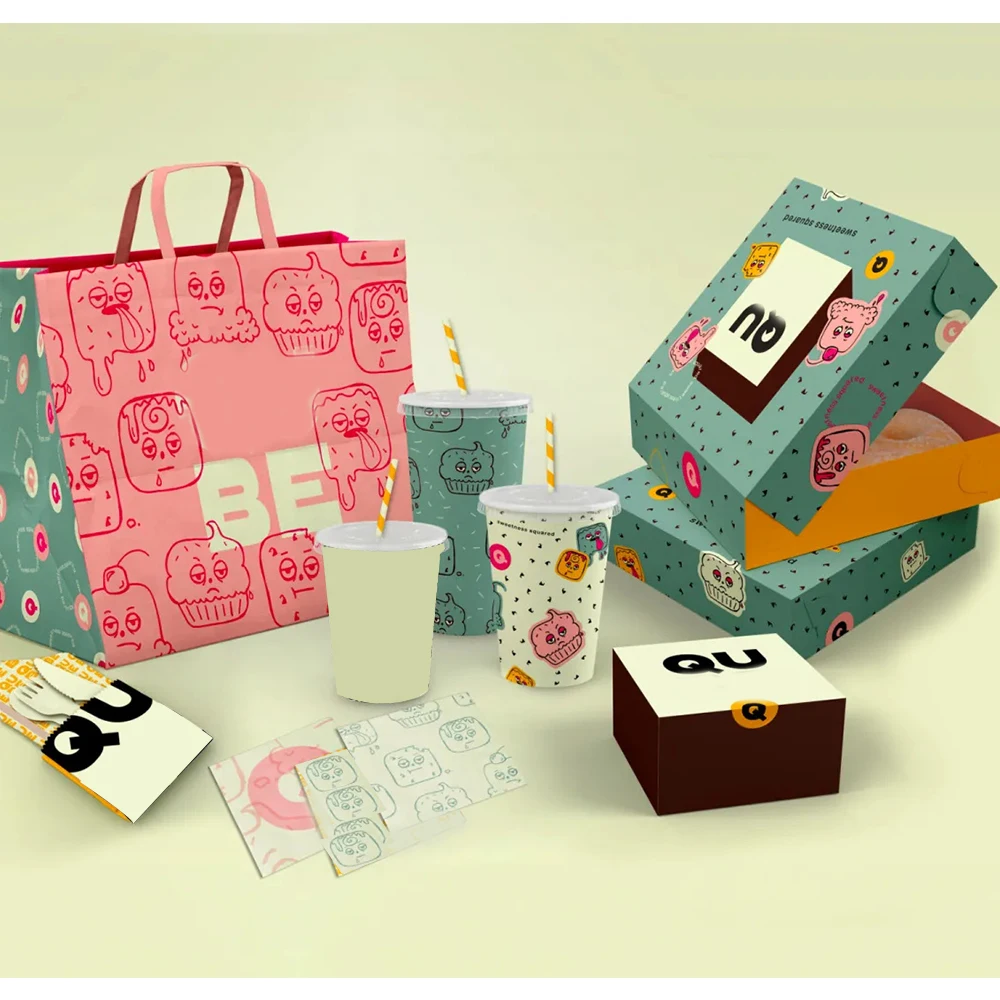
Think about how the bag’s design can match the gift inside. A sleek metallic paper is the choice for a tech gadget. In contrast, a soft floral paper is the right choice for a spa set. This is similar to how professional packaging is designed by industry to create a specific feel.

FAQ: Your Questions Answered
Below are questions which most people ask soon after they learn how to make a bag out of wrapping paper.
What is the best type of wrapping paper to use for making a gift bag?
Yes, any paper can ideally work for the bag, but it is better to use thicker, high-quality paper. Looking for paper weighing 70-80 gsm . It is robust and less likely to tear. The bag made from thick paper will last longer. Avoid looking for very thin or foil papers in the first attempt.
How do I make the gift bag stronger for a heavy item?
The best way to secure the bag’s strength is to place a stiff cardboard piece at the base. It will help evenly distribute the weight. In addition, make sure you are using strong double-sided tape for all the seams. Also, when the item is exceptionally heavy, it can use two layers of wrapping paper.
Is it possible to make a bag without tape or glue?
Yes, a bag can be made without any tape or glue using only folding techniques somewhat similar to origami. This “no-tape” technique uses folds to cleverly lock the paper in place. However, these methods can be challenging. For a beginner, using a tough glue would guarantee that the bag is secure.
How do I figure out the right size paper for my gift?
The simplest way is to place the gift on the paper. You will require wrapping paper that fits around the gift’s width with a one-inch overlap for the seam. For the height, you will get the measurement of the gift plus half of its depth for the bottom fold, with a little extra for the top. If you are unsure about the size, it would be ideal to get more paper than you think.
My bag keeps falling over. What did I do wrong?
The primary reason behind this is that the base often isn’t flat or wide enough. Make sure your folds on the bottom are even and clean. Top option is to insert a cardboard in the n bottom. That will give you a nice flat sturdy bottom from which your beautiful hand made bag will stand proud!
Conclusion: Wrap Up Your Gifting with a Personal Touch
How to make gift bags from wrapping paper is a fun and practical and cheap craft. That way, you not only save money but walk away with a new skill that you can apply in the future. It’s also good for the planet, as you are using up materials that you have already purchased. It gives that extra special touch to every gift.
How to Make a Gift Bag Out of Wrapping Paper Learning how to make a gift bag out of wrapping paper is something you will use again and again! ![]() This quick DIY gift bag idea is perfect for small gifts and what better way to upcycle extra wrapping paper? It changes the mere process of giving gifts into a more artistic and personal ceremony. So pick up that paper and start crafting now!
This quick DIY gift bag idea is perfect for small gifts and what better way to upcycle extra wrapping paper? It changes the mere process of giving gifts into a more artistic and personal ceremony. So pick up that paper and start crafting now!
If you are interested in branding your business with custom packaging, a dedicated provider like Fuliter Paper Box could be your go-to place for high-quality options.
SEO Title: How Do You Make a Bag from Wrapping Paper? Easy DIY Guide
SEO Description: Learn how do you make a bag from wrapping paper with this complete DIY guide. Step-by-step instructions, tools needed, and tips for perfect results.
Main Keyword: how do you make a bag from wrapping paper
Post time: Dec-30-2025


