


On special occasions such as holidays, birthdays, anniversaries, etc., gift boxes not only carry gifts, but also extend the heart. An ingenious personalized gift box can instantly upgrade the grade of the gift and make the recipient feel the unique care. Compared with the same finished boxes, homemade gift boxes can be tailored according to the size, theme and style of the gift. This article will give you a detailed introduction on how to make personalized gift boxes of different shapes and sizes, helping you to easily create your own creative packaging.
1. How to build a gift box-prepare basic materials: build a solid foundation
Before starting to make, prepare the following materials to make the whole process smoother:
Cardboard: It is recommended to choose cardboard of moderate thickness as the main structure to ensure that the box is firm.
Double-sided tape or hot melt adhesive: used to bond the parts to make the box structure tight.
Printed paper or colored paper: used to wrap the surface to increase the beauty.
Scissors, ruler, pencil: used for measuring, drawing and cutting.
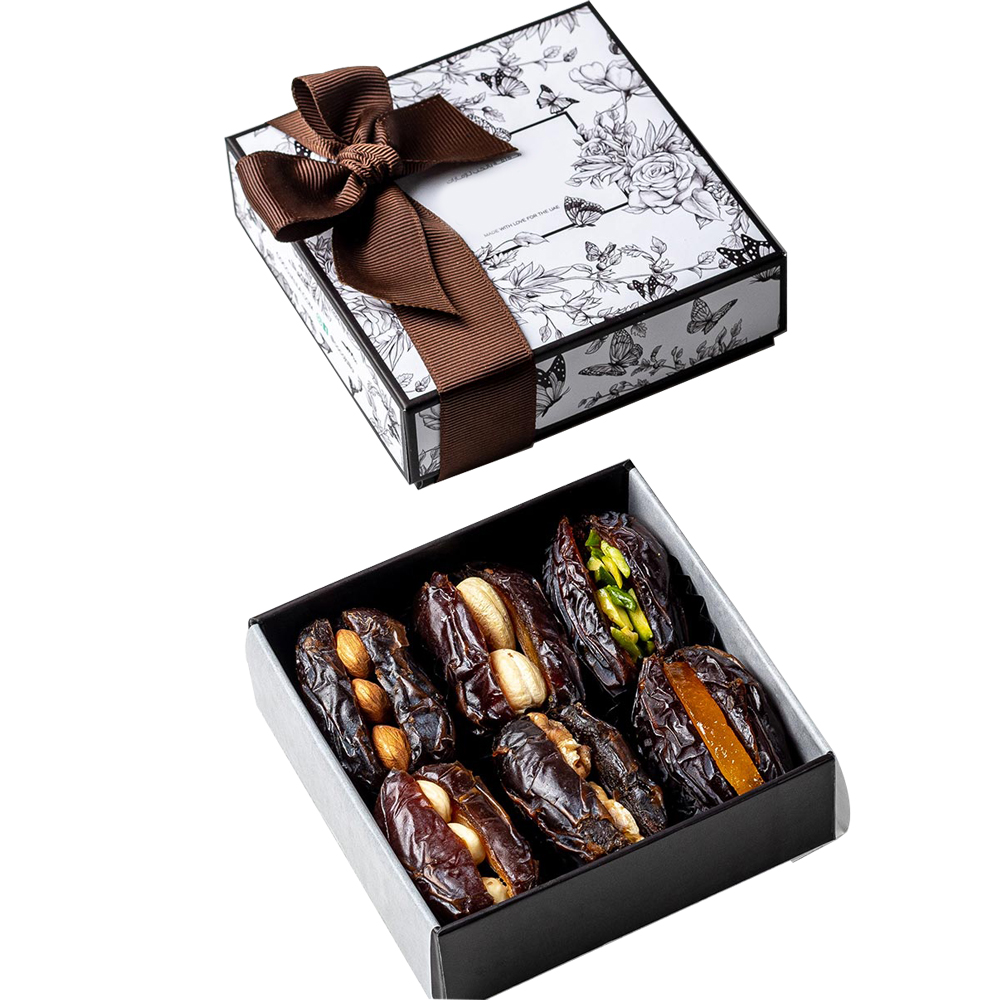
Decorative materials: ribbons, dried flowers, stickers, wooden clips, etc., to enhance visual effects and creative expression.
2. How to build a gift box-draw a gift box template: flexible customization of shape and size
1. Determine the shape of the box
Personalized gift boxes are not limited to squares or cuboids, you can also try:
Heart-shaped boxes: suitable for Valentine’s Day or Mother’s Day to express love.
Cylindrical boxes: suitable for candies and small accessories, with elegant shapes.
Hexagonal boxes: stronger sense of design, suitable for creative gifts.
Drawer-type structure: easy to open, increase fun.
Tower-shaped gift box: suitable for multi-layer small gifts, presenting superimposed surprises.
2. Draw a structural diagram
Use a pencil and ruler to draw the bottom shape (such as square, circle, etc.) on the cardboard.
Then draw the corresponding number of sides according to the height.
Note that there is a glue edge (about 1cm) to facilitate subsequent assembly.
3. How to build a gift box-cutting and folding: create a three-dimensional structure
Accurately cut out each structural surface along the drawn line.
Use a ruler to press the line to facilitate the neat edges of the cardboard when folding.
For special shapes such as circles or hearts, you can cut out the template first and repeat the drawing to ensure symmetry.
4. How to build a gift box-Assembling a gift box: Stable structure is the key
Glue the sides and bottom one by one with double-sided tape or hot melt adhesive.
Keep the edges aligned to ensure that the overall shape is square or round.
For boxes that need to be closed at the top, you can also design a flap, drawstring or magnetic opening and closing structure.
Tips: When pasting, you can fix it with a clip for 10 minutes to ensure that the glue solidifies and makes the box more secure.
5. How to build a gift box-beautify the decoration: Personalized creativity lights up the box
This is a step to turn the gift box from “practical” to “amazing”.
Wrap the surface
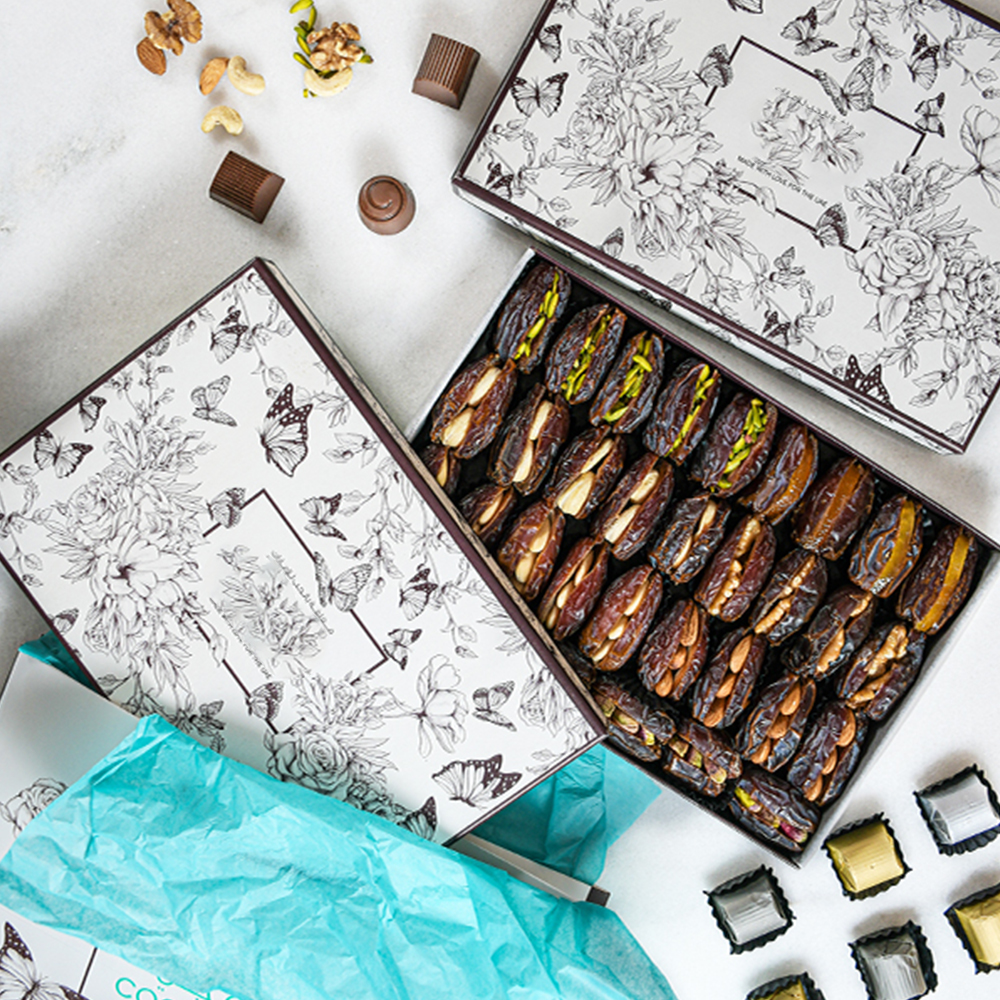
Use printed paper or kraft paper to cover the entire external structure.
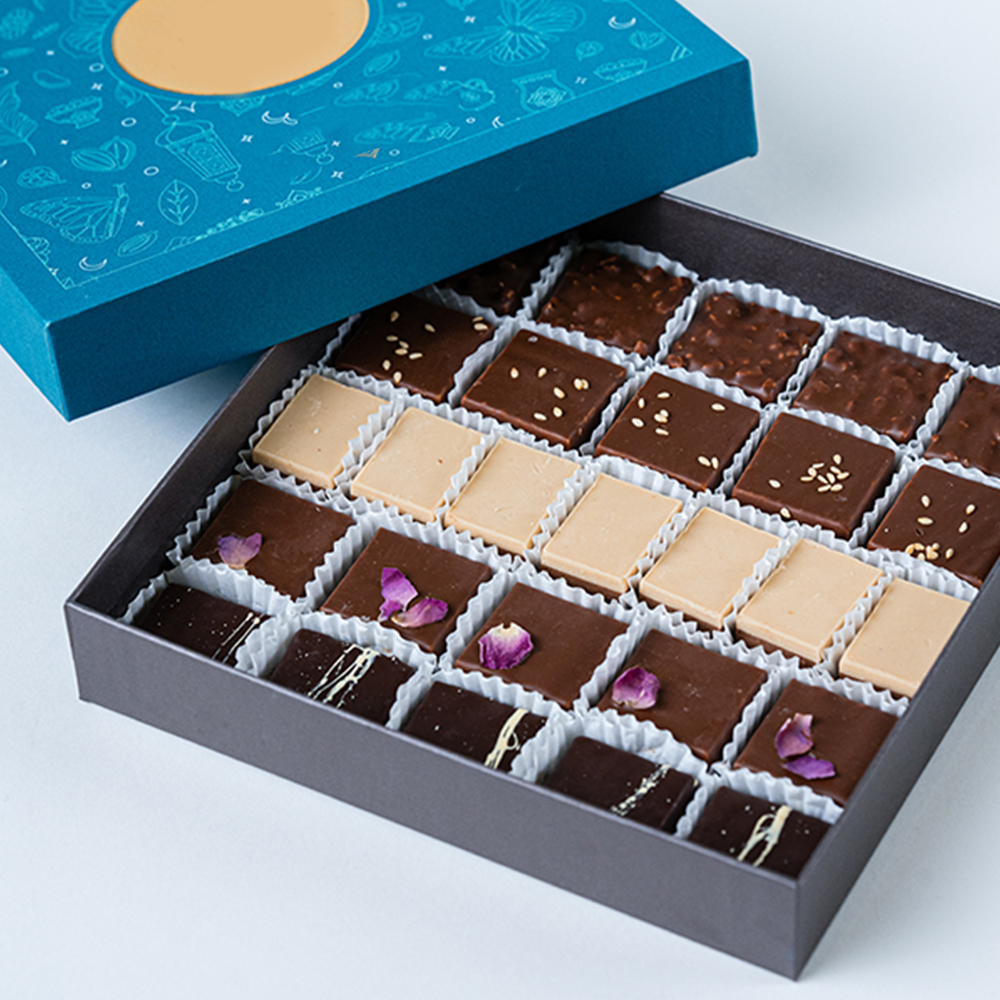
The pattern can choose elements that match the festival, the recipient’s preferences, the brand tone, etc.
Add decoration
Ribbon bow: classic and elegant.
Dried flower stickers: full of natural feeling, suitable for literary gifts.
Stickers/gilded labels: You can add words such as “Thank you” and “For You” to add emotional warmth.
DIY painting: Hand-painted patterns or written blessings to convey exclusive thoughts.
6. How to build a gift box-create diverse styles: depending on the gift box, it varies from person to person
Gift type Recommended gift box size Recommended style
Jewelry 8×8×4cm small square box, flocking lining
Handmade soap 10×6×3cm long strip, natural style
DIY dessert 12×12×6cm transparent window box, food-grade paper
Greeting card/photo 15×10cm flat envelope box, pull-out type
Holiday gift box set Multi-layer structure, superimposed design Christmas style, retro style, minimalist style
7. How to build a gift box-final inspection and use: the moment of preparation
Confirm whether the box body is firm, whether there is warping or damage.
Check whether the decoration is completely fitted and whether the ribbon is knotted firmly.
After putting the gift in, check the size again to see if it is suitable. If necessary, add fillers (such as crepe paper, wood wool, etc.) to protect the gift.
Finally, cover the lid or seal it, and a unique gift box is born!
Summary: Homemade gift boxes, send your thoughts more colorful
The process of making personalized gift boxes is not complicated, the key is to be attentive. With just a few basic tools and materials, plus a little creativity, you can create customized packaging for gifts of different sizes and styles. Whether it is simple style, retro style, cute style, or artistic style, homemade gift boxes are the best way to convey your thoughts and enhance the texture. The next time you prepare a gift, you might as well make your own packaging box to make the gift unique from the “box”.
Post time: Jun-14-2025


