


Step 1: Prepare tools and materials of how to make christmas gift boxes
A successful handmade project starts with preparation. Here are the basic materials you need to prepare in advance:
Colored paper: It is recommended to use slightly thicker cardboard, such as red, green, gold and other Christmas colors, which are both beautiful and easy to fold.
Scissors: Used to cut paper, keep the blade sharp and the cut smooth.
Glue: Used to glue the edges of paper, it is recommended to use white glue or double-sided tape for handmade.
Ruler: Ensure the accuracy of measurement to avoid the box from tilting and deforming.
Pen: Mark the fold line and size.
Step 2: Measure and cut the paper of how to make christmas gift boxes
Before you start, think about the size of the gift you want to put in the box. For example: necklaces, candles, handmade cookies and other small items, each gift has a different box size.
Use a ruler to measure the length, width and height of the gift
The paper needs to reserve appropriate edges for folding. It is recommended to add 1.5-2 cm to each side
Draw the fold line on the back of the paper with a pen to ensure that the lines are clear and accurate
When cutting, pay attention to the neatness of the edges and corners. If necessary, you can use a paper-cutting template to improve efficiency.
Step 3: Origami of how to make christmas gift boxes
The next step is to fold the paper into a box:
According to the fold lines drawn earlier, gently fold the paper in half several times to ensure that the creases are clear
First fold out the bottom of the box, then fold up the four sides to form a preliminary three-dimensional shape
Use a symmetrical folding method to ensure that the box can be placed stably and beautifully in the end
If you are a beginner, you may want to search for “Basic Paper Box Folding Diagram” or use a template to help practice a few times
Step 4: Glue and fix the structure of how to make christmas gift boxes
After the initial completion of the box structure, use glue to fix the corners:
Avoid applying too much glue to prevent leakage and affect the appearance
Wait a few seconds for each part to be glued, and press gently to help fit
For gift boxes with a heavier bottom, double-sided tape can be used to enhance firmness
Note: Do not move the box frequently before the glue is dry, otherwise it will cause deformation.
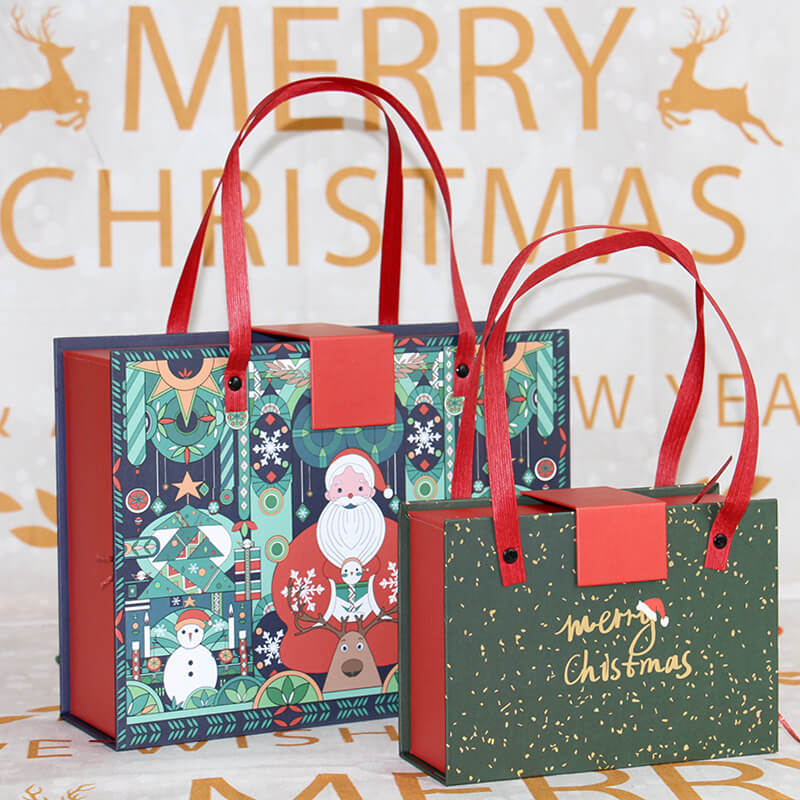
Step 5: Personalized decoration design of how to make christmas gift boxes
This is the most creative step and determines the final appearance of the gift box. Here are some simple and interesting decoration suggestions:
Hand-painted patterns: Use colored pens to draw Christmas trees, snowflakes, elk and other elements to increase the festive atmosphere
Sticker decoration: Use shiny stickers, digital labels or small holiday cards
Add ribbons: Wrap a circle of gold or red ribbons, and tie a bow to enhance the texture
Write a sentence: For example, “Happy Holidays” or “Merry Christmas” to express blessings
The decoration style can be retro, cute, simple, and it depends entirely on your aesthetics and creativity.
Step 6: Put the gift in and seal it of how to make christmas gift boxes
When the box and decorations are complete, you can put the carefully prepared gift in the box:
You can use a small amount of shredded paper or soft cloth as a pad to prevent the gift from being damaged during transportation
Make sure the gift does not shake excessively in the box
After closing the lid, use glue or stickers to seal the seal and wait for it to dry
You can also tie a ribbon or a tag as a finishing touch when giving a gift
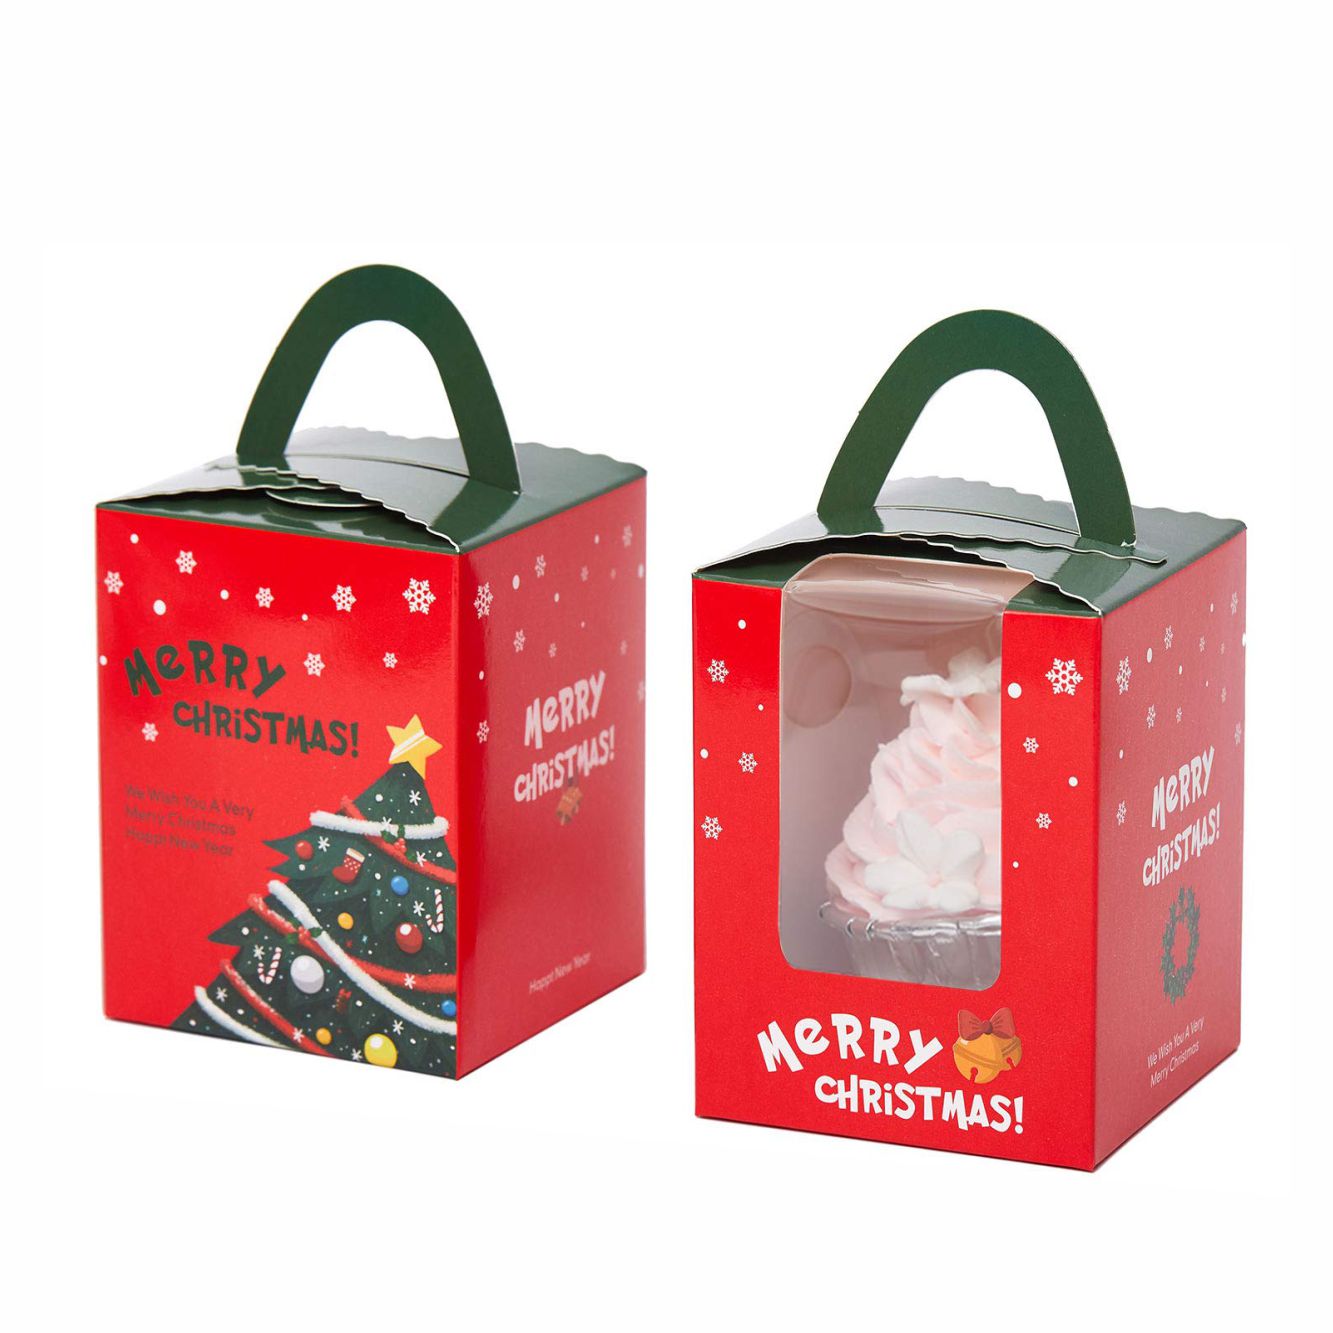
Step 7: Finished product display and usage suggestions of how to make christmas gift boxes
At this point, a handmade Christmas gift box is officially completed! You can:
Put it under the Christmas tree as one of the holiday decorations
Give it to relatives, friends, colleagues, or exchange gifts at a party
Even use it as part of the photo background to increase the festive atmosphere
In addition, if you become proficient, you may try more shapes – such as heart-shaped, star-shaped, and three-dimensional hexagonal boxes – to constantly challenge your creative limits!
Post time: Jul-03-2025


