


How to Make a Paper Bag: A Simple Step-by-Step DIY Guide
Making a paper bag from scratch is both fun and environmentally friendly learning experience. Use your own designs to create these bags for any occasion. Use many in one size to organize paper and materials, or pack up gift bags, party bags.
Easy peasy the entire way through. All you need is a piece of paper, some glue and delicate folds. You can take a flat sheet and, with the addition of some straps, you have a usable bag. This guide is going to be your step-by-step for how to make a paper bag.
In this guide, you will learn:
- How to select the best paper and tools.
- A classic way to make a bag step by step.
- Tips to fix common problems.
- Fun ways to add your personal touch to the bags.
Choosing Your Materials Like a Pro: Paper, Glue, and Tools
The first step in creating a paper bag is to select the materials you will need. You get to decide how strong you’d like your bag to be and how it will look. The materials are very grade quality and this will make your job easier.
The Heart of the Bag: Right Paper to Choose
The paper you select is the most important portion. Paper weight is the thickness and strength of the paper, which can be measured either by using GSM or in pounds. Higher numbers mean more durability.
The quality of paper will vary based on use for example a bag for heavy book would be printed on stronger thicker paper opposed to a candle bag which can have lighter, thinner feel. This chart will guide you to choosing the proper paper.
| Paper Type | Best For | Pros | Cons |
| Kraft Paper | Durable gift bags, groceries | Long-lasting, strong, traditional look | No design |
| Wrapping Paper | Beautiful gift bags | Bright colors, multiple choices | Easy to tear, weak |
| Newspaper | Environmentally friendly, lightweight items | Recycled, free, vintage look | Ink can smudge, weak |
| A4/Letter Paper | Small, light bags | Readily available | Small size, weak |
Stay Glued Together: Right Glue to Choose
You want to use good glue so that your bag stays together. A glue stick is the kind of adhesive that seems sanitary and hassle-free for kids. But the demerit is that it is too weak.
White school glue makes a nice bond, but if it is used in too great a quantity, your paper will become wet and wavy. Adhesive tape double-sided is perfect. It’s no mess, and it comes together super easy.
Must-Have and Extra Tools
You don’t need many tools at the outset. For the most part, you can round up what you need from around the house.
What you will most certainly prepare are paper, glue, ruler and scissors. These are all requirements for learning how to make a paper bag.
There are other tools you can use if you want to achieve even more. A bone folder can make creases even crisper. A hole punch is provided to form holes through which handles can be attached. These wee tools might be very helpful for you.
The Classic Method: How to Make a Paper Bag Step-by-Step
This is how you make an old school flat bottom paper bag. Your only path to success is by completing these steps. Before you start, read through all the steps.
Step 1: Measure and Cut Your Paper
Then, you have to determine the size of bag you want. The paper size will dictate the final bag size.
The width of the paper should be slightly more than double that of the bag. The height of the paper equals the height of the bag plus three quarters of the depth. The height you add (8″) will be to create the bottom of the bag.
Step 2: Form the Bag’s Body
Place the paper on a work surface. The longer end should be facing you. Pull the right and left-hand sides toward the center.
Keep one edge lapping over the other by half an inch at all times. Put glue on this overlap. Squeeze the two sides onto each other. There you have a paper tube.
Step 3: Create the Bottom Folds
Now you’ll work away on the bottom of the bag. Decide which end of the tube will be the bottom.
Fold the bottom edge up. This fold will determine how deep your bag will be. If you like your bag to be conventional fold 2-4 inches. Make a strong crease.
Step 4: Shape the Base (“Diamond Fold”)
This part may seem confusing to you, but it is simple. Unfold the bottom pleat you just created.
Push the inner corners down to the flat surface. You will see a diamond or hexagon shape. The center seam aligns with the center points of the diamond. For visual assistance, you may watch the visual detailed guide.
Step 5: Secure the Base
Check the diamond-shaped area. You will notice a flap at the top, another at bottom. Fold top flap back to center. Make a crease.
Now, fold the bottom flap up. It should extend over the top flap slightly. Put glue on this overlap. Press them together. This is a sturdy foundation for your bag.
Step 6: Create the Side Creases (Gussets)
The inwardly extending folds on the sides are known as gussets. They have room for the bag to get larger. To do that, partially fold the left and right sides inward. Now fold it in half to the base.
Fold them until the side crease matches the corner of the bottom. Unfold the bag. You will detect the side creases. For another insight, there is one other excellent pictorial tutorial to reference too.
Step 7: Finishing Touches
For a tidy opening, fold the top edge down by about an inch. Either way you can fold them outside or in.
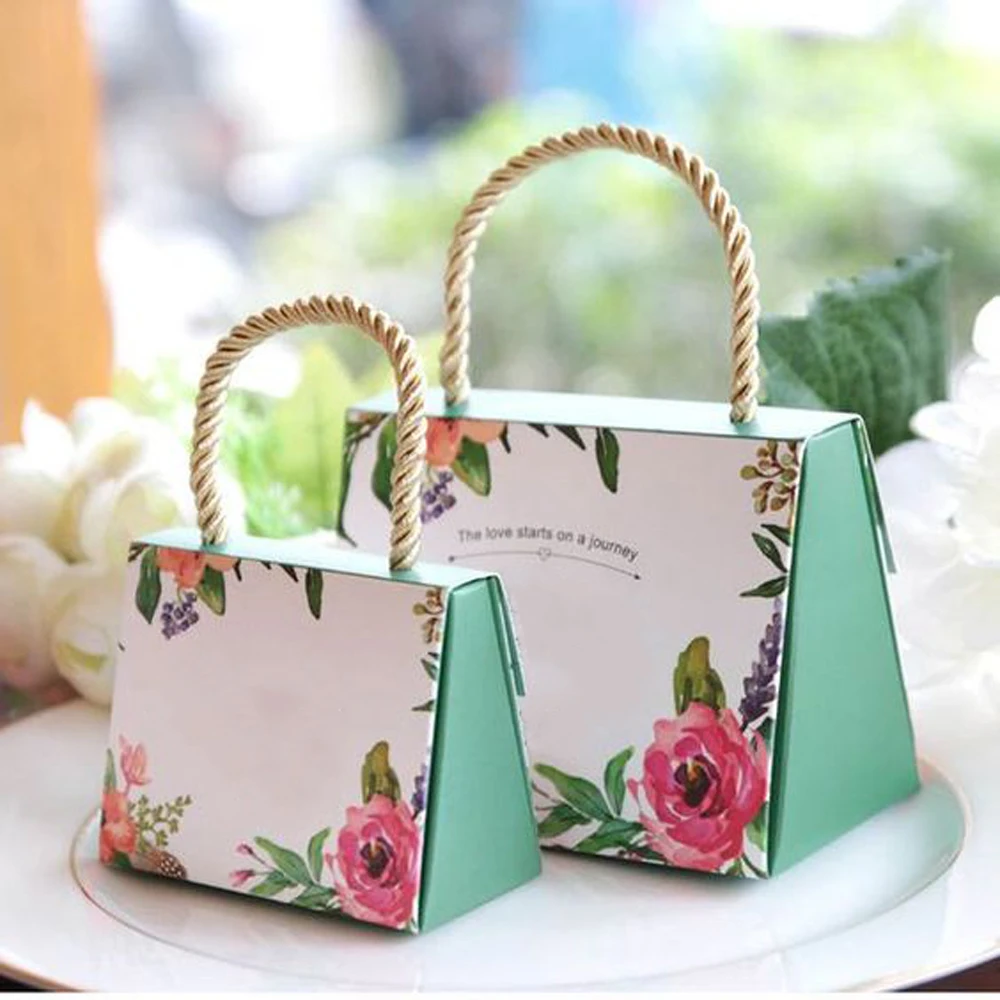
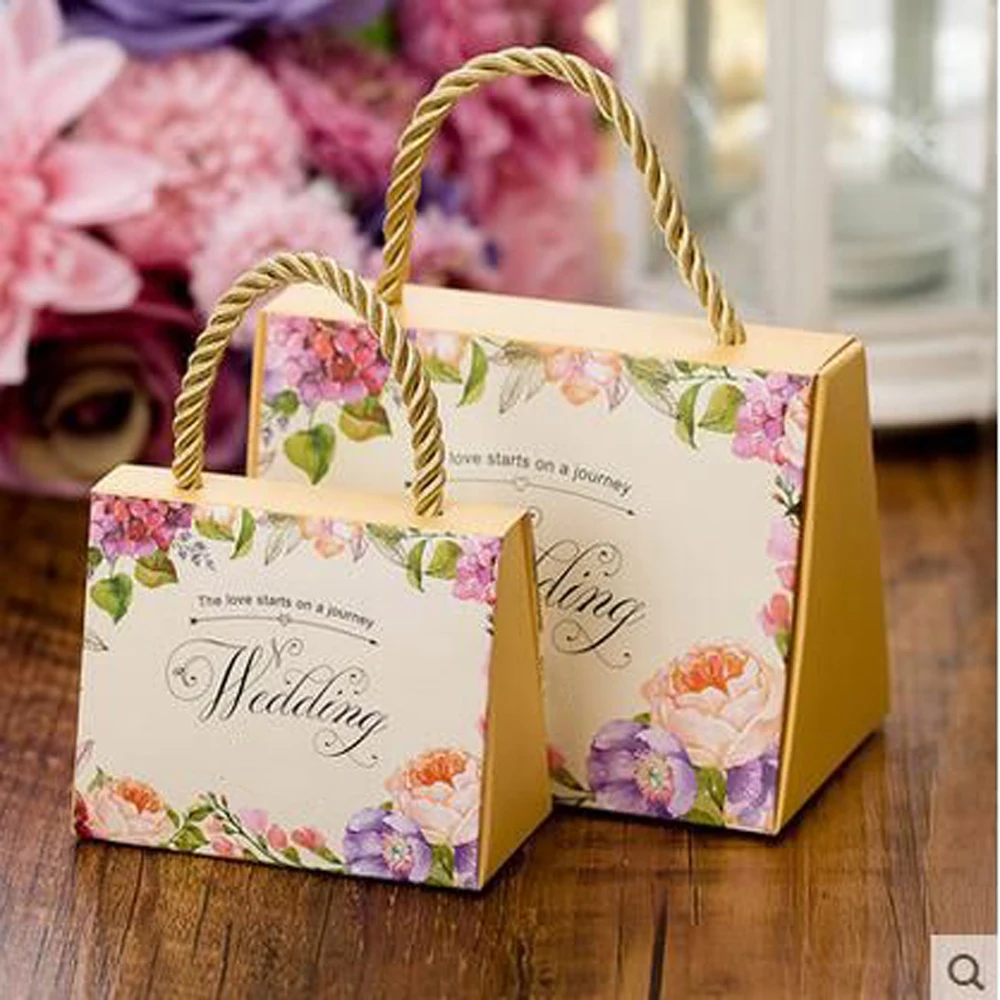
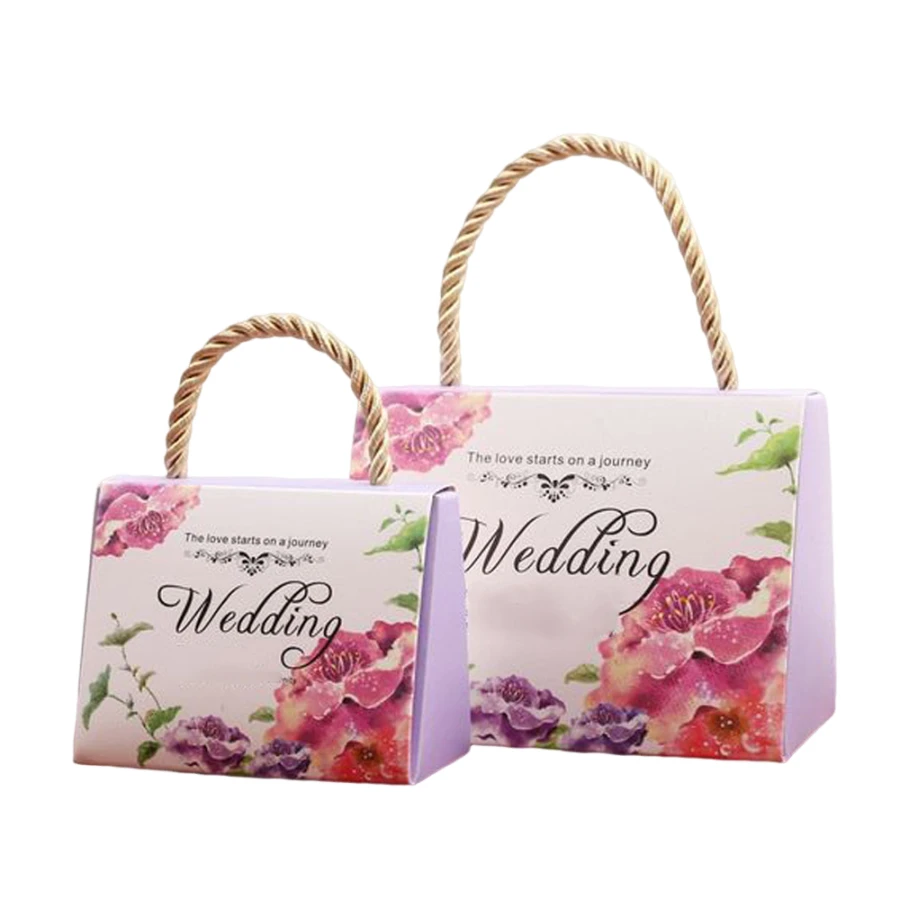
Your basic paper bag is now ready. This DIY way can be kept for personal projects. Looking at professional prints gives your ideas. For the best examples, visit Fuliter Paper Box and view the different items they offer.
Fixing Problems & Pro-Tips for a Perfect Finish
Most first tries are not going to be perfect, and that is o.k. This is usual. I will share how to correct mistakes you may have made when making a paper bag.
My folds look uneven. You’ll want to score the paper before folding it. You need a ruler and bone folder for this. But if you don’t have them, just use the back of a butter knife. You just press down the line where you want it to fold. That makes a perfect guide to keep your crease straight.
My glue is messy or warps the paper. When you use glue, make sure to use a thin, even layer. If you are using liquid glue, you can prevent extra glue by adding some scrap paper under the edge. This will catch any extra glue. For thin paper, double-sided tape works best.
The bottom of my bag is not a flat surface or feels weak. Create a support with the cardboards. Place a piece of cardboard inside the bottom of your bag. By shoving it in, you’re going to reinforce it and steady it.
My bag got a tear when I added something inside of it. This is usually an indication that you used weak paper. You may have used paper that is of low weight (GSM). To carry weight always go for the strong Kraft paper. This is a key factor to making a bag that you can use for a long time.
Beyond the Basics: Making Your Paper Bag Special
Once you have that down, go to town on your own. A brown paper bag is like a blank canvas. It is something you use to make it special and personal.
Attaching Strong Handles
Handles are also an effective way to give your bag a function. There are two very simple ones you can wear in. TEYA: Yesterday’s bag at the top on two sides, punch two holes each. You can then thread a ribbon or twine through the holes, tying the knots on the inside of the bag.
There is also such a way to make handles of paper. You will have two strips. Mould them for strength. Then paste them neatly at the top inside of the bag.
Decorating Your Creation
The enjoyable part of this drill is decorating. It is much easier to decorate the paper while it is still flat. Do this before you begin folding. Stamps with ink pads would work too. Create designs with markers. Attach stickers. Make a collage with magazine photos of all the colors.
Advanced Ways to Make it Special
It may feature some extra bells and whistles to make your product more appealing, as well. You can make a scallop or fancy cut top by using scrap booking scissor. You can also attach a small gift tag and attach with twine.
If you need special features for business or big events, see what is possible. Looking at a custom solution from professionals shows options like special printing or unique shapes.
When DIY Is Not Enough: Professional Paper Packaging
While crafting your own paper bags is satisfying, it may not be feasible in certain circumstances. If you need a continue supply of similar bags for small businesses, wedding parties or corporate gatherings, then you probably need professional assistance.
The best option for such instances is professional paper bag makers. Because they will mass-produce bags that are all identical and are of better quality. You can see insights on packaging solutions by checking the sector they fall under here.
Paper bags are eco-friendly too, being biodegradable. And statistics suggest that given a choice, people will opt for ecofriendly packages instead. The paper for most manufacturers is derived from forests that are managed sustainably. And the end products are frequently recyclable, to boot.
Common Questions (FAQ)
Below are several of those responses to give you a sense for how to construct a paper bag.
Which is the best paper for a strong paper bag?
You want to make it strong? I recommend using 60–80 GSM (40 -50 lbs) range Kraft paper. Standard printer paper is around 80 GSM, if that tells you anything.
Can I make a paper bag with no use of glue?
Origami techniques may be your answer in David fold and tuck tricks. And without glue, the bag is held together. I wish it was stronger but its not for my kids who dislike using glue. Double sided tape can also be a great substitute for glue.
How can I figure out paper size to get a specific bag size?
Here is the straightforward formula: Paper Width = (2 x Bag Width) + (2 x Bag Depth) + 1 inch for overlap. Paper Height = (Bag Height) + (Bag Depth) + 1 inch for the top fold.
Can I create a paper bag that is waterproof?
There’s no way to make it truly waterproof. However, you can resist water. That is where you could use the waxed paper that delis commonly utilize, or perhaps seal your completed bag of Kraft paper with very thin and natural rustic beeswax to keep the water from seeping through.
How do I add strong handles that will not rip?
Its primary trick is to not be flimsy. Insert a small rectangular piece of cardboard or extra sheet of paper before attaching the handles where the holes will be. When you thread a ribbon or twine handle through this denser area, it will distribute the weight better and prevent the tearing.
You now know everything you need. You have learned to gather materials, follow instructions and then add your own ideas. Learning how to make a paper bag is not only practical, it also saves you money and helps reduce the impact of plastic bags on the environment.
So, choose a piece of paper and do that. You may be surprised how easy and enjoyable it is to learn about your body from your own skills.
SEO Title: How Make Paper Bag: Easy DIY Step-by-Step Guide 2025
SEO Description: Learn how make paper bag with this simple DIY guide. Step-by-step instructions, material tips, and creative ideas for eco-friendly bags.
Main Keyword: how make paper bag
Post time: Dec-29-2025


