


how to make a paper box lid: A complete manual tutorial from measuring to shaping
First. how to make a paper box lid Preparing Materials: Choosing the Right Paper and Tools
Types of Paper
Cardboard: Suitable for making sturdy box lids, often used for storage or gift boxes.
Colored Paper: Lightweight and easy to fold, ideal for decorative or lightweight box lids.
Kraft Paper: Has a natural texture and is suitable for handmade or vintage designs.
Tools
Cutter or paper cutter
Ruler (for measuring and marking fold lines)
Pencil or marker
Glue or double-sided tape
Second. how to make a paper box lid Measuring Dimensions: Determining the Lid Fit
Accurate dimensions are crucial when making a box lid.
If the lid is too loose, it will slide easily; if it is too tight, it will be difficult to close.
-
Determining the Box Body Dimensions:
Measure the length, width, and height of the box.
-
Calculating Paper Size:
The length and width of the lid should be approximately 2-3 mm larger than the box body to ensure a smooth closure.
- Leave a Crease:
Leave a crease on each side (usually 2 to 3 times the height of the lid) for folding and gluing.
Third. how to make a paper box lid Draw a template: Structure precision
Once you’ve determined the dimensions, you can begin drawing the template for the cover.
Draw the main rectangular area on the back of the paper; this will be the top of the cover.
Draw the fold areas around the edges, marking them with dotted lines.
Mark the four corners for the cut areas so you can join them together later when folding.
Fourth. how to make a paper box lid Paper Cutting: Precision determines the quality of the final product.
Use a utility knife to cut along the drawn outline.
Cutting Tips:
Hold the knife steady while cutting, gently pressing the edge of the ruler to achieve a smoother finish. Several smooth cuts will result in smoother edges than a single firm cut.
Check the Edges:
After cutting, use fine sandpaper or a cloth to gently smooth out any rough edges and achieve a more refined cover.
Fifth. how to make a paper box lid Fold the Paper: From Flat to Three-Dimensional
Gently fold along the dotted lines to form the basic shape of the lid.
Folding Order: Fold the four sides first, then the corners.
Control the Pressure: Don’t fold the paper completely at once. Use the edge of a ruler to lightly score the crease before folding for a neater finish.
Fold Angle: Each corner should form a right angle to ensure a square lid.
Sixth. how to make a paper box lid Gluing: Reinforce the Lid
Apply glue or double-sided tape to the corners or folded edges.
After aligning, press for a few seconds to allow the glue to set.
If using liquid glue, lightly hold the corners with a clamp to stabilize the lid while shaping it.
After gluing, the basic structure of the lid is complete.
Seventh. Drying and Finishing: Perfecting the Details
Waiting for Drying: Let the glue dry completely to prevent warping later.
Edge Refinement: If there are any irregularities, use scissors to gently trim or smooth the corners.
Test Fit: Place the lid on the box, making sure it fits snugly. If it’s too tight, carefully adjust the fold.
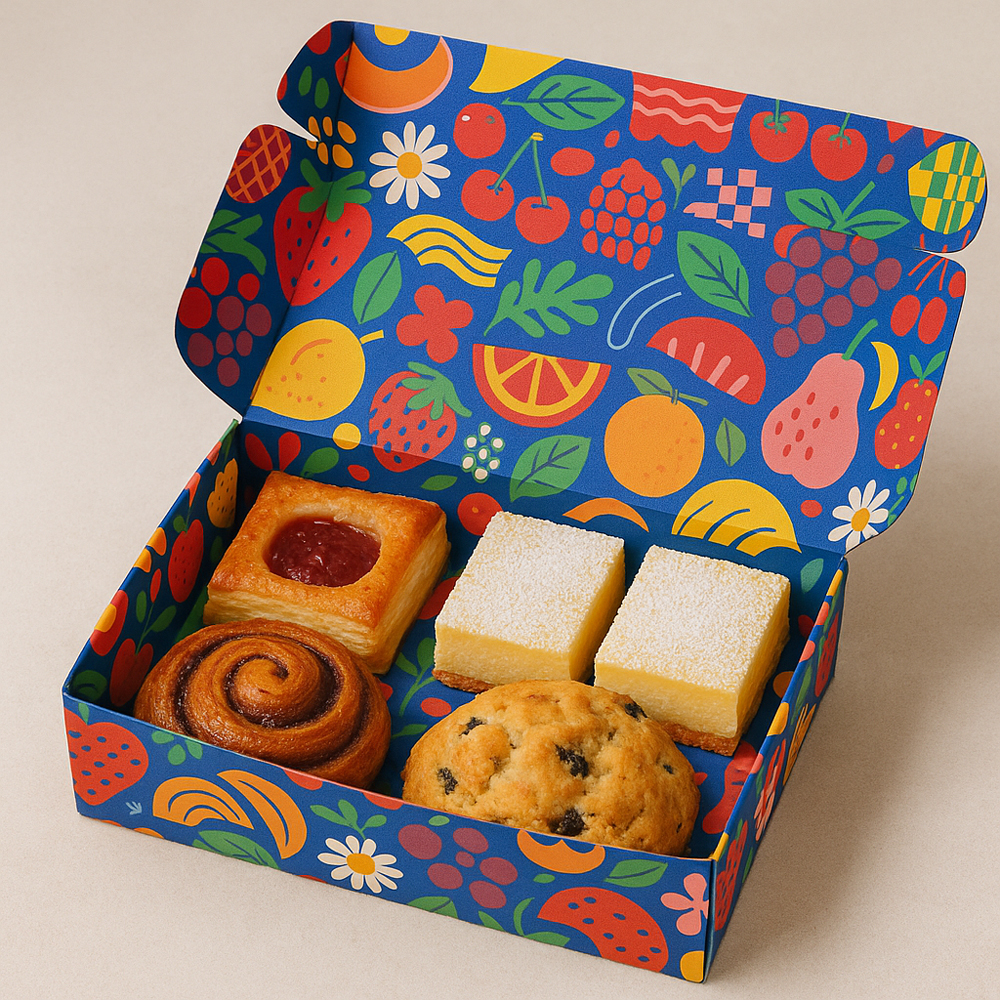
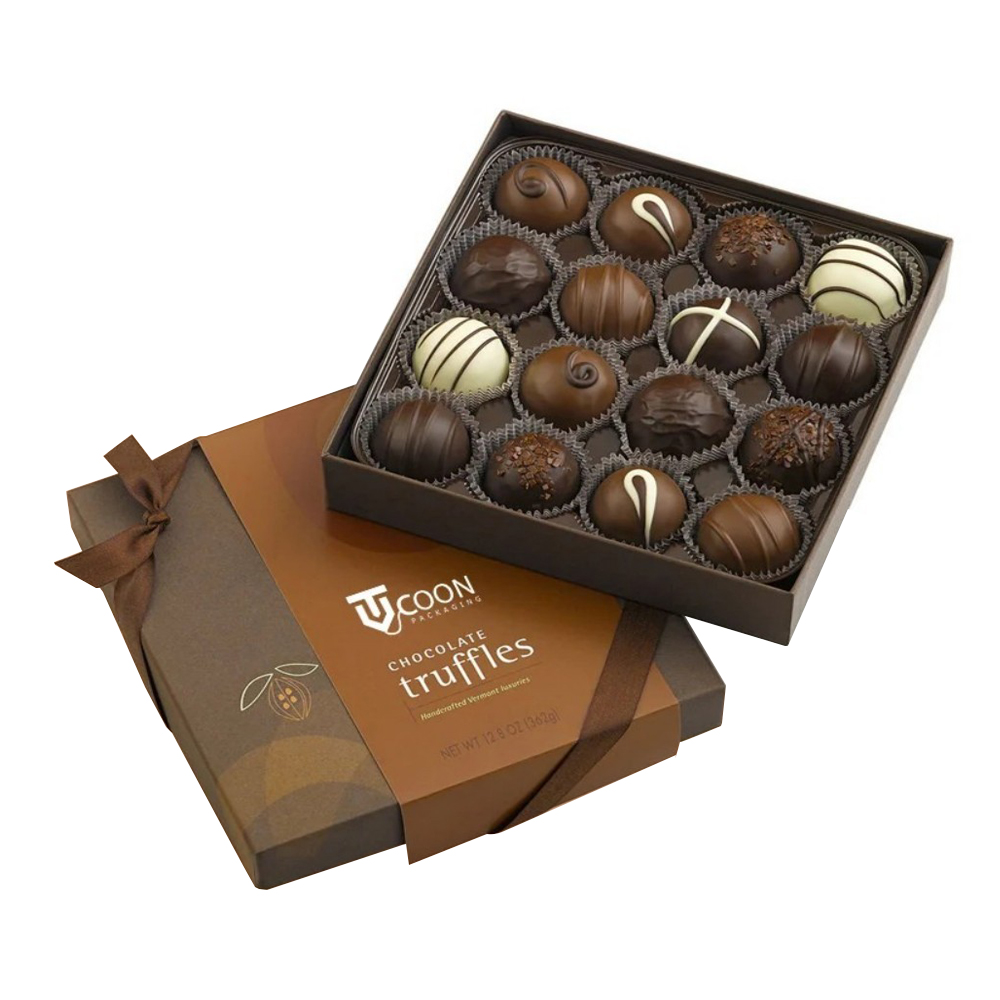
Eighth. how to make a paper box lid Decoration and Creativity: Personalize the Lid
Once the lid is finished, you can unleash your creativity and add style.
Painting: Use markers or acrylic markers to create designs or text on the surface.
Sticker Collage: Apply themed stickers or small tags to create a festive or gift-themed theme.
Collage: Glue fabric, twine, or dried flowers to the surface for a natural, handcrafted look.
Multi-Layer Design: Create a paper lining or filling to give the lid a multi-layered look.
Nineth. how to make a paper box lid Additional Ideas: Create More Shapes
Once you’re familiar with the basic process, try more creative ideas:
Heart-shaped Lid: Perfect for Valentine’s Day and anniversary gift boxes.
Round Lid: Perfect for candy boxes or jewelry packaging.
Special Designs: Add crease lines to create drawer-style or lidded boxes.
By varying the size and proportions, you can easily design boxes with a variety of functions and styles, making your work even more unique.
Post time: Oct-21-2025


