


Shipping chocolate products can be tricky, especially when they need to arrive in perfect condition. Whether you sell handmade chocolates, luxury gift boxes, or seasonal chocolate collections, good packaging plays a big role in protecting your products. A damaged box, melted chocolate, or broken pieces can quickly turn a positive customer experience into a disappointing one.
The good news is that most shipping problems can be prevented with the right materials, packing methods, and delivery planning. In this guide, we’ll look at practical ways to prevent chocolate box damage during shipping, from choosing sturdy packaging to controlling temperature and handling fragile products.
Select the Right Box Material
Not all packaging materials offer the same level of protection. Thin paperboard may work well for lightweight chocolate gifts sold in stores, but it might not be strong enough for long-distance shipping.
Corrugated cardboard is often a better choice for outer shipping cartons because its layered structure helps absorb impacts and resist compression. For premium chocolate products, you can combine a decorative chocolate box with a stronger corrugated shipping box.
When selecting materials, consider the weight of the chocolates, the distance they will travel, and the possibility of rough handling. A box that works for local deliveries may not provide enough protection for international shipments.
Match Box Size to the Product
A chocolate box that is too large allows the contents to move around, increasing the risk of broken chocolates and damaged corners. On the other hand, a box that is too small may put pressure on the chocolates or deform the packaging.
Choose a box that fits the product closely while leaving enough room for protective inserts. Custom-sized packaging can be particularly useful for brands shipping chocolate assortments, truffles, or individually wrapped pieces.
Check Box Strength Before Shipping
Before placing a large packaging order, test a few samples. Stack the boxes, apply reasonable pressure, and check whether the corners, lids, and closures remain intact.
For businesses shipping products regularly, simple packaging tests can reveal weaknesses before they become costly customer complaints.
Use Custom-Fit Chocolate Trays
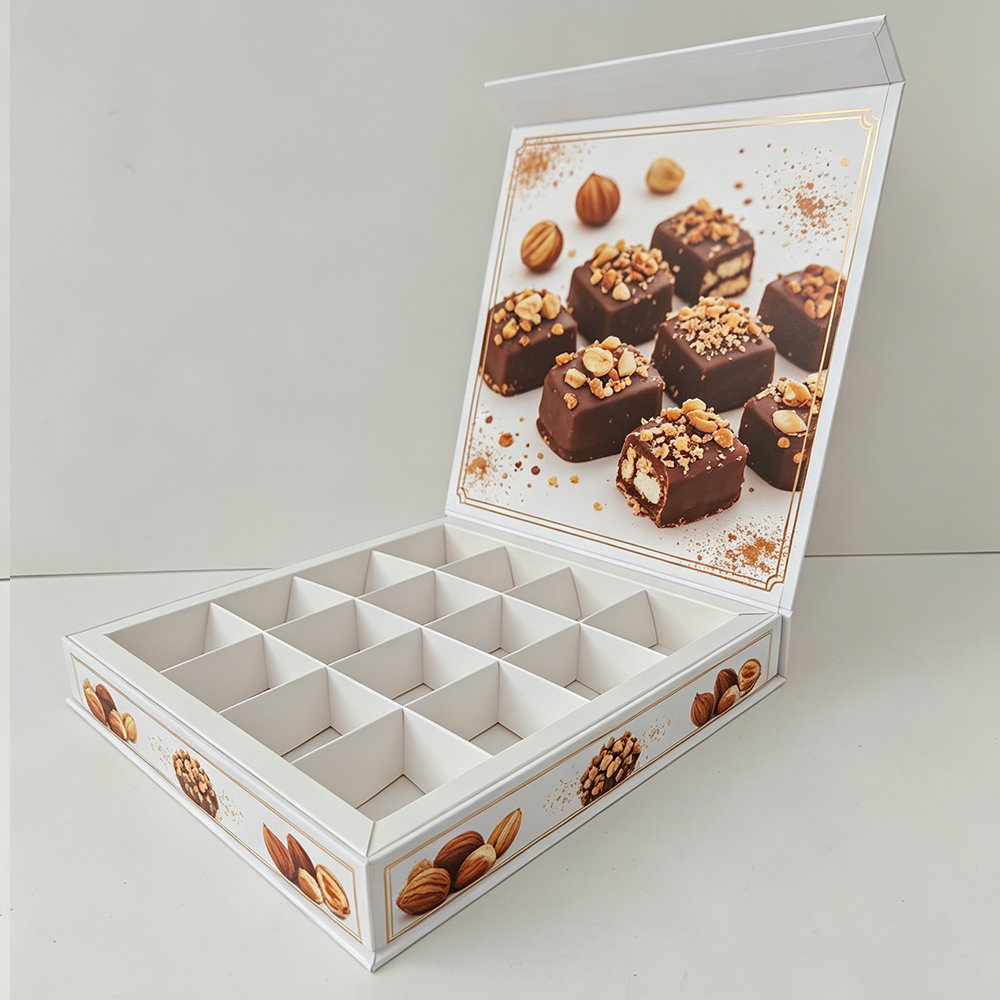
Custom-fit trays are especially useful for assorted chocolates with different shapes and sizes. Each piece sits in its own compartment, reducing movement and preventing direct contact between neighboring chocolates.
Plastic, molded pulp, and food-contact-approved paperboard inserts are common options. The best choice depends on your product design, sustainability goals, and packaging budget.
For luxury chocolate collections, well-designed inserts also improve presentation. Customers can open the box and see neatly arranged chocolates instead of pieces that have moved around during delivery.
Add Cushioning Around Fragile Areas
Truffles, chocolate sculptures, and chocolates with decorative toppings may need extra protection. Soft cushioning materials can help reduce the effects of vibration and minor impacts.
Use suitable food-safe packaging components and avoid placing loose cushioning directly against unwrapped chocolate unless the material is approved for food contact. In many cases, the safest approach is to keep the chocolates in a sealed inner package and place cushioning around that package.
Eliminate Empty Space Inside the Carton
After securing the chocolate box, fill any remaining gaps with suitable protective materials. Paper cushioning, air pillows, or other shipping-grade materials can help prevent the inner box from sliding around.
The goal is to keep the package stable without applying excessive pressure. Too much cushioning force can damage delicate chocolate shapes just as easily as insufficient protection.
Understand Chocolate's Temperature Sensitivity
Chocolate does not have one universal melting point. Its behavior depends on the ingredients, cocoa butter content, formulation, and storage conditions. In general, chocolate can begin softening well before it completely melts.
When it melts and then cools again, the surface may develop white or gray streaks known as fat bloom. Although bloom does not automatically mean the chocolate is unsafe to eat, it can make the product look less appealing.
For this reason, keeping chocolate within the temperature range recommended for your specific product is essential.
Choose Insulated Packaging When Needed
Insulated liners, thermal mailers, and suitable cold packs can help protect chocolates from outside heat. For shipments exposed to high temperatures, consider combining an insulated inner package with a sturdy outer carton.
Cold packs should be selected carefully. Direct contact between frozen packs and chocolate can cause unwanted cooling, condensation, or surface damage. Separate them from the product using an appropriate barrier, and validate the packaging design before using it at scale.
Avoid Condensation During Temperature Changes
Condensation can develop when a cold package enters a warm, humid environment. Moisture may affect labels, paper packaging, and chocolate surfaces.
To reduce this risk, use packaging designed for the expected temperature changes and avoid exposing chilled chocolates to warm air unnecessarily. Depending on the product, a sealed moisture barrier may also help.
Temperature testing under realistic shipping conditions is more reliable than assuming that an insulated box will work in every situation.
Secure the Inner and Outer Packaging
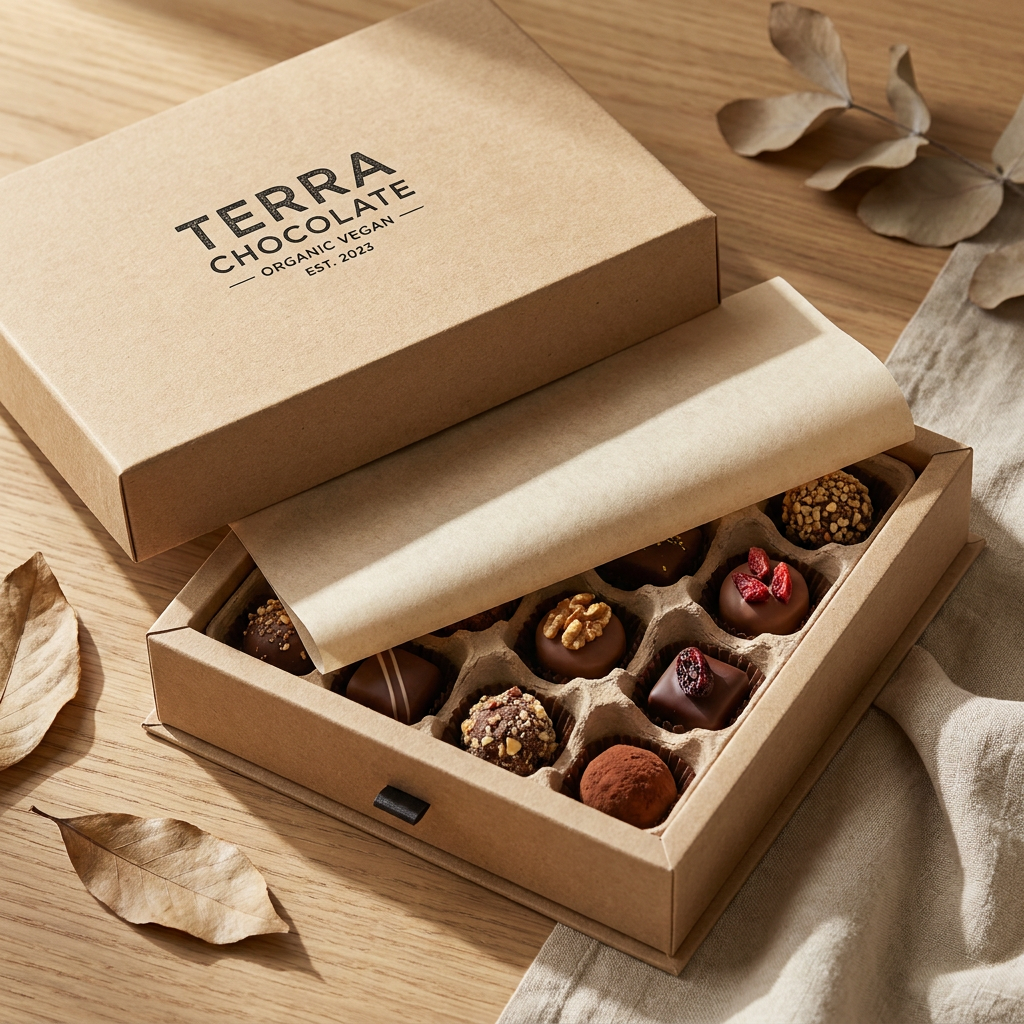
Start by checking that the chocolate box lid fits properly. If the packaging design includes tabs, sleeves, or locking features, make sure each part is fully engaged.
Next, place the product inside the shipping carton and close it securely with suitable packing tape. Reinforce the main seams and bottom flaps, especially when the package is heavy or will travel a long distance.
Avoid relying on decorative ribbons, magnets, or gift-box lids as the only means of securing a shipment. These features may improve presentation, but they are not necessarily designed to withstand transportation.
Use the Right Packing Technique
Place the chocolate box in the center of the outer carton whenever possible. Keep a consistent layer of cushioning around it and make sure the package does not move freely when gently tilted.
For multiple chocolate boxes in one shipment, separate the products with dividers or individual protective wrapping. Do not stack heavy items on top of delicate gift boxes.
A simple packing checklist can help employees follow the same procedure every time, reducing mistakes during busy seasons.
Protect the Packaging from Moisture
Rain, humidity, and damp storage conditions can weaken cardboard and damage printed surfaces. This is especially important for premium chocolate packaging, where presentation is part of the product's value.
Use moisture-resistant outer materials or protective liners when conditions require them. Make sure the shipping carton is fully closed, and avoid leaving packed orders in damp warehouses or exposed loading areas.
Select a Suitable Delivery Speed
For perishable or heat-sensitive chocolate products, faster shipping may reduce exposure to changing temperatures. Express or next-day services can be worth considering during warm weather or for high-value chocolate gifts.
However, a faster service does not guarantee gentle handling or temperature-controlled transportation. Check the carrier's service conditions and make sure the packaging can handle possible delays.
For international shipments, allow extra time for customs clearance and other procedures that may extend transit.
Label Packages Clearly
Labels such as "Fragile" and "This Side Up" can communicate handling preferences, although they cannot guarantee special treatment. They should support proper packaging rather than replace it.
Ensure shipping labels are easy to read and securely attached. If your business ships chocolate during hot periods, use a suitable handling label where it is supported by the carrier's procedures.
Test the Full Delivery Process
Before launching a new chocolate shipping package, send test shipments to different destinations. Include locations with different climates and delivery times when possible.
Inspect the packages when they arrive. Check for cracked chocolates, crushed corners, loose inserts, melted products, and changes in appearance.
For more accurate results, use temperature indicators or data loggers in selected test shipments. The information can help you decide whether to improve insulation, change carriers, or adjust shipping schedules.
Preventing chocolate box damage during shipping requires more than choosing an attractive package. You need a strong outer carton, secure inserts, effective cushioning, suitable temperature protection, and a delivery method that matches the product's needs.
Start with packaging that fits your chocolates properly, then test how it performs under realistic shipping conditions. Pay close attention to heat, moisture, vibration, and pressure, especially when sending delicate or premium chocolate gifts.
Finally, use consistent packing procedures and review customer feedback to identify areas for improvement. A small investment in better packaging can reduce product waste, minimize replacement costs, and create a better unboxing experience.
When every part of the shipping process works together, your chocolate products have a much better chance of reaching customers in excellent condition—and your brand has a better chance of earning their trust.
This depends on whether boxes have been printed before and deposited money saved. Most of the people that print in small quantities are better off paying cost. A simple box for stocking retail products like truffles or bonbons could be anywhere from one dollar to four dollars, and if you order 500 or more then the price portfolio will fall further-very probably each such box no more than 10 cents. A custom rigid box with foil of course is always going to be more expensive. You are better off getting a specific quote than just an estimate.
Certainly, suppliers who take their business seriously use only food grade materials and inks. All surfaces with which it comes into contact must guarantee not to contaminate whatsoever. This concerns things like the paperboard of a box, both coatings and glues. Equally, it's a good idea to check out from your supplier that their inks are deemed to be food safe. In this way you assure quality and safety in your printing.
A die line is simply a flat, two dimensional (2D) drawing of your box showing all cut lines, fold lines, and gluing areas. This is sent to you either by your suppliers or perhaps you draw my design on. It ensures that everything prints and folds correctly. It is the very first blueprint you need for your custom box.
Yes, thanks to the arrival of digital printing it is now possible to order modest quantities at low cost. Most suppliers ask for Minimum Order Quanties (MOQs) of perhaps about 25 or 50 boxes. Even so, it is worth noting that your cost per box is appreciably lower when you order a large quantity.
In switching to low-waste methods, you should choose materials like recycled Kraft paper or FSC-certified paperboard,which means it has been grown sustainably. Use soy-based inks in place of plastic coatings. A design which is simple, elegant, and made of recyclable materials will appeal to customers who care about the environment.
Post time: Oct-14-2026


