


How to tie a bow on gift box: A complete tutorial from beginner to Expert
When wrapping gifts, a beautiful bow not only enhances the overall aesthetic appeal but also showcases your thoughtfulness and creativity. Whether it’s a birthday present, a festival gift, or a wedding souvenir, an exquisite bow can always be the finishing touch. So, how can one tie neat and good-looking bows on gift boxes? This article will provide you with a detailed explanation, from material selection to practical operation skills, guiding you step by step to master this “packaging art”.
1.How to tie a bow on gift box, choosing the appropriate gift box and ribbon is the key
1. Selection of gift boxes
Before tying the bow, you should first prepare a suitable gift box:
Moderate size: The box should not be too large or too small. A box that is too large will make the bow look uncoordinated, while a box that is too small is not conducive to fixing the ribbon.
Suitable material: It is recommended to use a hard paper box or a laminated paper box, which is convenient for wrapping and fixing the ribbon.
2. Selection of ribbons
A high-quality ribbon determines the beauty of the bow.
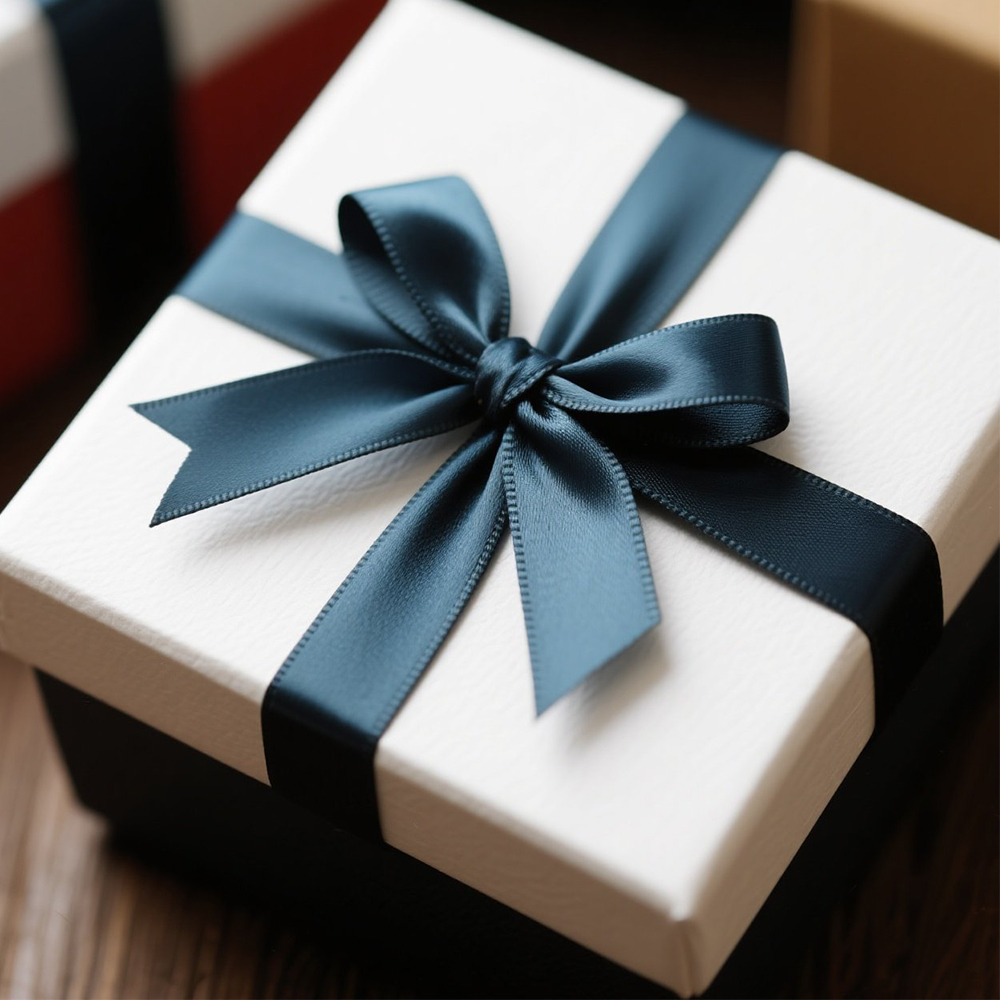
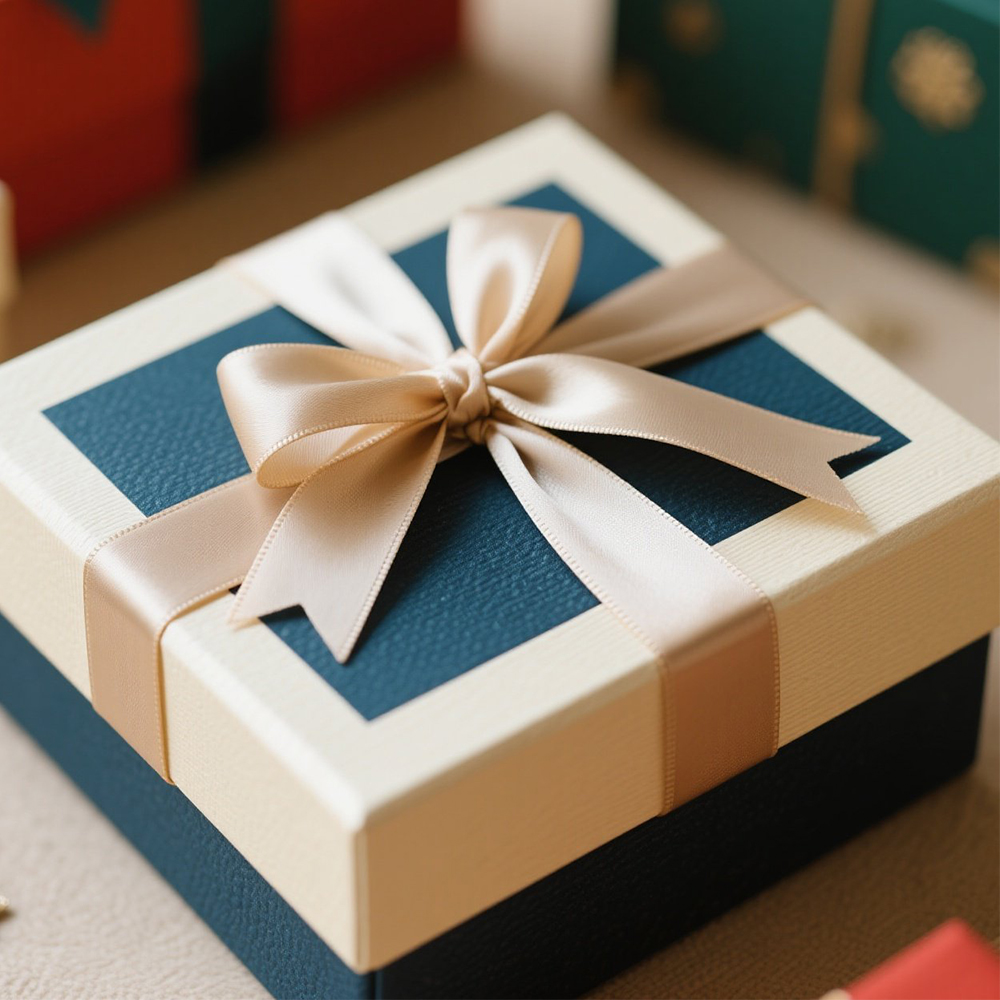
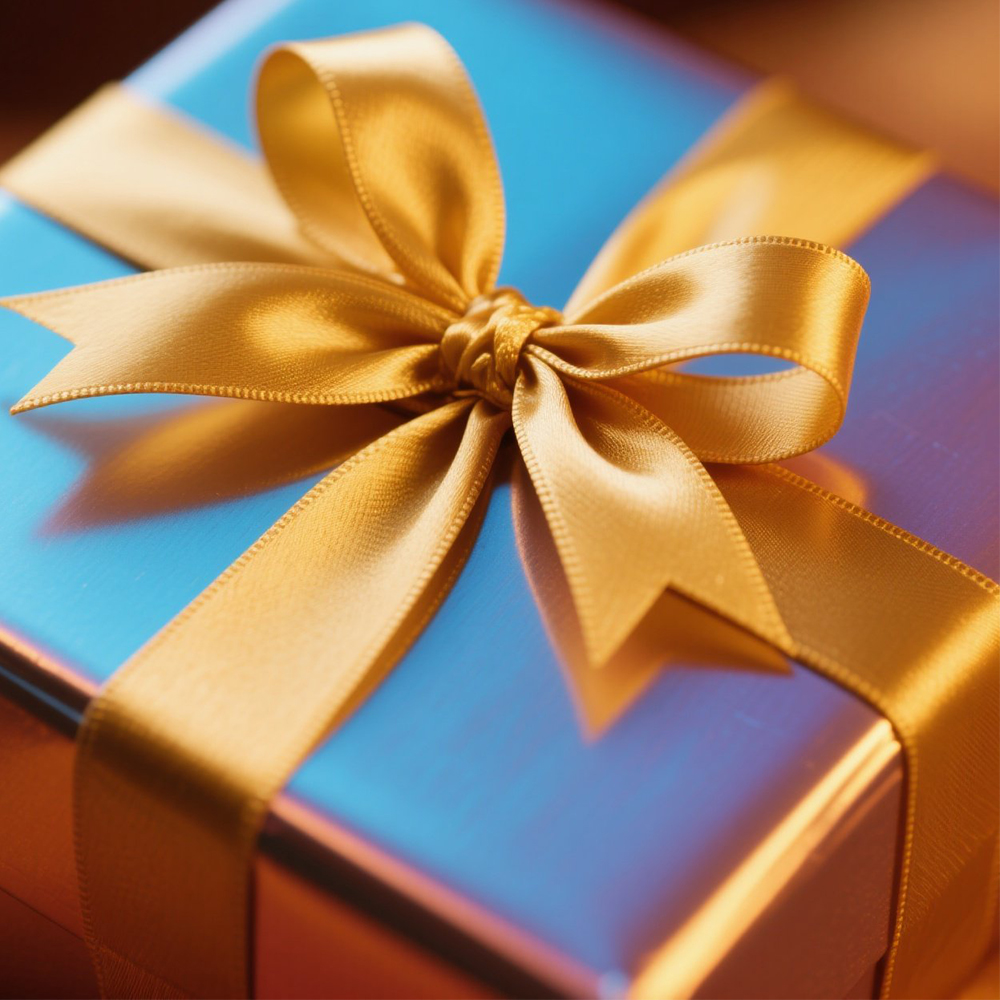
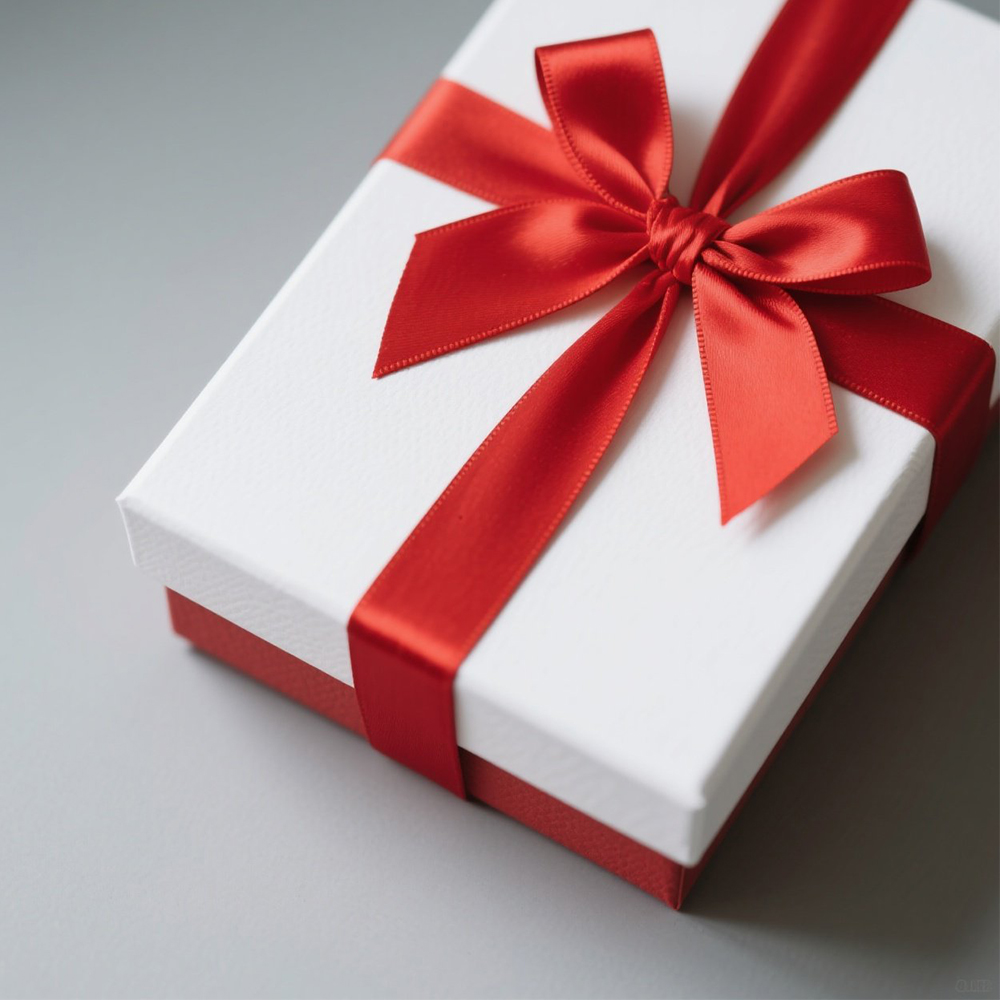
Color matching: You can choose ribbons that contrast sharply with the color of the gift box, such as red ribbons for a white box or black ribbons for a gold box, to highlight the sense of layering.
Material suggestions: Silk, satin or organza ribbons are all suitable for bow designs. They are easy to shape and have a soft hand feel.
2. How to tie a bow on gift box, prepare the tools and measure the length of the ribbon
1. Tool preparation
A pair of scissors, used for cutting ribbons;
Double-sided tape or transparent adhesive tape can be used to temporarily fix the end of the ribbon.
Optional: Small clips for shaping, decorative items such as dried flowers, small tags, etc.
2. Measure the ribbon
The length of the ribbon is recommended to be estimated based on the size of the box:
General formula: Box perimeter × 2 + 40cm (for tying knots)
If you want to make a double-layer bow or more decorations, you need to increase the length appropriately.
Reserve an extra 10 to 20cm in advance to adjust the shape of the bow.
3. How to tie a bow on gift box, detailed knotting steps illustrated explanation
1.Surround the gift box
Start winding the ribbon from the bottom and wrap it around the top of the box, making sure the two ends meet directly above the box.
2. Cross and knot
Tie the ribbons in a cross knot, leaving one side longer and the other shorter (the longer end is used to make the butterfly ring).
3. Form the first butterfly ring
Make a “rabbit ear” shaped ring with the longer end.
4. Hit the second ring
Then tie a knot around the first ring with the other end to form a symmetrical second “rabbit ear”.
5. Tension and adjustment
Gently tighten the two rings and adjust both sides to be symmetrical in size and natural in Angle at the same time. Position the central knot in the center of the gift box.
4.How to tie a bow on gift box? The detailed embellishments make the packaging more outstanding
1.Cut off the excess ribbons
Use scissors to trim the excess ribbons neatly. You can cut them into “swallow tails” or “beveled corners” to enhance the aesthetic appeal.
2. Add decorations
The following small items can be added according to the festival or the style of the gift:
Small tag (with blessings written on it)
Dried flowers or small twigs
Mini greeting cards, etc.
3. Final sorting
Gently adjust the shape of the bow and the direction of the ribbon to make the overall look naturally fluffy and have distinct layers.
5. How to tie a bow on gift box? Practice is the key to proficiency
Bows may seem simple, but in fact, they test the details and feel. It is suggested to practice more:
Try ribbons of different materials and feel the differences in tension and shape.
Practice different types of knots, such as single knots, double-loop bows, and diagonal cross knots;
Pay attention to controlling the force. During the knotting process, the technique should be gentle but steady.
6. How to tie a bow on gift box? Practical tips and precautions
Don’t pull it too tight to avoid deforming or breaking the ribbon.
Keep the surface of the ribbon smooth and avoid wrinkles at the knots.
Pay attention to the position of the bow. Try to place it in the center of the box or at the symmetrical corner.
7. How to tie a bow on gift box? A pleasing bow display and record
After you finish, you might as well take a photo to record the result of tying the knot by yourself:
It is recommended to choose a 45° tilt Angle for taking photos to highlight the three-dimensional effect of the bow.
You can upload your DIY achievements to social platforms to share with friends.
Make it into a packaging manual or commemorative album to record the growth process.
In conclusion
A bow encapsulates not only a gift but also a heartfelt sentiment
A bow is not merely a knot; it is an expression of warmth and surprise. When you tie a bow on a gift box by hand, it not only enhances the sense of ceremony of the gift, but also wraps an emotion more truly with “craftsmanship”. As long as you keep practicing according to the methods mentioned above, you will surely transform from a novice to a bow-tying expert, adding delicacy and surprise to every gift you give.
Tags: #Smaller gift box#DIYGiftBox #PaperCraft #GiftWrapping #EcoFriendlyPackaging #HandmadeGifts
Post time: Jun-14-2025


