


How to Tie a Bow on Gift Box- Mastering Personalized Gift Wrapping Techniques
During holidays, birthdays, weddings, and business gifting occasions, an exquisitely wrapped gift box often captures attention more instantly than the gift itself. Among all packaging elements, the bow stands out as the most ceremonial finishing touch. It not only elevates the aesthetic appeal but also conveys a special thoughtfulness to the recipient. Today, we’ll guide you through mastering the art of tying bows on gift boxes and explore unique decorative approaches to infuse your presents with personality and sophistication.
How to Tie a Bow on Gift Box-Why Does a Bow Elevate a Gift Box?
A beautiful bow adds dimension and layering to a gift box, making the present feel more creative and refined. For branded gift boxes, the bow directly conveys the brand’s essence—the material and color of premium ribbons often become part of the visual identity. For personal gifts, the bow symbolizes thoughtfulness and ceremony, giving tangible warmth to your sentiments.
How to Tie a Bow on Gift Box-Preparing the Right Materials
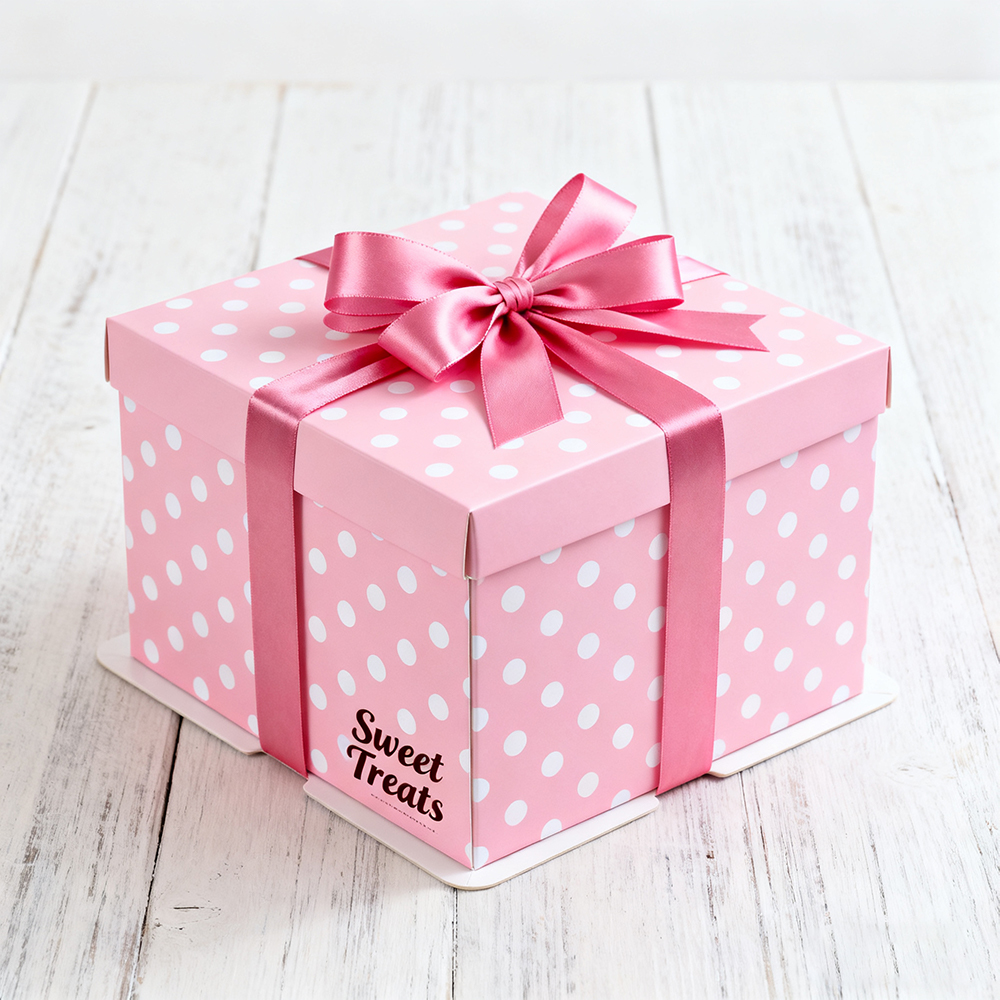
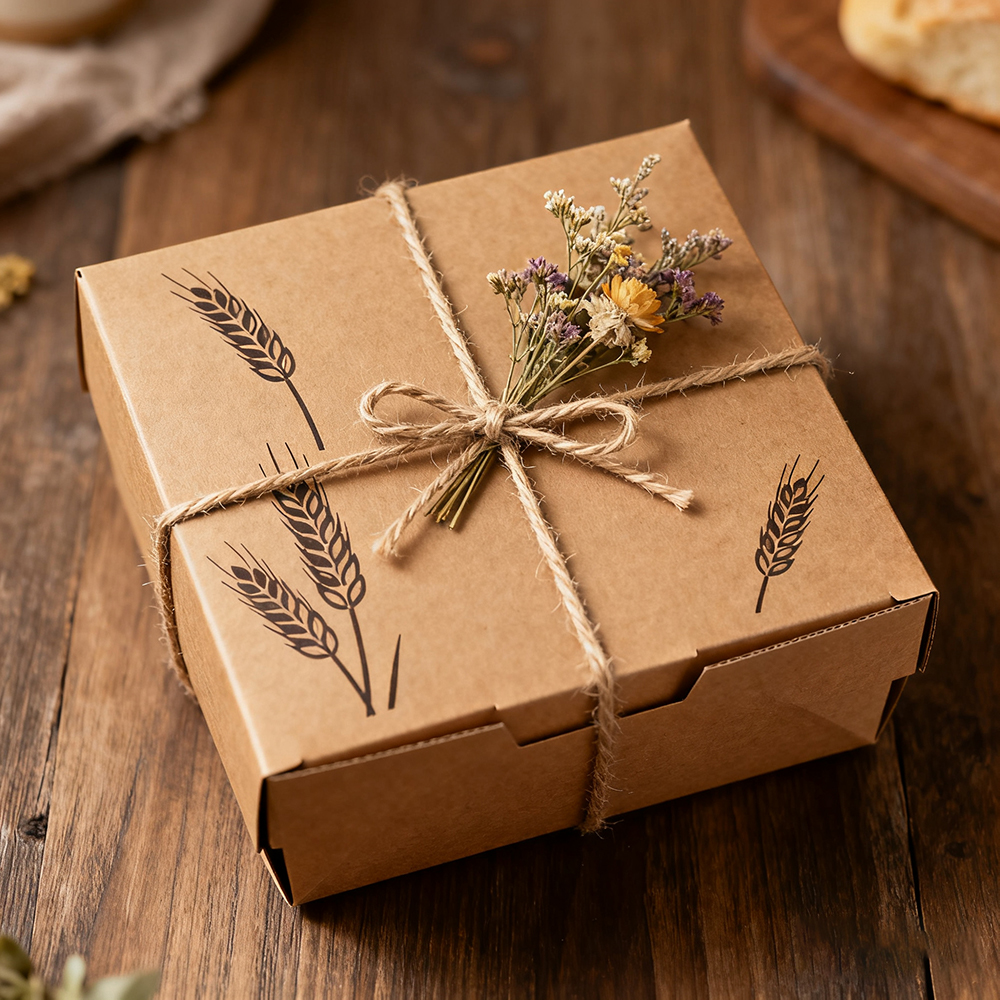
Selecting the appropriate ribbon is crucial before tying a bow. Satin ribbon, with its high sheen, elevates the overall luxurious atmosphere and is the most commonly used material in gift wrapping. For a romantic and delicate expression, opt for lightweight organza ribbon; for a touch of natural and handmade warmth, jute rope texture is an excellent choice. For children’s gifts, printed ribbons offer a playful and charming alternative.
The ribbon length should typically be at least twice the circumference of the gift box, with extra length reserved for tying the knot and adjusting the shape. This prevents running out of ribbon midway, which could compromise the aesthetic.
How to Tie a Bow on Gift Box-How to tie a standard, attractive bow?
Step 1: Position the ribbon
Place the gift box face up. Lay the ribbon flat across the center of the box, letting it loop over the top, under the bottom, and back up to the front. Keep the ribbon smooth and free of twists.
Step 2: Secure the Ribbon with a Basic Knot
Tie the crossed ribbon ends into a simple knot to firmly anchor them to the box. This forms the crucial foundation for shaping the bow and maintaining its appearance.
Step 3: Form Two Symmetrical Loops
Create a small loop with each ribbon separately, then loop one ribbon over the other. This step resembles tying shoelaces but requires finer control over tension and angle. Gently pull the knot tight to reveal the basic bow shape.
Step 4: Adjust and Refine the Shape
Ensure both loops are as uniform in size as possible, keeping the ribbon surfaces smooth without curling or twisting. Use your fingers to gradually adjust the tension at the center, making the bow appear fuller and more symmetrical.
Step 5: Trim the ends for a refined finish
Tailor the bow’s tails to your style. For an elegant and playful look, trim them into a swallowtail shape; for a clean, crisp appearance, simply cut them at an angle.
How to Tie a Bow on Gift Box-How to add personality to your bow?
To make your gift box more distinctive, try these creative ideas:
First, layer two ribbons of different colors or textures to create a double-layered bow. This visually richer style works well for ceremonial occasions like Christmas or Valentine’s Day gift boxes.
Second, add small embellishments to the bow’s center—such as dried flowers, tiny charms, or elegant paper tags. This not only creates a focal point but also enhances thematic expression—think balloon-shaped charms for birthday gifts or pearl accents for wedding favors.
Additionally, wrap ribbons around the box in a crisscross pattern for added security and a more artistic presentation. This visual composition particularly balances the proportions of square or rectangular gift boxes.
For a luxurious touch, a voluminous French bow crafted from wide ribbon is an absolute showstopper. The layered ribbon structure instantly elevates the gift box’s sophistication, making it ideal for high-end corporate gifts or jewelry packaging.
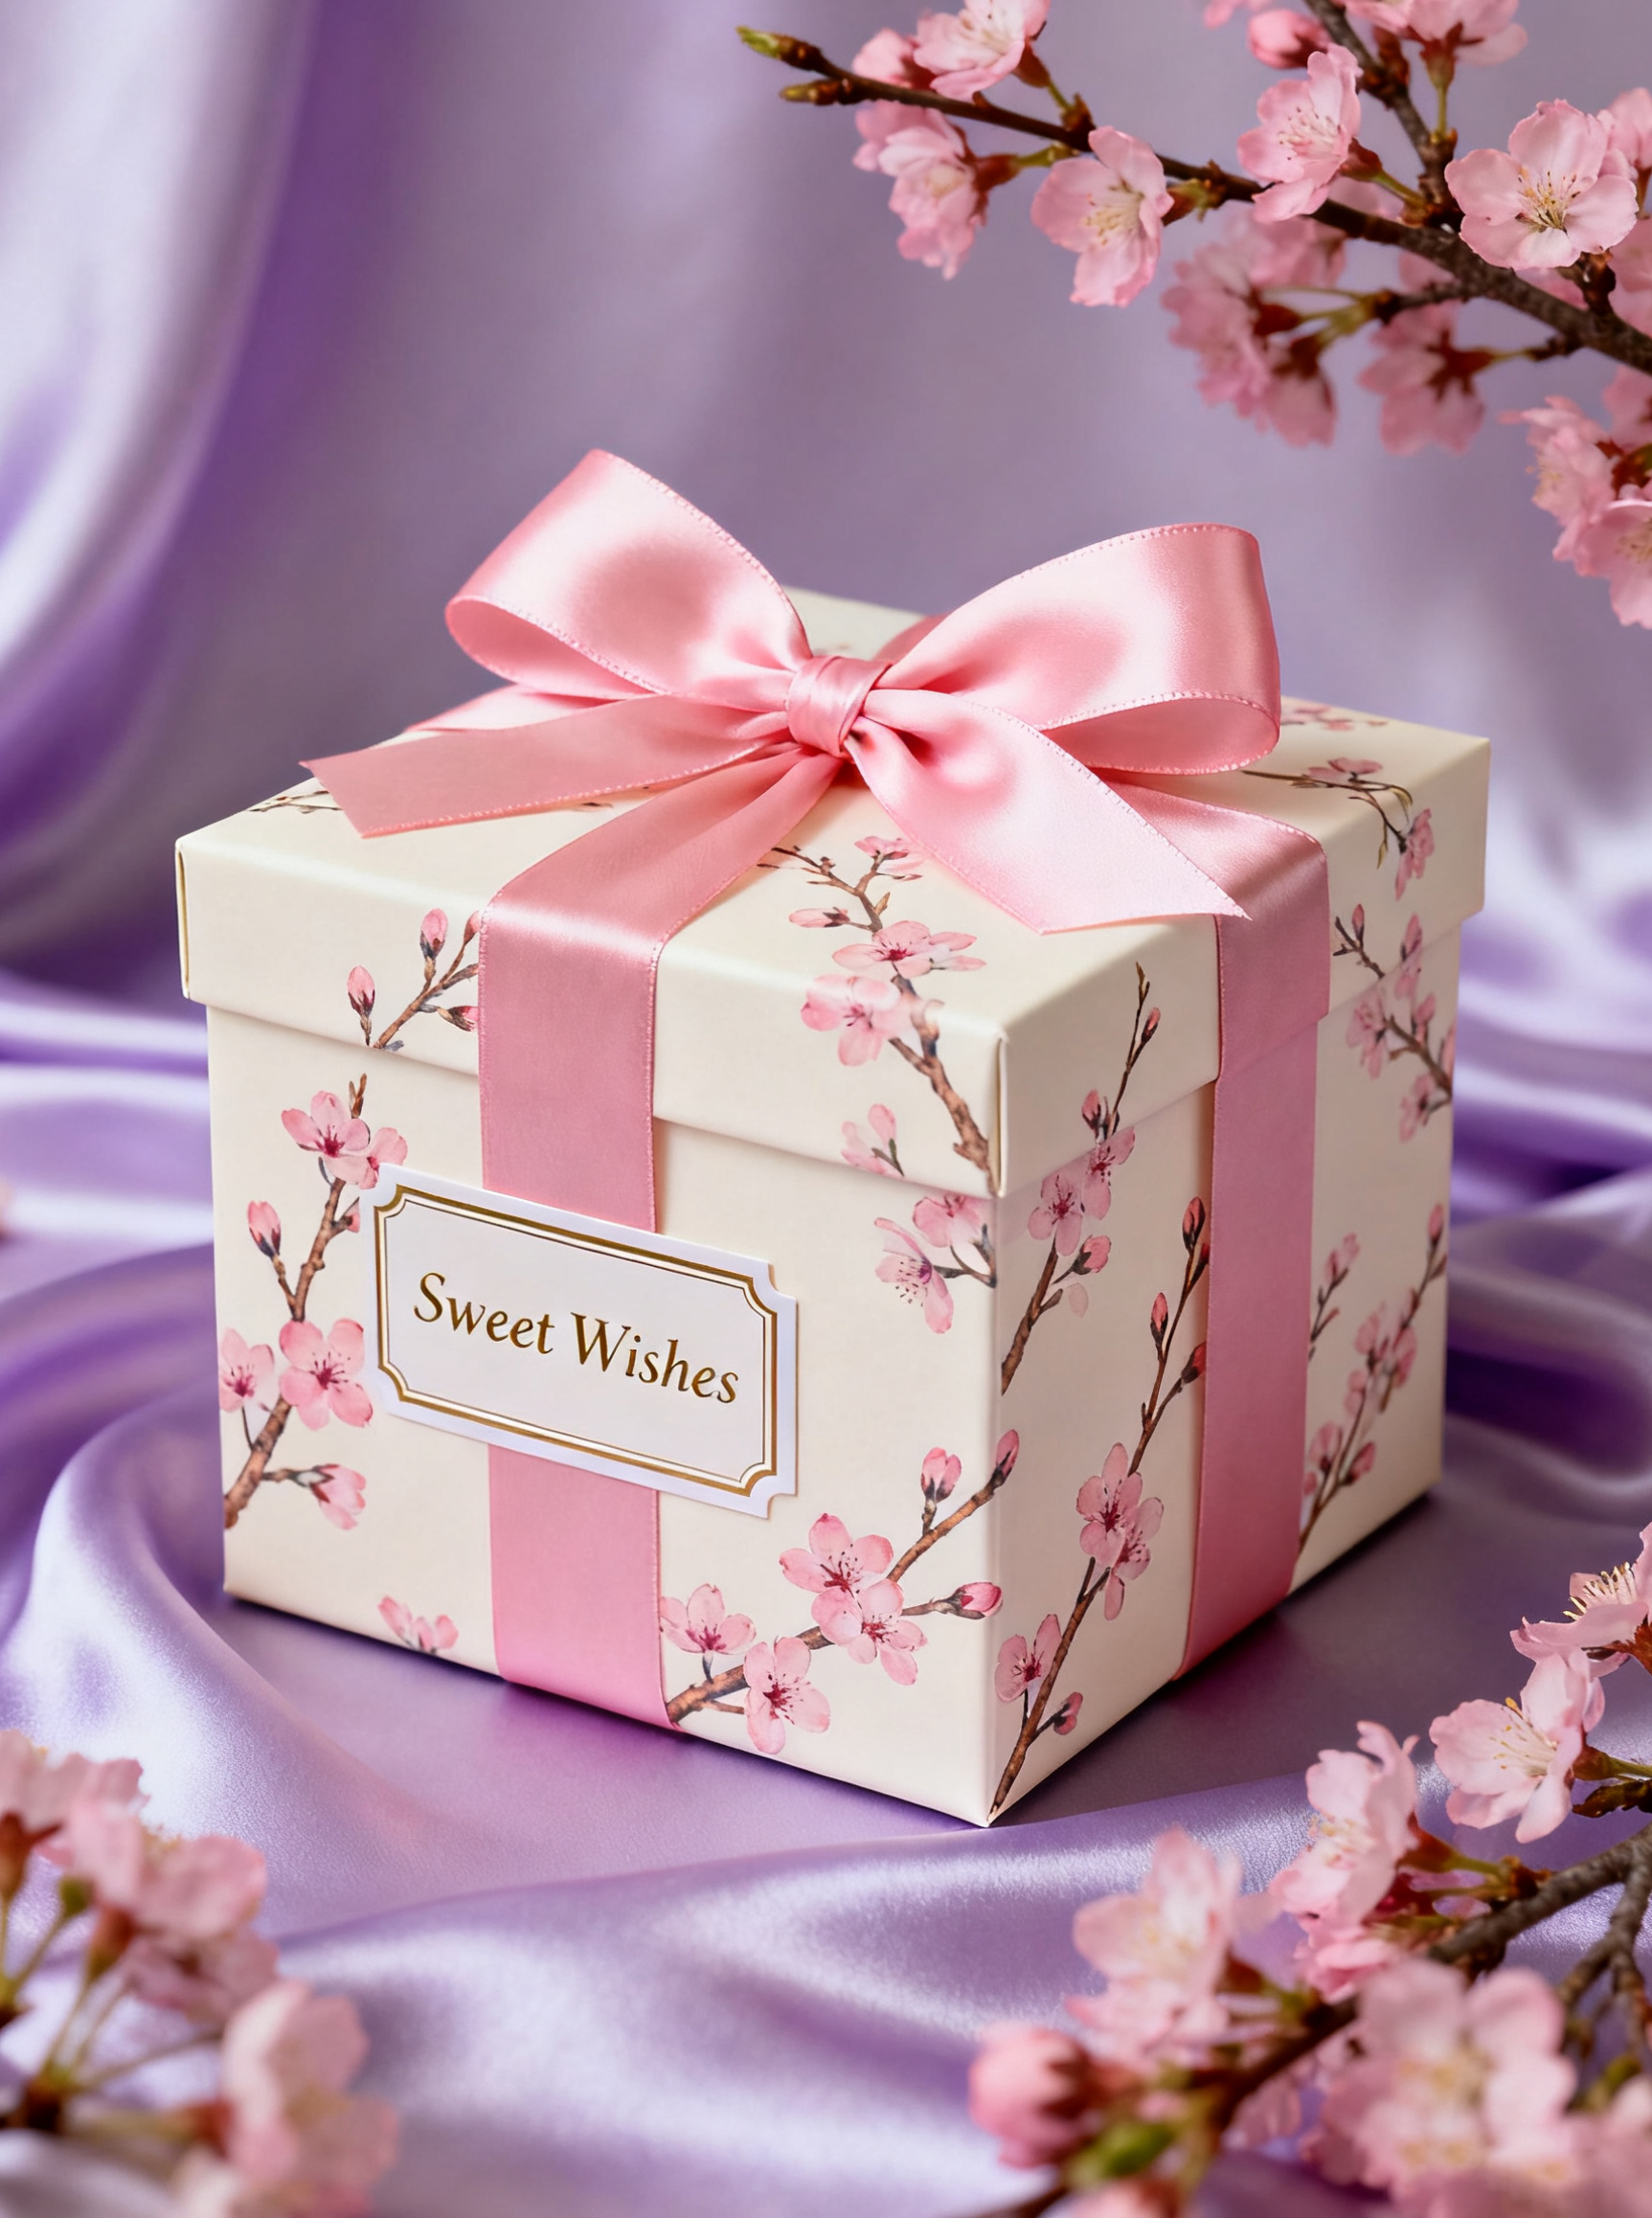
How to Tie a Bow on Gift Box-Color coordination significantly impacts aesthetic appeal
Color pairing often dictates the first visual impression. For instance:
A white gift box paired with gold or red ribbon creates a sophisticated, festive atmosphere; A black box with silver or deep blue ribbon exudes mystery and elegance; a pink box with white or rose gold ribbon suits sweet-style gift recipients perfectly; for an eco-friendly, natural packaging style, use Kraft-colored boxes with cotton-linen ribbons.
These pairings convey distinct moods and scenarios—mastering them significantly elevates the gifting experience.
How to Tie a Bow on Gift Box-Common Issues & Solutions
If your bow consistently appears asymmetrical, it’s likely due to uneven tension. Adjust by applying pressure with both hands simultaneously, allowing the ribbon to extend smoothly from the center. If the ribbon is too slippery and the bow loosens easily, opt for a slightly textured material or secure a foundation knot before forming the bow. Additionally, if knotting too tightly causes unsightly creases in the ribbon, loosen it slightly and re-align the ribbon’s direction.
How to Tie a Bow on Gift Box-Summary: Bows Symbolize Thoughtfulness and Surprise
A perfect bow speaks volumes, transforming a gift from an object into a conveyance of warmth and emotion. Whether you’re a business enhancing brand packaging or an individual seeking to make gifts more meaningful, mastering bow-tying and understanding aesthetic presentation is an invaluable skill.
Starting today, spend an extra minute on your bows—your gifts will become truly special. Let every gift become a memorable story!
Tags: #box, #custom, #packaging box customization
Post time: Oct-30-2025


