


Your trusty coffee cup is more than just a vessel. It is a pocket-sized billboard that follows your customers. A Plain Cup Is a Missed Opportunity. An effective paper cup design is the product of branding, creativity and technical know-how.
You will create your paper cup design through a step-by-step procedure using this tutorial. You’ll also learn the benefits of a well-designed cup. Some of the topics covered include: Design 101, how-tos, and common design mistakes.
Going Beyond a Container: Your Paper Cup Design's Strategic Role
Cup design, to many companies, seems like a small thing. But it is a good marketing exercise. We have an efficient design paper cup business to make your business grow and get more customer. It is a payment that gets returned on every sale.
The Cup as a Brand Ambassador
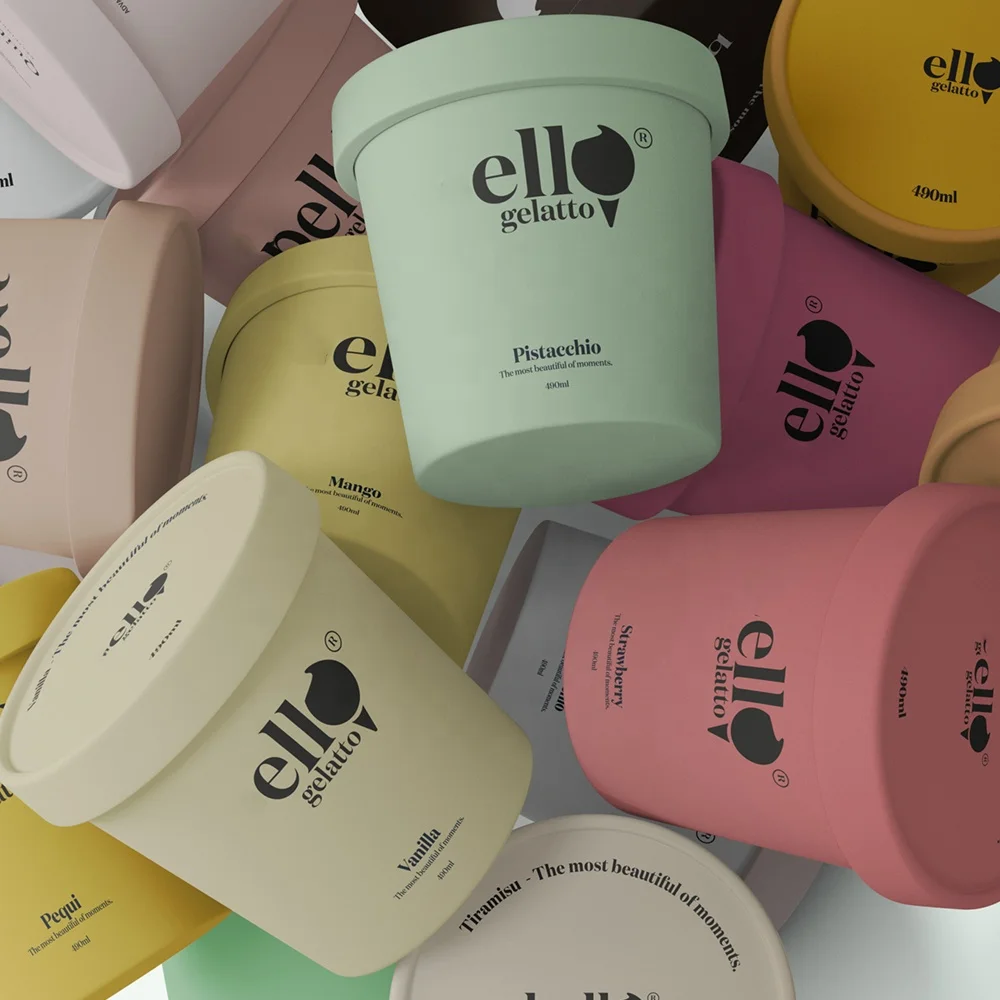
Before the customer ever gets a drink, they are already drinking from your cup. The design speaks of your brand’s identity. A stripped-down clean design can say “premium and modern.” A recycled symbol added to a cup of dirt could mean “eco-friendly.” Fun And Energetic A colourful cup that flips inside out. The good designs, they have a market. That’s why you’ll need to consider by-industry branding.
Enhancing the Customer Experience
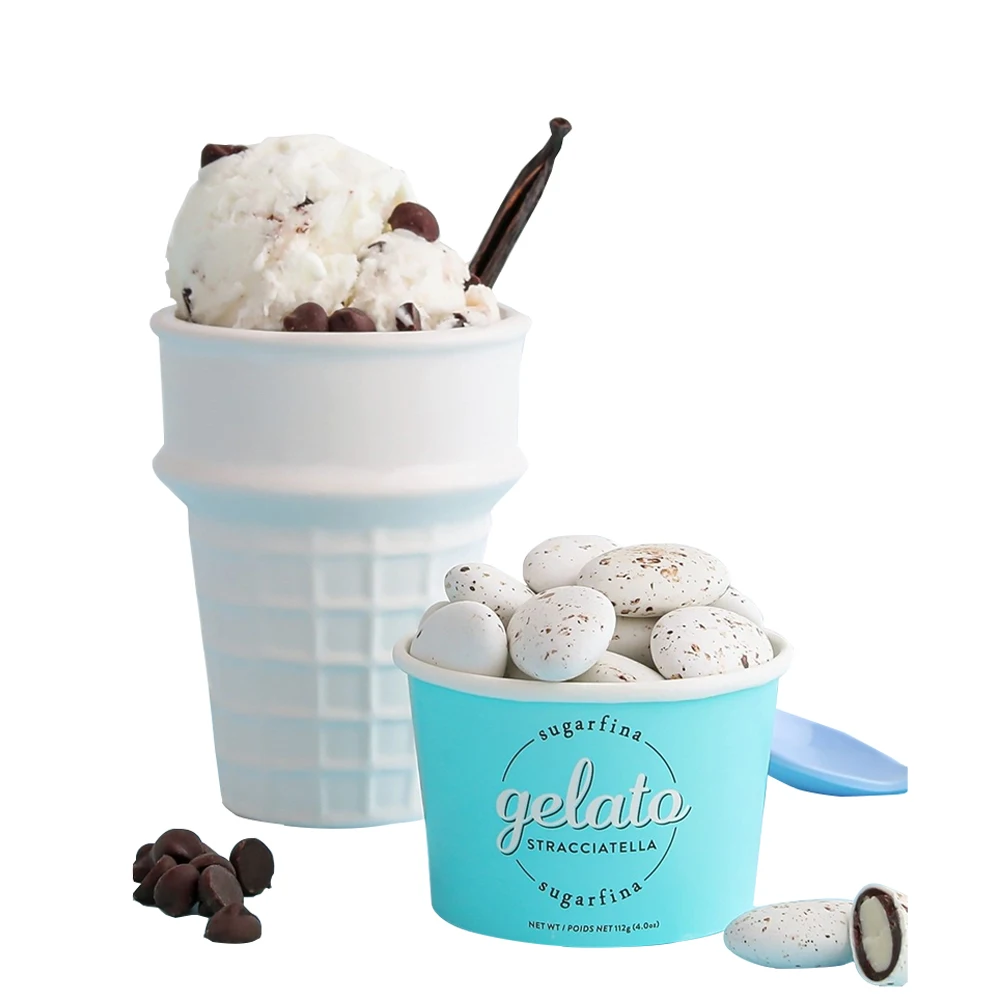
The first is that the design is what makes the product better. Coffee is turned into something just a bit more special. It’s only a small step, but it demonstrates your commitment to quality in all aspects of the business. It has the effect of conveying some extra value to customers.
Fueling Social Media & Word-of-Mouth
A beautifully designed or a one of kind paper cup will be an "Instagrammable" product. People are happy to post photos of things that look good. When they want to take a picture of your cup, they are providing you with free advertising. This form of digital marketing is how you can get in front of thousands of new people.
7 Key Principles of Unforgettable Paper Cup Design
Good design follows certain rules. These rules are doubly important for a curved, three-dimensional object like a cup. You can refer to the list for the design of your paper cup.
1. Brand Consistency is King
Your cup should immediately appear as though it’s your brand’s. Employ your logo, brand colors and font. This generates a solid brand message throughout all your documents.
2. Readability and Hierarchy
The really crucial things, like your brand name, should be readable in a glance. That is to use a font which is obviously been clearly and with the right color contrast. The first thing the eye catches is where people read the most important information, psychologically.
3. Strategic Use of Color
Colors produce emotions. For instance, warm colors such as a red, brown etc. have an inviting feel to it and can blend many things including your favorite coffee! Blue and green are normally associated with coolness, which is quite common in fresh-settings. Remember, the colour look different on screen and on paper, RGB (screen) is different then CMYK (printers). Remember to be always designing in CMYK for print.
4. Match Visual Style to Your Brand
Is your brand minimal, old fashioned, whimsical or luxurious? The look of your paper cup design needs to reflect the personality of your brand. This ensures a real message.
5. Simplicity vs. Complexity
A cup is not a flat object. It has a bit of curvespace. In such a case, too much of the information might feel cluttered. In most cases a simpler and bolder design will be more successful! Less is more.
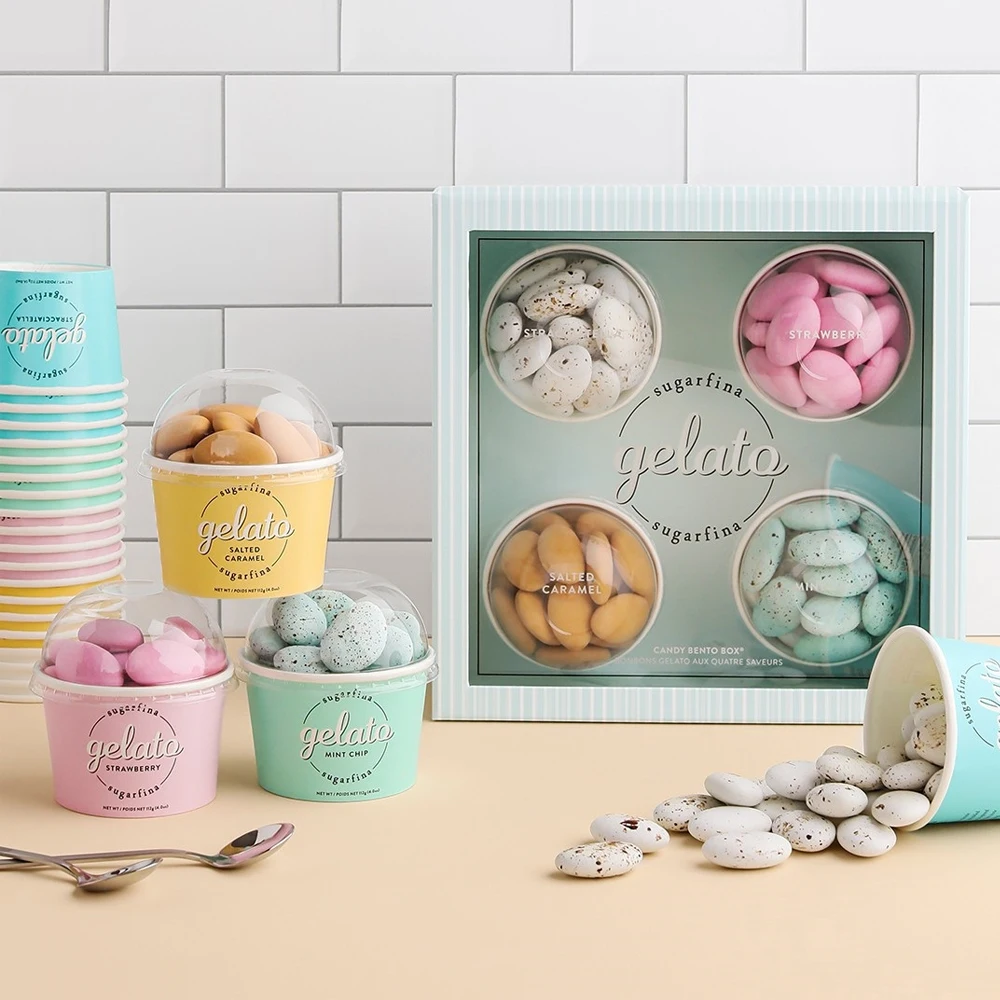
6. Consider the Whole Package
How does it look with a cover on top? Does the color match your cup sleeves? Consider the whole product that a customer receives. The cup, the lid and the sleeve should all perform together.
7. Design for the "Instagram Moment"
Keep at least one interesting, unique item. It may be a funny quote, a pretty picture or a detail hidden from view. That encourages customers to take and share pictures.
Your Step-by-Step Paper Cup Design Workflow
Leveraging our years of experience on hundreds of custom packaging projects, we’ve simplified the paper cup design process into three simple steps. These steps help ease the burden from concept to print.
Phase 1: Strategy and Conceptualization
- Define Your Goal: First, decide what you want the cup to achieve. Is it for general brand awareness, a seasonal promotion, or a special event? A clear goal guides your design choices.
- Gather Inspiration: Look at what other brands are doing. Collect examples of designs you like. This helps you see trends and find your own unique direction.
- Sketch Initial Ideas: Don't start on a computer. Use a pen and paper to sketch out rough ideas. This is the fastest way to explore different layouts without getting stuck on small details.
- Get the Correct Dieline Template: Your printer will give you a flat, curved template called a dieline. This is the exact shape and size of your cup's printable area. Using this is essential.
- Set Up Your File in Professional Software: Use a program like Adobe Illustrator. This software works best with the vector graphics and precise layouts needed for a quality paper cup design.
- Lay out Your Design: Place your logo, text, and other elements onto the dieline template. Pay close attention to the curve and the seam area.
- Create a 3D Mockup: Most design software or online tools let you see a 3D preview of your flat design. This helps you check for any awkward placements or distortions before printing.
- Convert Fonts to Outlines: This step turns your text into a shape, so there are no font issues at the printer. Also, make sure all images are embedded in the file.
- Ensure the File is in CMYK Color Mode: As mentioned, print uses a CMYK (Cyan, Magenta, Yellow, Black) color profile. Convert your file to ensure colors are accurate.
- Export a Print-Ready PDF: Save your final file as a high-quality PDF, following your printer's specific rules. This is the file you will send for production.
- Common Pitfall Spotlight: Avoid using low-resolution images, as they will look blurry when printed. Also, double-check that no important text or logos are placed directly on the seam, where they could be cut off.
Phase 2: Technical Design and Execution
Phase 3: Pre-Press and Finalization
Navigating Technical Constraints: Pro Tips for Print-Ready Artwork
Designing a print-ready paper cup requires consideration of some specific technical rules. Getting them right helps save you from expensive print mistakes.
Understanding the "Warp"
A flat design is stretched and bent as it wraps on a conical cup. This is called warping. As expert design tips for the tapered cup detail, these can be simple shapes comprising square and circle however if not designed on their correct curve template can easily become elongated ovals! It's always best to use the dieline of a printer to be able so see how your art will actually look.
Respecting the Seam
There is a seam of the papers where it was glued together at every paper cup. Do not place your logo, key text or intricate detail over this seam. The alignment may not looker perfect, and it can destroy the image of your design. Be sure to leave at least an inch on either side of this area.
Resolution & File Types
For all photos or screen images such as color gels and borders, it should be 300 DPI (dots per inch). This corresponds to use of Vector artwork for logos, text and simple graphics. Vector files (. AI,. EPS,. SVG) can be resized to any size without losing quality.
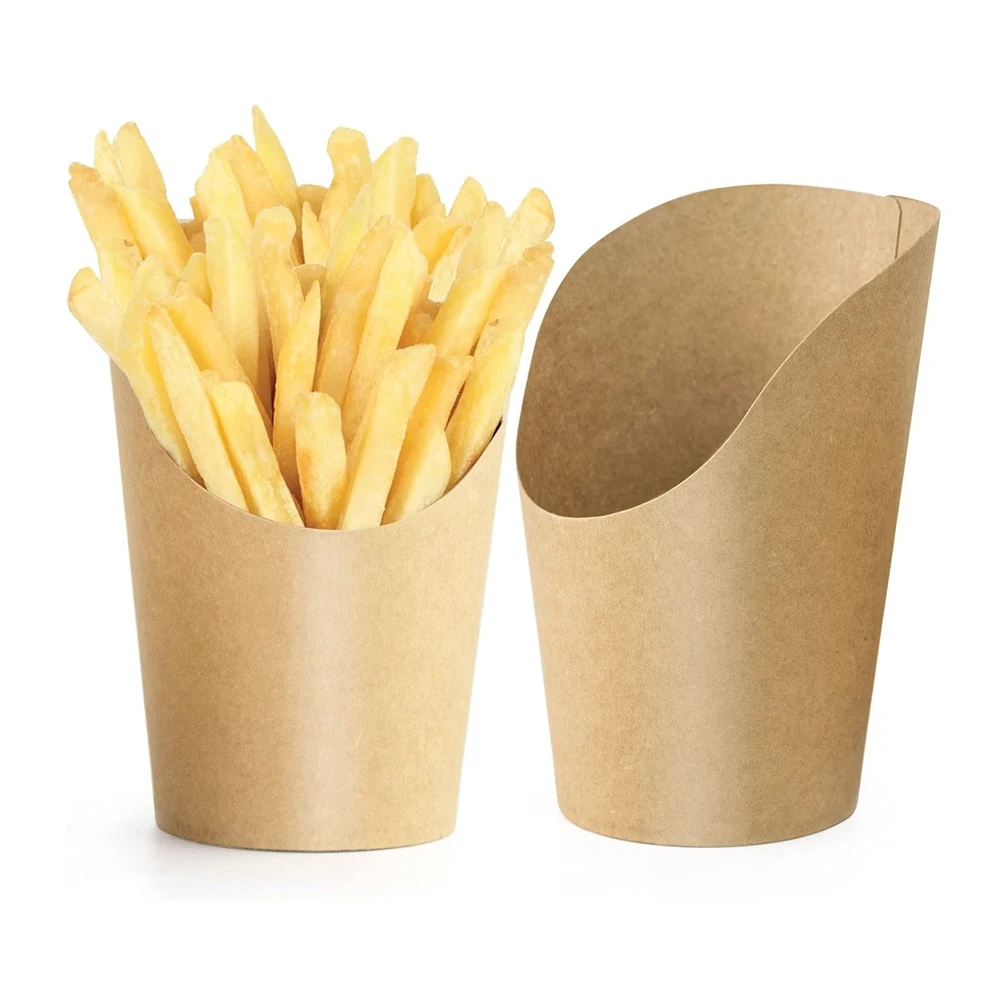
Single-Wall vs. Double-Wall
Single-wall single is made from one ply paper, for use with cold beverages. Double-wall cups feature another layer on the outside, for insulation that makes them ideal for hot beverages without a sleeve. The decision impacts on function and the template design as explained by some of the custom cup suppliers. Your printer will provide you with the right template for your type of cups.
Where to Find Award-Winning Paper Cup Design Inspiration
Feeling stuck? A bit of inspiration can get you thinking and show you what is achievable with paper cup design.
- Curated Design Galleries: Behance and Pinterest all feature amazingly resourceful designs that can be curated. Look up “paper cup design” and you’ll see the work of designers across the globe. Instagram is also a gold mine, visually speaking.
- Packaging Design Blogs:There are a few dedicated blogs that only feature packaging. Creative Paper Cups Internationally they have great paper cup design They frequently show some of the best creative paper cups you can find, meaning this could give you inspiration for your next idea.
- Your Local Coffee Scene: Notice the cups you already see every day. See what local cafes and large chains are doing. This is amazing real-world research for your own project.
Conclusion: Turn Your Paper Cup into Your Best Marketing Asset
There is no cost to a well-executed paper cup design. It’s an extremely useful marketing tool. It helps build your brand, delights your customers and generates free exposure every day.
At Fuliter Paper Box, we've seen firsthand how a strategic paper cup design can elevate a brand. If you're ready to create a design that truly stands out, exploring a custom solution is the perfect next step to bring your vision to life.
Frequently Asked Questions (FAQ) about Paper Cup Design
What software is best for paper cup design?
You should use a professional vector based program that is compatible with these file type like for example Adobe Illustrator. It also does a great job with logos and text. It also simplifies the handling of the curved printer templates, or dielines, necessary for manufacturing.
What is the difference between a single-wall and a double-wall cup?
Single-wall cups are made of one layer of paper and are meant to be used with cold drinks. Double wall cups are a second skin to the cup. This layer is enough insulation for hot cups, and frequently eliminates the need for a cardboard “jacket”.
How do I make sure my logo isn't distorted on the final cup?
Never forget to use your printing service’s official, curved dieline. When you put your design onto this template, the conical shape of the cup is taken into consideration. You can also see things while you’re working with a 3D mockup tool that’s another way to do it creatively looking for distortion before you get to the print.
Can I use a full-color photograph on my paper cup design?
Yes, you can. Except that it has to be a very high-resolution photo. It needs to be 300 DPI for final size when printed. It also needs to be converted into the CMYK color mode so that, when printed, its colors look like they are supposed to.
What file format do printers usually require for a paper cup design?
Most printers require a print-ready PDF file. The original artwork should be created in a vector format (.AI or .EPS). In the final file, all text should be converted to outlines and all images should be embedded. Always check your specific printer's requirements.
Post time: Jan-22-2026


